When it comes to routine 4x4 maintenance, one of the most common questions beginner truck owners ask is whether they can use the rear axle housing as a lifting point. Specifically, can you jack up a truck by the rear differential without causing damage? The short answer is yes, but doing so safely requires a fundamental understanding of your vehicle's drivetrain geometry. If you ignore the mechanical linkages connecting your axles to your transmission, you risk catastrophic driveline bind, seal leaks, and transfer case damage.
In this beginner-friendly explainer, we will break down the exact physics of lifting a solid-axle truck, the proper jacking points, and—most importantly—the often-overlooked transfer case and differential relationship. As of 2026, modern trucks feature highly sophisticated torque-management systems, and treating your driveline like a static piece of metal is a fast track to an expensive repair bill.
The Core Question: Jacking the Rear Differential
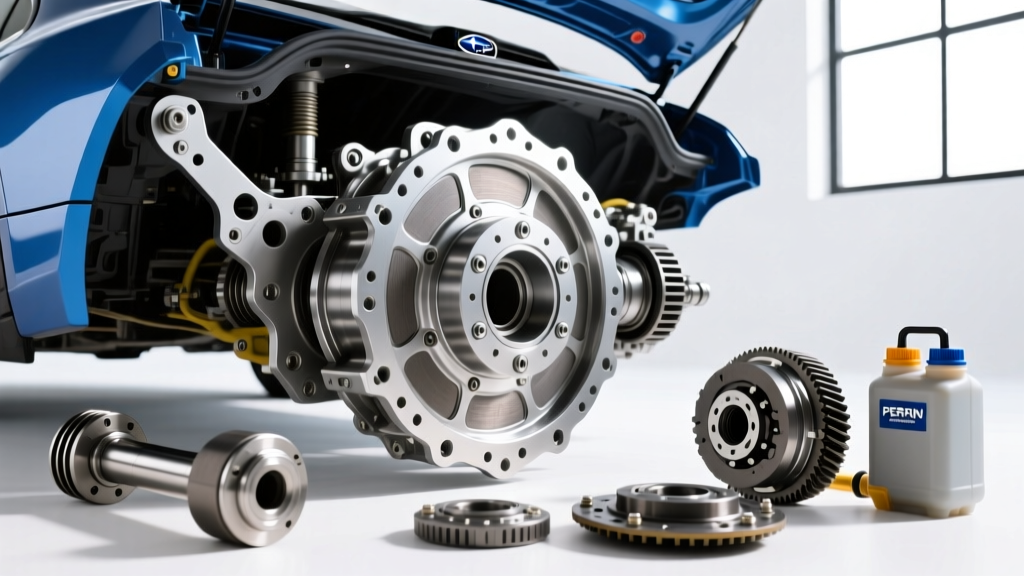
The rear differential housing (often called the 'pumpkin') is typically made of cast iron or heavy-duty cast aluminum. On popular axles like the Dana 60, Dana 80, or the AAM 11.5-inch found in modern GM HD trucks, the differential housing is structurally robust enough to support the vehicle's rear curb weight, which generally ranges from 3,500 to 4,500 pounds depending on the truck class.
However, where you place the jack pad matters immensely:
- The Pumpkin (Center Housing): Safe for lifting, provided you use a wide, flat jack pad. Avoid placing a narrow floor jack directly on the differential cover bolts, as this will crush the cover, warp the mating surface, and cause immediate gear oil leaks.
- The Axle Tubes: Many factory owner's manuals recommend placing the floor jack under the axle tubes, just inboard of the leaf spring perches or coil spring seats. This prevents the differential housing from taking concentrated point-loads and keeps the driveline angle more neutral during the lift.
Expert Tip: Never jack up a truck by the differential cover itself. The cover is stamped steel or thin cast aluminum designed to hold fluid, not support 4,000 lbs of steel.
Understanding the Transfer Case and Differential Relationship
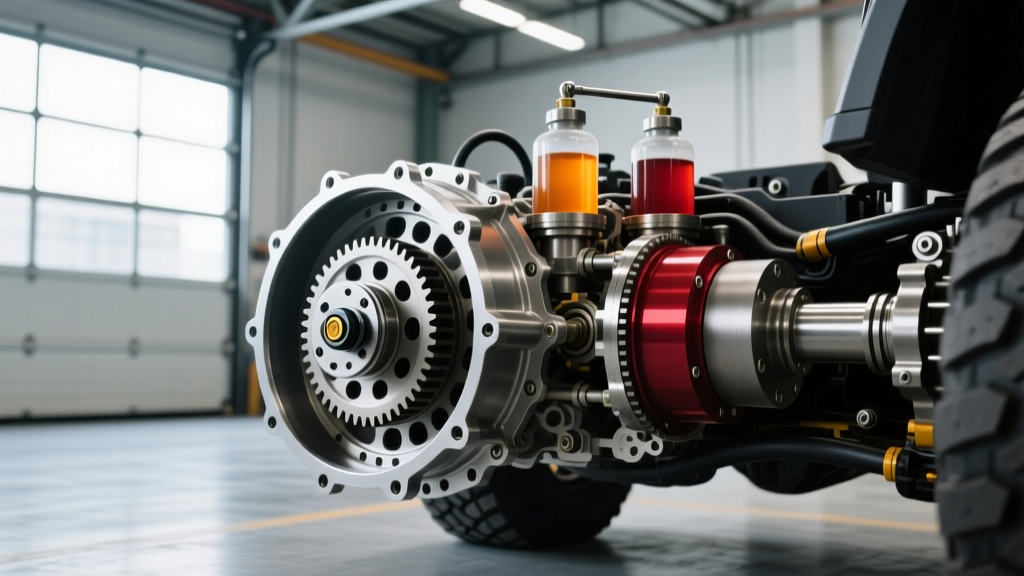
To understand why jacking up the rear axle can cause mechanical issues, you must understand the transfer case and differential relationship. The transfer case (e.g., BorgWarner 4485, NVG261XHD, or NP241) is the heart of a 4WD system. It bolts directly to the back of the transmission and splits engine torque between the front and rear driveshafts.
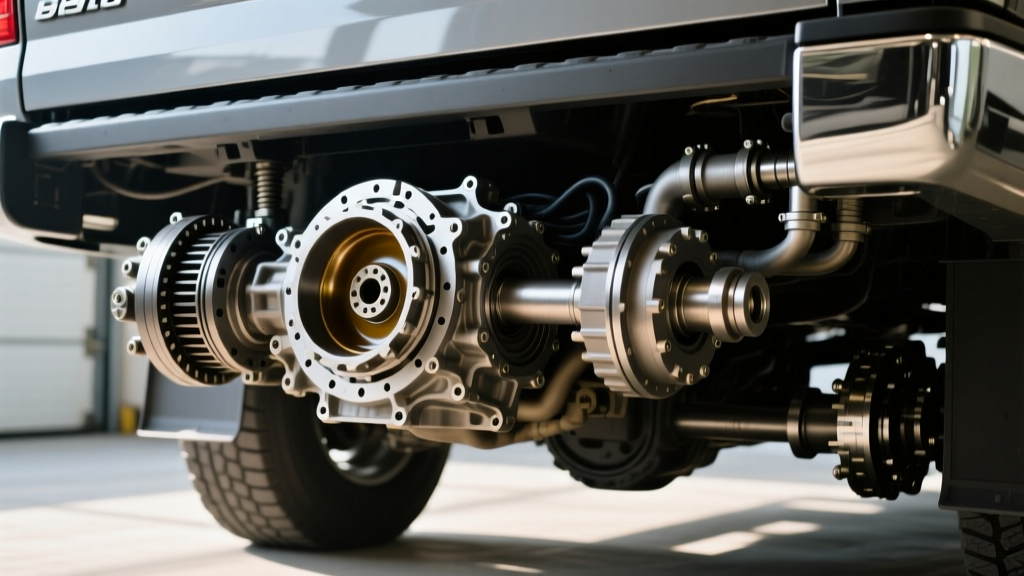
The rear driveshaft acts as the physical bridge between the transfer case output shaft and the rear differential pinion yoke. This relationship is governed by strict geometric rules:
1. Driveline Angles and U-Joint Operating Limits
Universal joints (U-joints) and Constant Velocity (CV) joints require specific operating angles to function smoothly. According to Dana Spicer engineering guidelines, standard U-joints should ideally operate between 1 and 3 degrees of angularity. If the angle drops below 1 degree, the needle bearings inside the U-joint caps do not rotate fully, leading to brinelling and premature failure. If the angle exceeds 5 to 7 degrees, you will experience high-speed vibrations and accelerated joint wear.
When you jack up the truck by the rear differential and let the suspension hang at full droop, the pinion yoke on the differential points downward. This drastically increases the U-joint operating angle at the rear of the driveshaft. If the truck is left in this position for extended periods, or if the engine is revved in gear while on the jack, the U-joints can bind and snap.
2. Slip Yokes and Output Shaft Extension
Most factory transfer cases utilize a slip yoke design, where the front of the rear driveshaft slides in and out of the transfer case output housing to accommodate suspension travel. When you jack up the rear differential to maximum height, the distance between the transfer case and the rear axle increases. The slip yoke extends outward. If the driveshaft is too short (common on lifted trucks without a slip yoke eliminator), the yoke can slide completely out of the transfer case, dumping transmission or transfer case fluid onto the floor and ruining the output seal.
The Hidden Danger: Driveline Bind in 4WD
The most critical mistake beginners make when asking 'can you jack up a truck by the rear differential' is forgetting to check the transfer case shifter. If your transfer case is in 4-High or 4-Low, the front and rear output shafts are mechanically locked together (in part-time 4WD systems without a center differential).
If the rear wheels are jacked up and spinning freely, but the front wheels are on the ground, the transfer case experiences severe driveline bind. The rear driveshaft is turning the internal chain and gears of the transfer case, but the front output shaft is held stationary by the front tires' grip on the pavement. This creates immense torsional stress. You will hear a loud 'clunk' or 'pop' as the driveline releases tension, which can shear transfer case shift forks, stretch the drive chain, or chip the ring and pinion gears in the differential.
Component Stress Matrix: Jacking Scenarios
| Jacking Scenario | Transfer Case State | Risk Level | Potential Failure Point |
|---|---|---|---|
| Rear axle lifted, front on ground | 4-High / 4-Low | Critical | Transfer case chain stretch, shift fork bending, U-joint bind |
| Rear axle lifted, front on ground | 2-High / Neutral | Safe | None (Rear diff spins freely via open carrier) |
| Full suspension droop on jack | Any | Moderate | Slip yoke over-extension, CV joint boot tearing |
| Jack placed on diff cover bolts | Any | Critical | Crushed diff cover, immediate gear oil leak |
Step-by-Step Guide: Safe Jacking for Differential Fluid Service
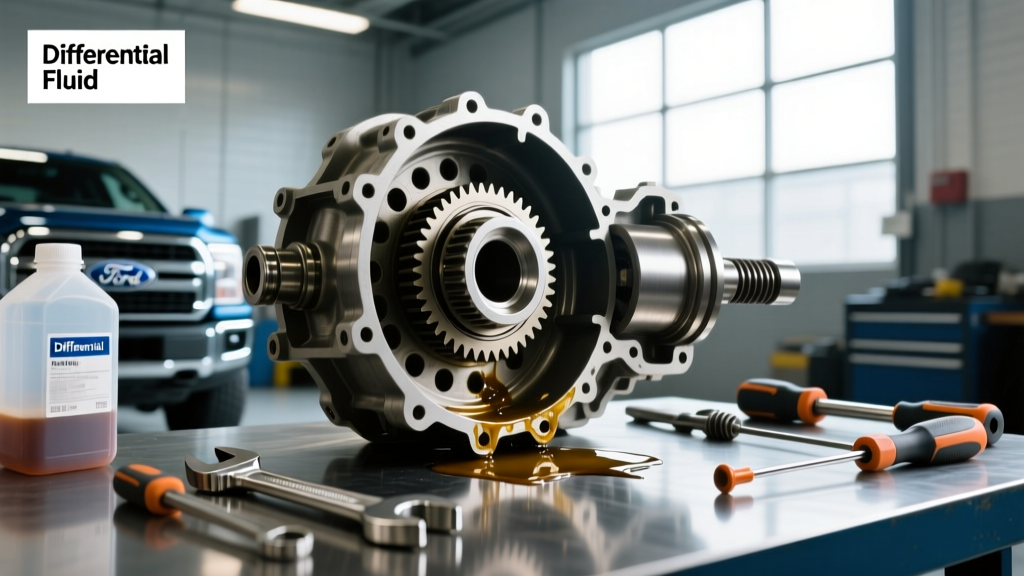
Usually, the reason you are jacking up the rear differential is to perform a differential fluid change. Modern synthetic gear oils, such as AMSOIL Severe Gear 75W-90, require periodic replacement to protect the hypoid gear sets. Here is the safest procedure to execute this service while respecting the transfer case and differential relationship.
Step 1: Transfer Case and Transmission Prep
- Park the truck on a perfectly level surface.
- Shift the transfer case into 2-High (2WD). This disconnects the front driveshaft from the drivetrain, eliminating the risk of transfer case bind when you spin the rear wheels to drain the fluid.
- Place the transmission in Park (or in gear for manual transmissions) and engage the emergency brake to prevent the truck from rolling off the jack.
- Chock the front wheels heavily.
Step 2: Lifting the Axle
- Position a heavy-duty floor jack (minimum 3-ton capacity for half-tons, 5-ton for HDs) under the axle tube, just inside the leaf spring perch.
- Slowly raise the vehicle until the rear tires are exactly 1 to 2 inches off the ground. Do not raise the suspension to full droop. Keeping a slight amount of suspension compression maintains safe driveline angles and prevents the transfer case slip yoke from over-extending.
- Immediately place jack stands under the axle tubes or factory lift points. Never work under a truck supported only by a hydraulic floor jack.
Step 3: Draining and Torque Specs
With the truck safely supported and the transfer case in 2WD, you can now remove the rear differential cover or drain plug. Because the truck is level side-to-side, the fluid will drain completely.
When reassembling, precision is key. Stripped bolts on the differential housing or transfer case will lead to chronic leaks. Refer to the baseline torque specifications below for common late-model applications:
- AAM 11.5-inch Rear Diff Cover Bolts (GM HD): 25 to 27 lb-ft. Use a star-pattern tightening sequence to ensure even gasket compression.
- Dana 60 / Dana 80 Cover Bolts (Ford/Jeep): 30 to 35 lb-ft.
- Transfer Case Fill/Drain Plugs (NVG261/BW4485): 15 to 18 lb-ft. Do not overtighten; the transfer case housings are often cast aluminum and will strip easily.
- Differential Pinion Nut: Never remove this for a standard fluid change. It is a crush-sleeve or torque-prevailing nut that requires specialized inch-pound torque wrenches (often 20-30 in-lbs of rotational drag) to reset bearing preload.
Fluid Capacities and Selection
Understanding the relationship between your drivetrain components also means understanding their distinct lubrication needs. The transfer case and the rear differential do not share fluid, and they require entirely different chemical formulations.
- Rear Differential: Requires high-pressure Extreme Pressure (EP) gear oil, typically 75W-90 or 80W-90 GL-5. If your truck has a factory locking differential or a limited-slip differential (LSD), you must add a friction modifier additive to prevent clutch-pack chatter during tight turns.
- Transfer Case: Requires specialized automatic transmission fluid (ATF) or proprietary transfer case fluid. For example, GM's Auto-Trak II fluid is mandatory for active transfer cases with electronic clutch packs (like the BorgWarner 4485). Using standard GL-5 gear oil in a transfer case will destroy the internal clutch packs and chain within miles.
Final Thoughts on Drivetrain Geometry
So, can you jack up a truck by the rear differential? Yes, the center housing and axle tubes are engineered to bear the load. However, as a responsible truck owner, you must look beyond the lifting point and consider the entire driveline ecosystem. By respecting the transfer case and differential relationship—specifically regarding U-joint angles, slip yoke travel, and 4WD binding—you ensure that a simple Saturday afternoon fluid change doesn't turn into a Monday morning tow-truck rescue. Always prioritize level lifting, verify your transfer case is in 2WD, and adhere strictly to factory torque specifications.