Diagnosing Rear Differential Noise and Drivetrain Bind
As of 2026, the legendary GD and GR chassis Subaru WRX and STI models are aging, and their drivetrain components are showing the miles. One of the most common complaints brought into performance shops is a combination of rear-end clunking, severe wheel hop under hard acceleration, and mysterious whining noises. While many owners immediately suspect internal ring and pinion failure, the root cause is frequently external to the differential housing itself. Specifically, the OEM front differential mount bushing is notorious for tearing or excessively deflecting under high-torque launches.
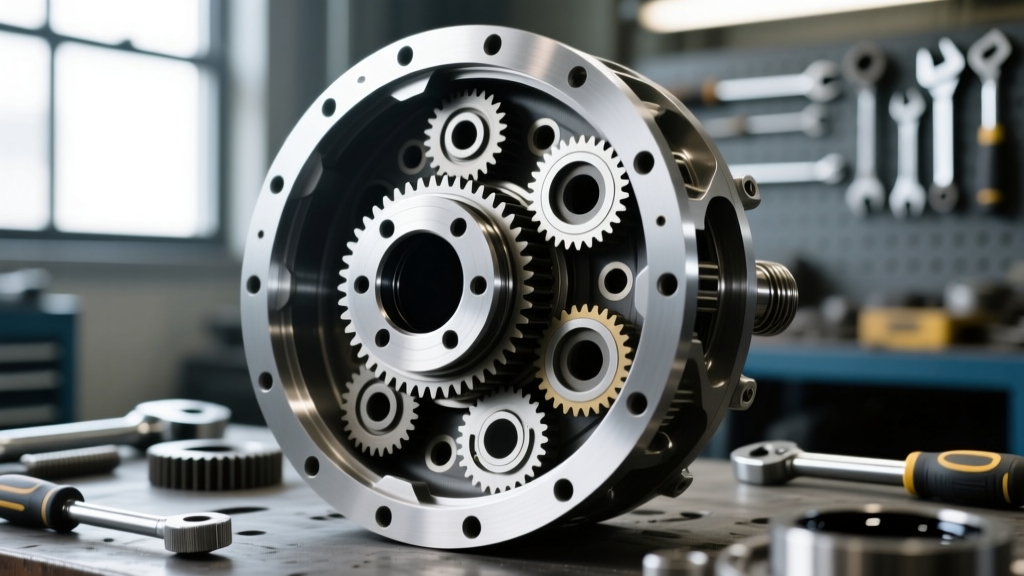
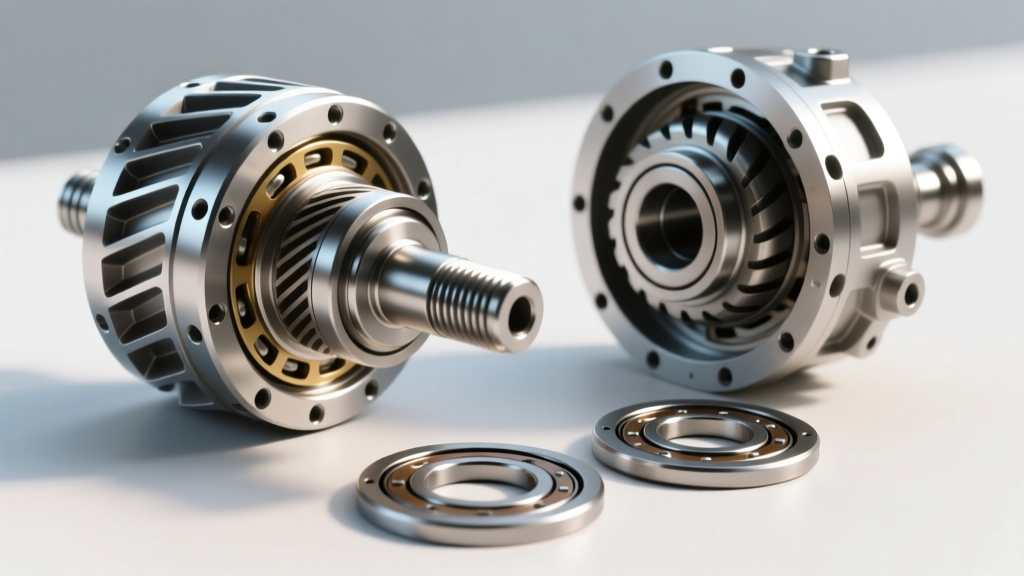
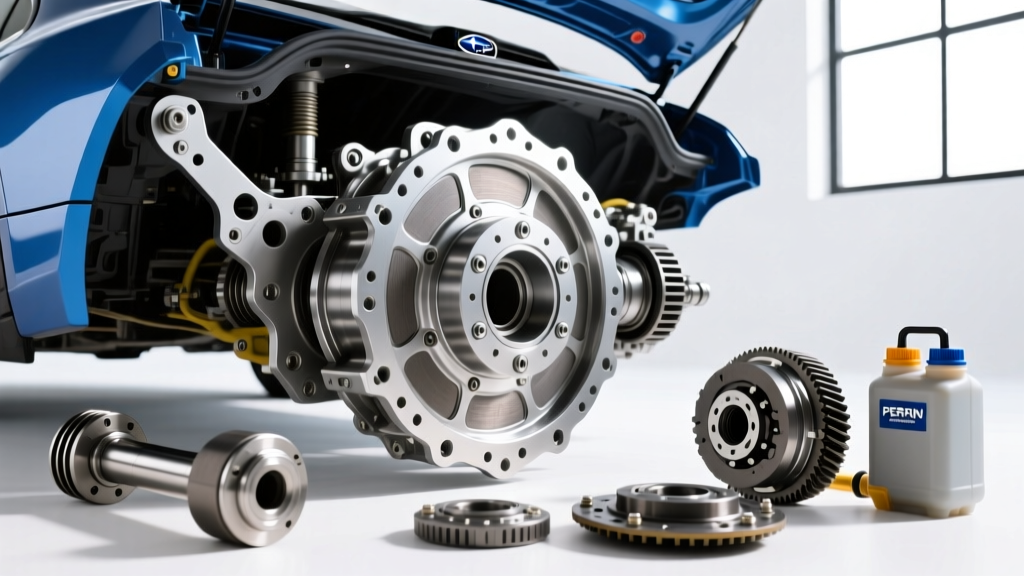
When the soft rubber bushing fails, the entire rear differential housing rotates upward and forward around the pinion gear axis. This rotation drastically alters the operating angle of the rear CV axles, leading to catastrophic axle bind, wheel hop, and eventually, sheared axle shafts. Furthermore, this violent movement shocks the internal gears, accelerating wear on the pinion bearings and ring gear teeth. Proper symptom diagnosis requires separating internal gear failure from external mount deflection, which is where upgrading to the Perrin rear differential lockdown system PSP-SUS-535 becomes a critical troubleshooting and maintenance step.
Differentiating Symptoms: Internal Wear vs. External Deflection
Before tearing into the differential or ordering replacement gears, you must accurately diagnose the noise and vibration profile. Here is a diagnostic framework to isolate the failure point:
- Clunking on Throttle Tip-In/Tip-Out: Usually indicates excessive backlash. While this can be internal ring-and-pinion wear, on Subarus, it is most commonly the torn OEM front diff bushing allowing the housing to physically slam against the subframe.
- High-Frequency Whining (Deceleration vs. Acceleration):strong> A whine that changes pitch based on load direction (coast vs. drive) points to internal pinion bearing wear or improper gear backlash. The Perrin lockdown system will not fix internal bearing whine, but it will prevent future shock-loading that causes it.
- Violent Wheel Hop (Rear Only): This is the hallmark of CV axle bind caused by differential housing rotation. The OEM rubber bushing has failed, and the axle joints are exceeding their maximum articulation angle under load.
The Role of the Perrin Rear Differential Lockdown System PSP-SUS-535
The Perrin Performance engineering team designed the PSP-SUS-535 kit to eliminate the inherent flaw in the Subaru rear subframe mounting geometry. Instead of relying on a soft rubber isolator that permits rotational deflection, this system utilizes CNC-machined 6061-T6 aluminum brackets and stiff polyurethane bushings. By locking the front of the differential housing rigidly to the subframe, the pinion gear angle remains perfectly static relative to the rear CV axles, regardless of drivetrain torque.
Retailing between $160 and $190, this upgrade is not just a performance modification; it is a vital preventative maintenance component for any tuned AWD vehicle producing over 300 wheel horsepower. However, installing the lockdown system requires dropping the rear subframe or at least unbolting the differential, which makes it the perfect opportunity to perform a comprehensive rear differential fluid service and forensic inspection.
Rear Differential Fluid Service: The Missing Maintenance Link
When addressing drivetrain bind, the condition of your gear oil is paramount. The Subaru rear differential requires an API GL-5 rated 75W-90 gear oil. Because the rear differential on most WRX/STI models is an open differential (or a viscous limited-slip on specific STI trims), the fluid must handle extreme shear forces without foaming or breaking down. Neglecting this fluid leads to increased operating temperatures, which accelerates the degradation of both the fluid and the internal bearings.
Fluid Forensics: Reading the Drain Plug
When you remove the 14mm hex drain plug, the condition of the fluid and the magnetic plug tip will tell you the exact health of your internal components:
- Fine Metallic Paste (Normal): A light grey, glittery paste on the magnet is normal gear and synchronizer wear. Proceed with standard fluid replacement.
- Chunky Metal Shavings (Critical): If you find needle-like shards or chunks of metal, a pinion or carrier bearing is disintegrating. The lockdown system will not save you; a full differential rebuild or replacement is required.
- Burnt Smell / Dark Black Fluid: Indicates severe overheating. If your vehicle has a rear viscous limited-slip differential, the internal clutch packs may be glazed or burnt, requiring a teardown and limited-slip additive friction modifier.
Subaru Rear Differential Service Specifications
| Specification | OEM Requirement | Aftermarket / Track Upgrade |
|---|---|---|
| Fluid Viscosity | 75W-90 | 75W-90 or 75W-140 (High-Heat Track Use) |
| API Rating | GL-5 | GL-5 (Must include LS Additive if equipped) |
| Capacity | 0.8 Liters (27.1 fl oz) | 0.8 Liters (Fill to bottom of weep hole) |
| Drain/Fill Plug Torque | 33 lb-ft (45 Nm) | 33 lb-ft (45 Nm) |
| Crush Washer P/N | 803918060 | Replace with new OEM washer every service |
Note: Always source your service manuals and torque sequences directly from the Subaru Technical Information System (STIS) to ensure accuracy for your specific model year.
Step-by-Step Troubleshooting & Installation Workflow
To properly execute this maintenance and troubleshooting protocol, follow this integrated workflow. This ensures the differential is inspected, serviced, and locked down in a single, efficient session.
Step 1: Fluid Extraction and Inspection
With the vehicle lifted and supported safely on jack stands, locate the rear differential drain and fill plugs on the rear cover. Always remove the fill plug first. If the fill plug is seized or strips, you will be stranded with an empty differential. Drain the 0.8L of 75W-90 fluid into a clean pan and perform the forensic inspection outlined above. Clean the magnetic drain plug thoroughly with brake cleaner.
Step 2: OEM Bushing Removal and Subframe Prep
Support the rear subframe with a transmission jack. Unbolt the front differential mount from the subframe. Inspect the OEM rubber bushing. In 90% of high-mileage or tuned vehicles, you will find the rubber completely separated from the steel sleeve. Remove the OEM bracket. Clean the mating surfaces on the differential housing and the subframe to ensure the new aluminum brackets sit perfectly flush, preventing induced preload on the housing.
Step 3: Installing the Perrin PSP-SUS-535
Install the new polyurethane bushings into the CNC-machined aluminum brackets. Use the provided marine-grade grease to lubricate the bushings and prevent squeaking. Bolt the bracket to the differential housing and torque to 14 lb-ft (19 Nm). Next, secure the bracket to the rear subframe using the supplied hardware, torquing to 58 lb-ft (79 Nm). This rigid connection eliminates the rotational pivot point entirely.
Step 4: Refill and Final Torque Check
Reinstall the drain plug with a brand-new OEM crush washer (Part # 803918060) and torque to 33 lb-ft (45 Nm). Using a fluid transfer pump, fill the differential with a high-quality synthetic 75W-90 GL-5 gear oil, such as Red Line Synthetic 75W-90 or Motul Gear 300. Pump fluid until it begins to weep out of the fill hole. Reinstall the fill plug with a new crush washer and torque to 33 lb-ft.
When to Rebuild vs. Upgrade
The Perrin rear differential lockdown system PSP-SUS-535 is a miraculous fix for wheel hop, axle bind, and external clunking. However, it is not a band-aid for internal mechanical failure. If your fluid forensics revealed chunky metal, or if the differential emits a distinct howling noise that correlates directly with vehicle speed (not engine RPM), the ring and pinion backlash has likely fallen out of spec, or the pinion bearing preload has collapsed. In these edge cases, the differential must be removed, torn down, and rebuilt with new Timken bearings and a fresh gear set before the lockdown system can be safely utilized to protect the new internals.
Pro-Tip for 2026 Builds: If you are tracking your Subaru or running sticky DOT-approved drag radials, the shock loads transferred through the locked-down differential will bypass the bushings and travel directly into the subframe and chassis. Ensure your rear subframe inserts and crossmember braces are also up to date to distribute these immense loads safely across the chassis.