When drivers report a shuddering sensation at idle, unexplained RPM surges, or a feeling of 'slipping' under load, many technicians immediately suspect the transmission torque converter or internal clutch packs. However, intermittent compressor clutch issues are a frequently overlooked culprit that can perfectly mimic drivetrain faults. Because the air conditioning compressor draws between 3 and 8 horsepower from the engine via the serpentine belt, a failing electromagnetic clutch or a seizing pulley bearing introduces severe parasitic load fluctuations. These fluctuations confuse the electronic throttle body and idle air control systems, resulting in a chassis vibration that feels exactly like torque converter shudder.
As an automotive drivetrain and accessory diagnostic specialist, I have seen countless transmissions dropped unnecessarily because the root cause was actually a thermal-sensitive AC clutch coil or a widened friction plate air gap. In this comprehensive guide, we will break down the exact diagnostic framework required to isolate intermittent compressor clutch issues, differentiate them from transmission faults, and apply precise OEM repair specifications.
The Drivetrain Connection: Why AC Clutch Slip Mimics Transmission Faults
To understand why compressor clutch issues are frequently misdiagnosed as transmission failures, we must look at the frequency of the vibrations they produce. A traditional torque converter shudder typically occurs between 35 Hz and 45 Hz. When an electromagnetic AC clutch friction plate is worn and begins to slip under high engine RPM, or when the clutch pulley bearing binds intermittently, it generates a high-frequency harmonic vibration (often 40-60 Hz) that travels through the engine mounts and into the chassis.
Furthermore, modern vehicles utilize Pulse Width Modulated (PWM) torque management. If the AC clutch engages and slips erratically, the Powertrain Control Module (PCM) detects the sudden load change and attempts to compensate by adjusting ignition timing and throttle position. This rapid cycling creates a 'surge and slip' sensation that untrained drivers—and even some technicians—will swear is a slipping transmission clutch pack or a failing lock-up clutch solenoid.
4-Step Diagnostic Framework for Intermittent Engagement
Diagnosing an intermittent fault requires moving beyond simple visual inspections. A clutch that engages perfectly on a cool morning may fail completely in 95°F afternoon traffic. Follow this sequential diagnostic path to isolate the failure.
Step 1: Electrical Verification and Voltage Drop Testing
The most common cause of intermittent compressor clutch issues is a voltage drop across a corroded pigtail connector or a failing relay. Do not simply probe the connector for 12V with the engine off. You must test the circuit under load.
- Relay Load Test: OEM relays (such as the widely used Omron G8HL-H71) can develop internal carbon tracking on the contacts. Swap the AC clutch relay with the identical horn or fog light relay. If the intermittent issue changes behavior, replace the relay (approx. $12-$18).
- Voltage Drop Test: With the engine running and the AC set to MAX, back-probe the clutch connector. You must read a minimum of 11.5V. If you read 12.4V with a high-impedance multimeter, but the voltage drops to 8.5V when the clutch attempts to engage, you have high resistance in the ground circuit or the positive feed. This starves the coil of the amperage required to maintain the magnetic field, causing the clutch to drop out intermittently.
Step 2: Measuring the Electromagnetic Air Gap
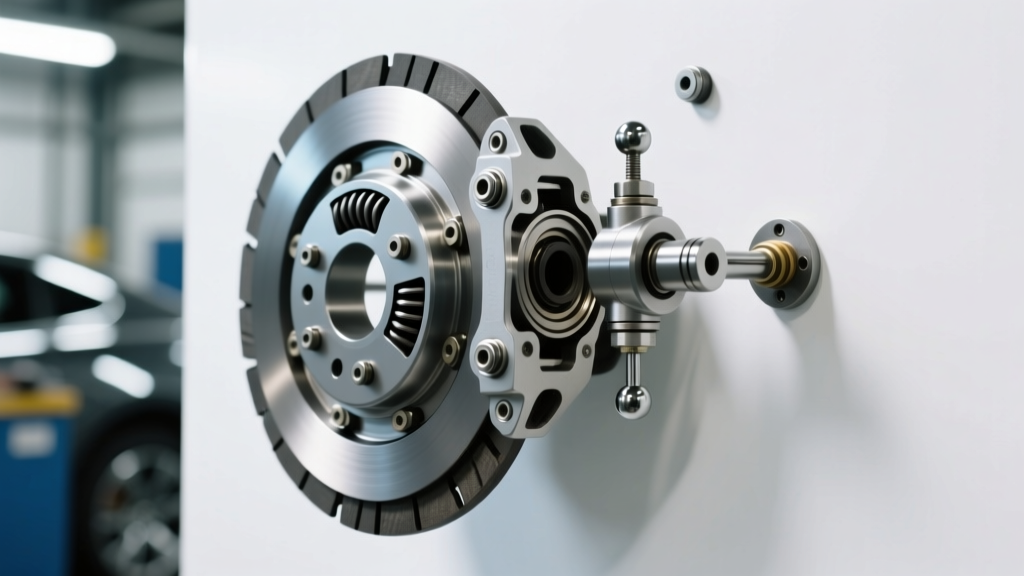
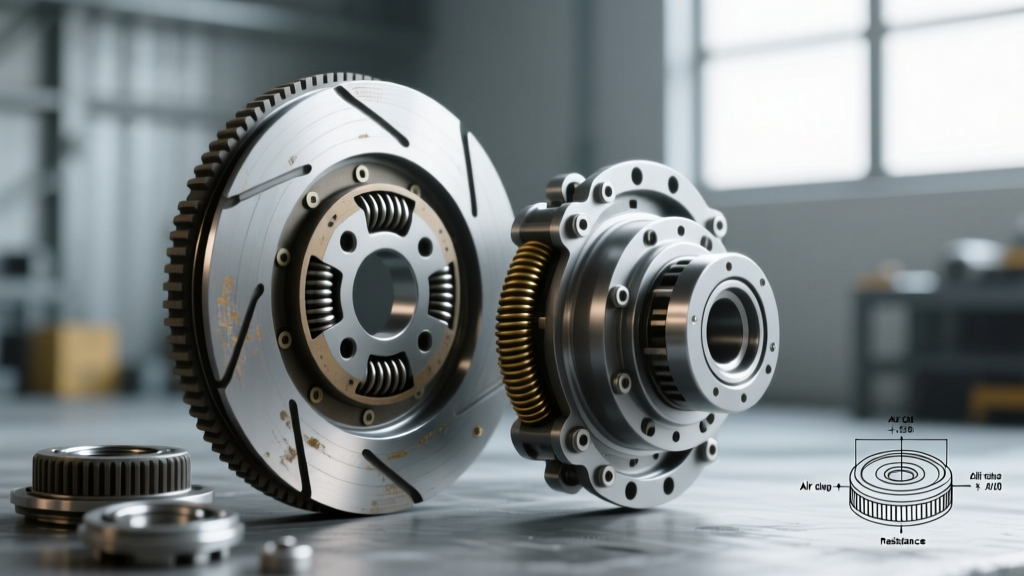
The air gap between the clutch friction plate (hub) and the rotor (pulley) is critical. Over time, the friction material wears, and the gap widens. According to data compiled by the ACKits AC Technical Forums, a gap exceeding 0.65mm (0.025 inches) is the primary cause of 'hot-weather' intermittent failures.
When the underhood temperature rises, the electrical resistance of the copper coil increases. This drops the amperage, weakening the electromagnet. A weakened magnet cannot bridge a widened air gap, resulting in a clutch that works in the morning but slips or fails to engage in the afternoon.
- Use a metric feeler gauge to measure the gap at three equidistant points around the clutch plate.
- The specification for most Denso and Sanden compressors is 0.4mm to 0.6mm (0.015' to 0.023').
- If the gap exceeds 0.6mm, remove the center hub bolt (typically M8x1.25), pull the hub, and remove one or more shims from the shaft to bring the gap back into spec. Shim kits (e.g., Four Seasons 10298) contain 0.1mm, 0.2mm, and 0.5mm thicknesses and cost under $10.
Step 3: Thermal Overload and Coil Resistance Testing
Electromagnetic coils degrade internally over years of heat cycling. A coil might test perfectly when cold but fail when hot. You must test the coil resistance immediately after an intermittent failure occurs.
- Cold Spec: Most 12V OEM clutch coils should read between 3.5 and 4.5 ohms at 68°F (20°C).
- Hot Spec: If the coil reads above 5.5 ohms when hot, the internal windings are degrading. The increased resistance drops the amperage below the threshold required to hold the clutch plate against the rotor, causing intermittent slip.
OEM Component Specifications and Replacement Data
When replacement is necessary, it is vital to use correct torque specifications and OEM-matched components. Improper installation of the clutch hub can lead to catastrophic pulley separation at highway speeds. Below are standard specifications for common compressor platforms found in modern fleets.
| Compressor Platform | Clutch Assembly Part # | Target Air Gap | Center Hub Bolt Torque | Avg. Part Cost (2026) |
|---|---|---|---|---|
| Denso 10S17C (Toyota/Lexus) | Denso 471-0362 | 0.4mm - 0.6mm | 11 Nm (8 lb-ft) | $75 - $95 |
| Sanden SD7V16 (VW/Audi) | Sanden 11372 | 0.3mm - 0.5mm | 15 Nm (11 lb-ft) | $85 - $110 |
| Harrison HT6 (GM Trucks) | Four Seasons 47982 | 0.5mm - 0.8mm | 12 Nm (9 lb-ft) | $60 - $80 |
Note: Always apply a medium-strength threadlocker (e.g., Loctite 243) to the center hub bolt. The Sanden International TSB Archive explicitly warns against using impact wrenches to install clutch hubs, as the sudden rotational shock can crack the ceramic friction lining or damage the internal shaft seal.
Advanced Troubleshooting: PCM Logic vs. Mechanical Failure
Before condemning the clutch hardware, technicians must understand modern PCM climate control logic. Many 'intermittent compressor clutch issues' reported by customers are actually normal system operations misinterpreted as faults.
Short-Cycling and Pressure Transducers
If the refrigerant system is slightly low on R-134a or R-1234yf, the AC pressure transducer will detect a drop in low-side pressure. To prevent the evaporator core from freezing into a block of ice, the PCM will intentionally cycle the clutch off and on. This 'short-cycling' (engaging for 3 seconds, disengaging for 2 seconds) causes a rhythmic engine surge that mimics a slipping transmission. Always connect a manifold gauge set to verify static and dynamic pressures before tearing into the clutch assembly.
Variable Displacement and Electronic Control Valves (ECV)
It is crucial to note that many late-model vehicles (particularly European and hybrid platforms) utilize variable displacement compressors with an Electronic Control Valve (ECV). In these systems, the clutch may be a simple lock-out mechanism or completely eliminated (clutchless design). If you are diagnosing a clutchless Denso or Sanden compressor that is 'intermittently' cooling, the issue is not a clutch air gap; it is a failing PWM ECV solenoid inside the compressor rear head, or a failing cabin temperature thermistor sending erroneous data to the HVAC module. According to Denso Aftermarket Technical Bulletins, testing the ECV requires an oscilloscope to read the PWM duty cycle signal, which typically varies from 20% (minimum displacement) to 80% (maximum displacement).
Summary Checklist for the Drivetrain Technician
To ensure you never misdiagnose a transmission fault caused by an accessory drive issue, keep this checklist in your bay:
- Verify the Vibration Source: Use a chassis ear or stethoscope. If the 40-60 Hz shudder stops immediately when the AC is turned off at the dash, the transmission is likely innocent.
- Test Under Load: Never trust an open-circuit voltage reading. Load-test the clutch circuit to expose corroded grounds and failing relays.
- Measure the Gap Hot and Cold: Account for thermal expansion and coil resistance changes when measuring the air gap with feeler gauges.
- Check Pressures First: Rule out PCM-induced short-cycling due to low refrigerant charge before removing the clutch hub.
- Torque to Spec: Use a calibrated inch-pound torque wrench for the center hub bolt to prevent catastrophic highway failures.
By applying this rigorous, data-driven approach to intermittent compressor clutch issues, you can save your customers thousands of dollars in unnecessary transmission repairs and restore smooth, predictable drivetrain performance.