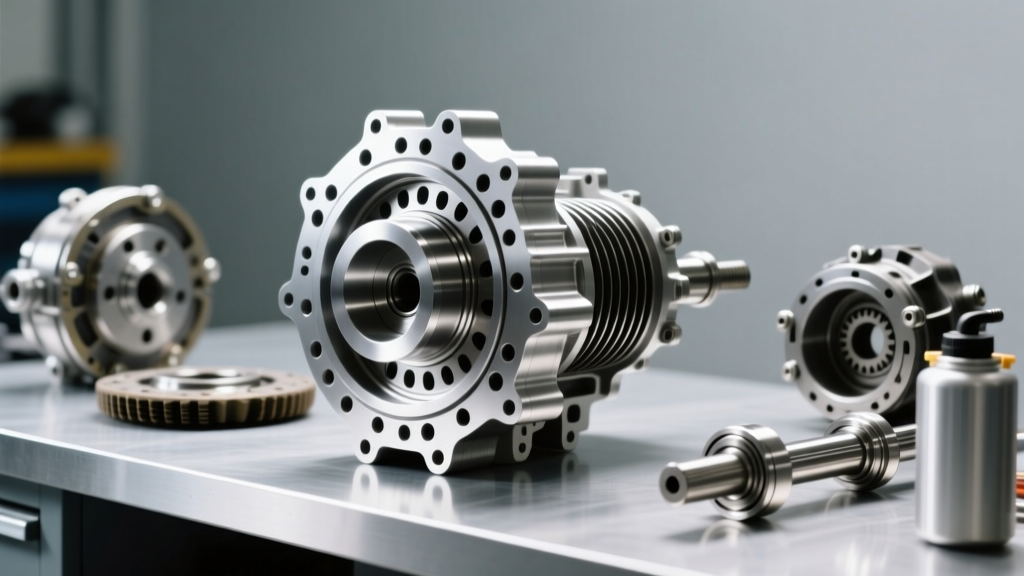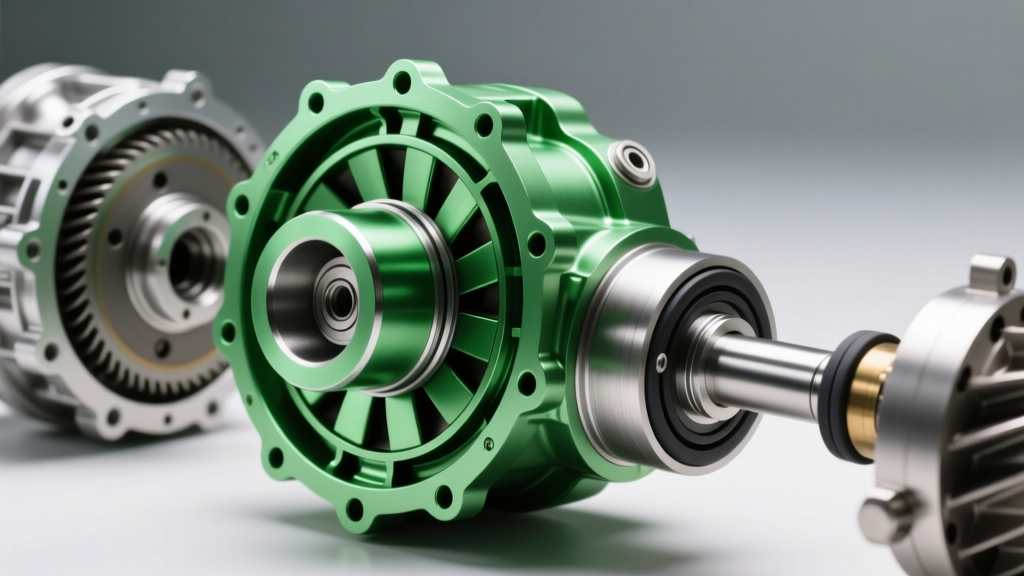
Understanding the Green Torque Converter in Modern CVTs
Unlike early continuously variable transmissions (CVTs) that relied on wet start clutches for vehicle launch, modern CVTs—such as the Jatco JF016E (CVT8) and the Subaru Lineartronic TR690—utilize a traditional torque converter to multiply torque and dampen engine vibrations. When these units fail, the aftermarket industry increasingly relies on the green torque converter. In professional transmission rebuilding, a 'green' unit refers to an eco-certified, remanufactured torque converter that bears a green verification tag. This tag guarantees the unit has undergone dynamic balancing, hub runout testing, and utilizes environmentally compliant friction materials for the Torque Converter Clutch (TCC).
Replacing a torque converter in a CVT requires meticulous attention to hub depth, spline alignment, and fluid friction modifiers. A standard automatic transmission fluid (ATF) will destroy the specialized TCC lining in a CVT. This step-by-step guide will walk you through the precise removal, installation, and electronic adaptation of a green torque converter in modern CVT platforms.
Pre-Installation: Diagnosing CVT Torque Converter Shudder
Before dropping the transmission, confirm the torque converter is the root cause of the drivability issue. CVT torque converters typically fail in two ways: TCC shudder and lockup solenoid circuit failures.
- TCC Shudder (Slip): Feels like driving over rumble strips between 25-45 mph. Often accompanied by OBD-II codes P0741 (TCC System Stuck Off) or P1740.
- Lockup Solenoid Failure: Code P2764 (TCC Pressure Control Solenoid Low). This indicates an electrical or hydraulic failure inside the converter or the valve body.
- Physical Contamination: If the CVT pan contains heavy metallic paste or friction material flakes, the green torque converter must be replaced, as flushing will not remove debris trapped inside the stator or turbine fins.
Expert Tip: Always monitor the TCC Slip Speed PID on your bi-directional scan tool. If the commanded slip is 0 RPM but the actual slip fluctuates between 50-150 RPM under steady throttle, the TCC friction material is glazed or worn, necessitating a converter replacement.
Step 1: Safe Removal of the CVT Assembly
CVTs are exceptionally heavy due to their integrated chain/belt drives and secondary pulleys. Proper support is non-negotiable.
- Fluid Drain & Pan Drop: Drain the CVTF. Remove the pan to inspect the magnets. If large chunks of bearing material are present, a full CVT teardown is required, not just a converter swap.
- Flexplate Inspection: Once the bellhousing is separated from the engine block, use a dial indicator to check the flexplate runout. The maximum allowable runout for the Subaru TR690 and Jatco CVT8 is 0.020 inches (0.5mm). If the flexplate is warped, it will destroy the new converter's thrust bearing within 5,000 miles.
- Unbolt the Converter: Remove the flexplate-to-converter bolts (typically 4 to 6 bolts). Do not let the converter hang by the transmission input shaft or stator support, as this will crack the CVT's internal oil pump gear.
Step 2: Prepping the Green Torque Converter
Remanufactured green torque converters ship dry to prevent contamination and fluid degradation during storage. You must pre-fill the unit before mating it to the transmission.
- Pre-Lube the Bushings: Apply a liberal amount of CVT-specific assembly lube to the inner stator bushing and the outer hub surface that rides on the transmission's front seal.
- Prime the Cavity: Pour exactly 1.5 to 2.0 quarts of the correct OEM CVTF directly into the converter cavity. This prevents a dry-start condition that could cavitate the CVT's high-pressure mechanical pump upon initial startup.
- Measure Hub Depth: Place a straight edge across the bellhousing mating surface. Measure the distance from the straight edge to the converter's mounting pads. The pads must sit 1/8-inch to 3/16-inch below the bellhousing face. If it sits flush or protrudes, the converter is not fully seated in the oil pump gear, and bolting it down will shatter the pump housing.
Step 3: Mating and Torque Specifications
Aligning the converter to the CVT input shaft requires patience. You must align three distinct components simultaneously: the turbine splines, the stator support shaft, and the oil pump drive tang.
- Slide the transmission forward while rotating the converter slightly until it drops fully into the pump gear.
- Re-measure the hub depth to ensure it did not bind and push back out during mating.
- Install the bellhousing-to-engine block bolts. For the Jatco JF016E, torque the M12 bellhousing bolts to 35 lb-ft.
- Install the flexplate-to-converter bolts. Use new OEM bolts coated with medium-strength threadlocker (e.g., Loctite 243). Torque these M8x1.25 bolts to 18-22 lb-ft in a star pattern.
CVT Fluid Selection: The Critical TCC Link
The 'green' friction material inside the remanufactured torque converter is specifically engineered for the unique friction modifiers found in CVTFs. Using standard ATF (like Dexron VI or Mercon LV) will cause the TCC to aggressively grab, resulting in violent shudder and immediate destruction of the lockup clutch.
| Transmission Model | OEM Fluid Requirement | Friction Modifier Profile | Dry Fill Capacity (After TC Swap) |
|---|---|---|---|
| Jatco JF016E (CVT8) | Nissan NS-3 | High-slip lockup capability | 8.5 - 9.5 Quarts |
| Subaru Lineartronic (TR690) | Subaru High Torque CVTF | Heavy-duty chain & TCC grip | 10.5 - 11.2 Quarts |
| Toyota Direct Shift (K313) | Toyota CVTF FE | Low-viscosity eco-friction | 7.8 - 8.4 Quarts |
Step 4: Post-Installation TCC Relearn and Adaptation
Modern CVTs rely on adaptive pressure tables to control the TCC apply and release. When a new green torque converter is installed, the clutch volume and apply times are different from the worn unit. Failing to perform a TCC relearn will result in delayed lockup, flaring, or immediate shudder.
Executing the Relearn Procedure
- Connect a factory-level or advanced aftermarket bi-directional scan tool (e.g., Autel MaxiSys Ultra or Snap-on Zeus).
- Navigate to the Transmission Control Module (TCM) Special Functions menu.
- Select 'Clear Adaptive Memory' or 'Reset TCC Learn Values'.
- Start the vehicle and allow the CVTF to reach a minimum temperature of 140°F (60°C). Monitor the Transmission Fluid Temperature (TFT) PID.
- Drive the vehicle on a flat, level road. Perform 15-20 gentle accelerations from 20 mph to 50 mph, allowing the TCC to engage and slip into full lockup.
- Monitor the TCC Slip PID. During the relearn phase, the TCM will actively adjust the duty cycle of the lockup solenoid. You should see the slip speed gradually tighten from 80 RPM down to a steady 0-10 RPM at cruising speeds.
Summary of Costs and Sourcing
As of 2026, sourcing a high-quality green-certified remanufactured torque converter for a CVT typically ranges from $450 to $650 through professional wholesale channels. Dealership OEM units can exceed $1,100. When factoring in CVTF fluid ($120-$180), rear main seal replacements (highly recommended while the engine is exposed, ~$25), and shop labor (8.5 to 11.5 book hours), a professional CVT torque converter replacement job generally invoices between $1,400 and $2,200.
For detailed factory service manuals and torque specifications, technicians should refer to the Subaru Technical Information System or consult Jatco's global powertrain documentation. Staying updated on CVT hydraulic strategies via industry publications like Transmission Digest is also critical for mastering the nuances of TCC adaptation in continuously variable platforms.