Mastering Hyundai Elantra Drivetrain Noise Diagnosis
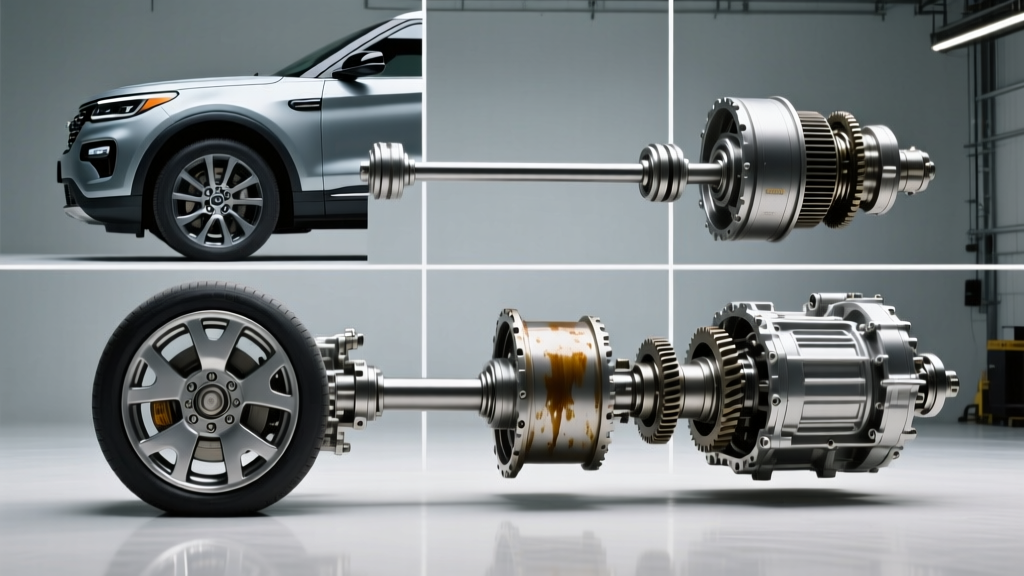
The Hyundai Elantra has evolved significantly over its generations, transitioning from simple 4-speed automatics to complex Smartstream Intelligent Variable Transmissions (IVT) and 7-speed Dual Clutch Transmissions (DCT). Because the Elantra utilizes a transverse front-wheel-drive (FWD) layout, the "drivetrain" is effectively a unified transaxle, intermediate shaft, CV axle, and wheel hub assembly. When drivetrain noise emerges, isolating the exact failure point requires a systematic approach.
This step-by-step guide will walk you through professional-level Hyundai Elantra drivetrain noise diagnosis, helping you differentiate between benign operational characteristics and catastrophic component failures.
Required Diagnostic Tools
- Electronic wireless chassis ear (drivetrain stethoscope)
- Dial indicator with magnetic base
- Pry bar set and heavy-duty shop towels
- Torque wrench (up to 250 lb-ft)
- OBD-II scanner with live data streaming (for DCT/IVT clutch slip monitoring)
Phase 1: Dynamic Road Test & Noise Isolation
Before putting the Elantra on a lift, you must characterize the noise based on vehicle dynamics. Drivetrain noises are strictly correlated to either wheel speed or engine/transmission RPM.
Step 1: The Load/Unload Swerve Test
Find a safe, empty road and drive at 35-45 mph. Perform gentle, sweeping left and right turns. Diagnosis: If a humming or growling noise increases when turning left, the right front wheel bearing hub assembly is likely failing. Turning left shifts the vehicle's weight to the right side, loading the compromised bearing. According to SKF Automotive Engineering, a pitted bearing raceway will produce a frequency directly proportional to wheel RPM, typically manifesting between 30 and 60 mph.
Step 2: Coast vs. Load Transaxle Whine
Accelerate firmly to 50 mph, then lift off the throttle and coast in gear. Diagnosis: If a high-pitched whine is present under acceleration but vanishes or changes pitch during coasting, suspect transaxle differential gear wear or low fluid. In newer CN7 generation Elantras equipped with the Kappa IVT, a mild chain whine under light load can be normal. However, a metallic grinding indicates variator pulley scoring or a failing chain-driven oil pump.
Step 3: DCT Clutch Chatter Identification
For Elantra Sport or N-Line models equipped with the 7DCT300 dry dual-clutch transmission, low-speed crawling (1st to 2nd gear) often produces a metallic clatter. While some gear rattle is inherent to dry DCTs, severe clunking accompanied by RPM flares indicates clutch fork wear or actuator motor calibration failure. You can monitor clutch slip rates via live OBD-II data to confirm this before teardown.
Phase 2: Static Undercarriage Inspection
Once the noise is categorized, elevate the vehicle on a hoist to perform physical manipulation tests.
Step 4: CV Joint and Boot Evaluation
Grab the front CV axles near the inner and outer tripod/ball joints. Attempt to move them vertically and horizontally.
- Outer CV Joint: Excessive radial play or torn boots with expelled molybdenum disulfide grease will cause a distinct "clicking" noise on tight, full-lock turns.
- Inner CV Joint: Wear here manifests as a shudder or vibration under heavy acceleration, not necessarily an audible click. Check for pitting in the inner housing races.
Step 5: The Intermediate Shaft Support Bearing Test
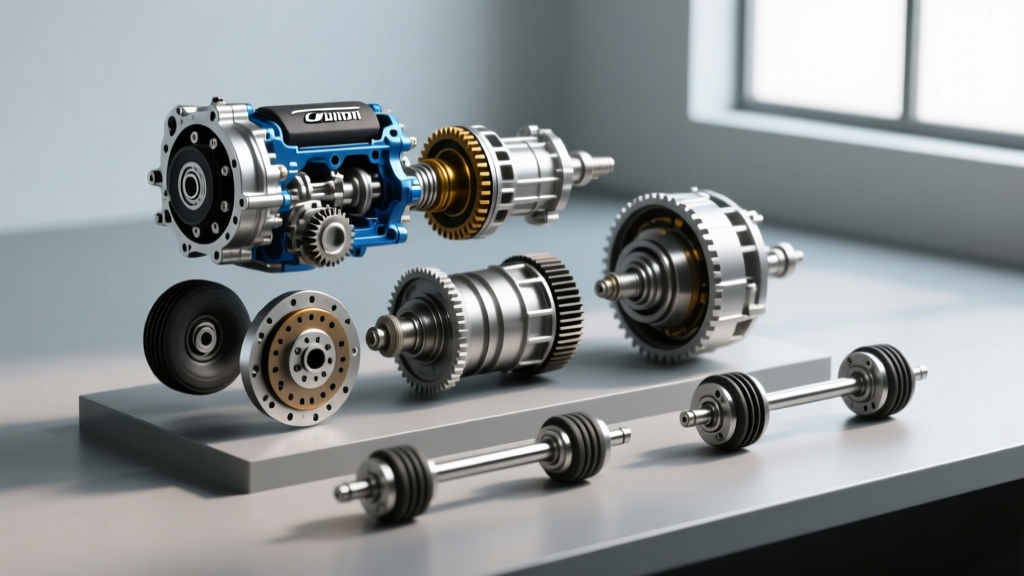
The right-side CV axle on the Elantra does not plug directly into the transaxle; it connects to an intermediate shaft supported by a bracket bearing bolted to the engine block. This is a notorious failure point.
- Place a pry bar gently between the intermediate shaft housing and the engine block.
- Apply light upward pressure while an assistant rotates the right front wheel by hand.
- If you hear a grinding sensation or feel roughness transmitting through the pry bar, the sealed support bearing has failed. This causes a clunking noise on gear engagement and high-speed drivetrain vibration.
Phase 3: Drivetrain Diagnostic Matrix
Use the following matrix to cross-reference your road test and static inspection findings. Repair costs are estimated based on current market averages for independent shops, referencing data aggregated by RepairPal's Hyundai Elantra database.
| Noise Type | Condition / Trigger | Probable Component | Estimated Repair Cost |
|---|---|---|---|
| Clicking / Popping | Tight turns at low speed | Outer CV Joint / Axle Assembly | $250 - $450 per side |
| Clunk / Thud | Shifting P to R or D | Rear Torque Strut (Dogbone Mount) | $120 - $180 |
| Growling / Hum | Speed sensitive (30-60 mph) | Front Wheel Bearing Hub Assembly | $300 - $500 per side |
| Vibration / Clunk | Hard acceleration from stop | Intermediate Shaft Support Bearing | $400 - $650 (includes shaft) |
| Whine / Howl | Load-sensitive, changes in coast | Transaxle Differential / Final Drive | $1,800 - $3,500 (Rebuild/Replace) |
Phase 4: Fastener Verification & Torque Specifications
Many drivetrain noises in the Elantra are the result of previous improper repairs or stretched fasteners. If you have recently replaced drivetrain components, or if you suspect loose hardware is causing a resonance clunk, verify the following critical torque specifications. Always use a calibrated torque wrench and replace stretch-to-yield bolts where mandated by Hyundai Motor America.
Critical Safety Warning: The front axle nut is a prevailing torque, single-use fastener. Never reuse an old axle nut, as it will lose its clamping force, leading to catastrophic hub spline stripping and wheel separation. Always consult the official NHTSA database or factory service manuals for TSBs related to axle retention on your specific model year.
Essential Elantra Drivetrain Torque Specs
- Front Axle Nut (36mm): 196 - 210 lb-ft (265 - 285 Nm). Note: Apply a light bead of thread locker if specified by your exact generation's service manual, though most modern Hyundai nuts rely on the staked collar.
- Wheel Bearing Hub Assembly Bolts (M10x1.25): 80 - 95 lb-ft (108 - 128 Nm).
- Intermediate Shaft Support Bracket Bolts: 36 - 47 lb-ft (49 - 64 Nm).
- Rear Torque Strut Mount Bolts: 72 - 85 lb-ft (98 - 115 Nm).
- Lower Ball Joint Pinch Bolt: 58 - 65 lb-ft (78 - 88 Nm). A loose pinch bolt alters suspension geometry and can induce drivetrain binding noises during suspension articulation.
When to Seek Professional Transmission Diagnostics
While CV axles, wheel bearings, and motor mounts are well within the scope of an advanced DIYer, internal transaxle noises require specialized intervention. If your Elantra's IVT or DCT is producing metallic debris (visible on the magnetic drain plug), or if you are experiencing gear ratio codes (e.g., P0731-P0736) alongside whining noises, the transaxle must be removed. Internal IVT chain replacement or DCT mechatronic unit rebuilding requires clean-room environments and proprietary Hyundai GDS (Global Diagnostic System) software for clutch adaptation and actuator calibration.
By methodically separating wheel-speed noises from engine-speed noises, and physically verifying the health of the intermediate shaft and CV joints, you can accurately diagnose your Hyundai Elantra drivetrain noise without resorting to unnecessary parts swapping.