The Actuation Dilemma: Fluid Pressure vs. Mechanical Tension
Whether you are restoring a classic 1969 Camaro, swapping a modern drivetrain into a vintage chassis, or simply trying to keep your daily-driver manual transmission on the road in 2026, the method of clutch actuation dictates your entire driving experience. For decades, the automotive world was divided between two distinct camps: mechanical cable linkages and hydraulic fluid systems. While modern OEMs have almost universally adopted hydraulic setups for their superior modulation, the legacy of the cable clutch remains strong in the aftermarket and restoration scenes.
As a beginner stepping into the world of manual transmission drivetrains, understanding the fundamental differences between these two systems is critical. More importantly, you must understand where these systems fail. While a snapped cable is an obvious and catastrophic failure, hydraulic systems suffer from insidious, highly specific weak points. Chief among these for the uninitiated DIYer is the hydraulic clutch line retaining clip—a tiny, easily overlooked component that can leave you stranded on the side of the road with a pedal that drops straight to the floor.
Cable Clutch Systems: The Old-School Standard
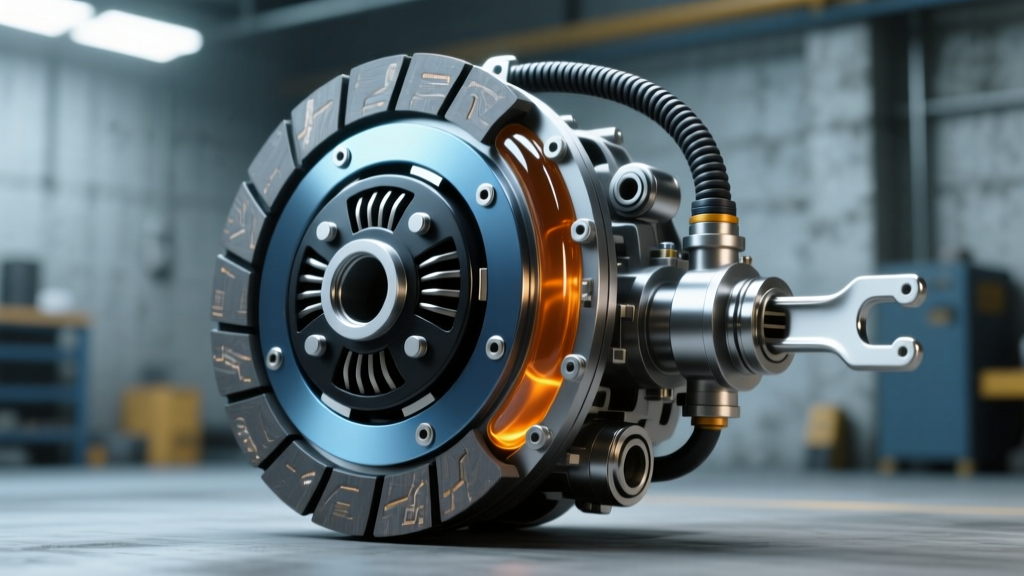
Cable-operated clutches rely on pure mechanical tension. When you press the pedal, you are physically pulling a steel braided cable housed inside a Teflon-lined sheath. This cable pulls directly on the clutch fork, which in turn pushes the throwout bearing against the pressure plate diaphragm springs.
The Pros and Cons of Cables
- Simplicity: There is no fluid to bleed, no master cylinder to rebuild, and no slave cylinder to replace. A cable is a straightforward mechanical link.
- Packaging: Cables can be routed around exhaust headers and tight frame rails where rigid hydraulic hard lines might not fit.
- The Drawback - Friction and Stretch: Over time, the inner cable stretches, and the housing accumulates debris. This introduces friction, resulting in a heavy, notchy pedal feel. Furthermore, cables require manual adjustment via a barrel adjuster to maintain the proper 1/4-inch to 1/2-inch free-play at the pedal pad. Without this free-play, the throwout bearing rides constantly against the pressure plate, leading to premature bearing failure and clutch slip.
Hydraulic Clutch Systems: The Modern Benchmark
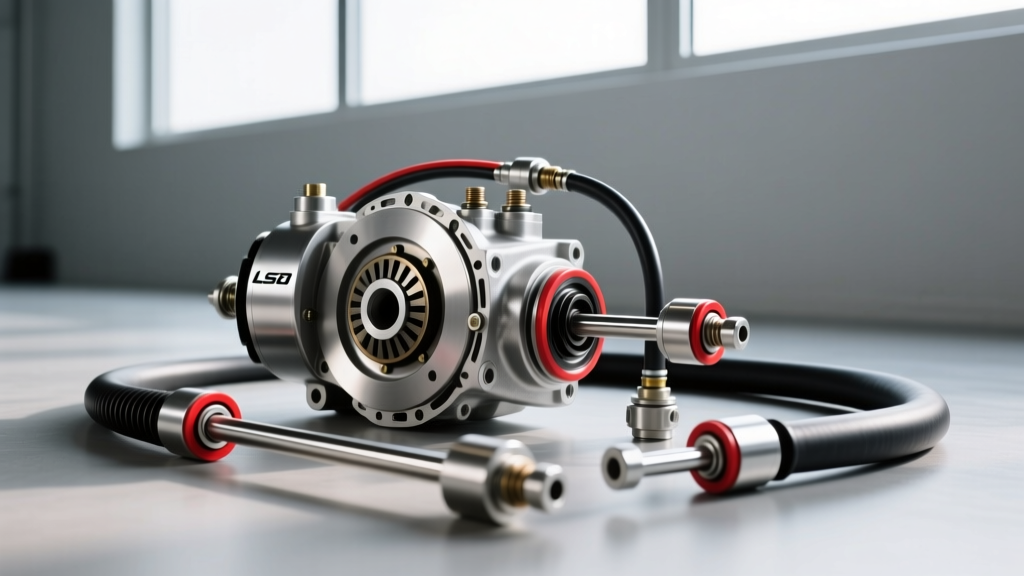
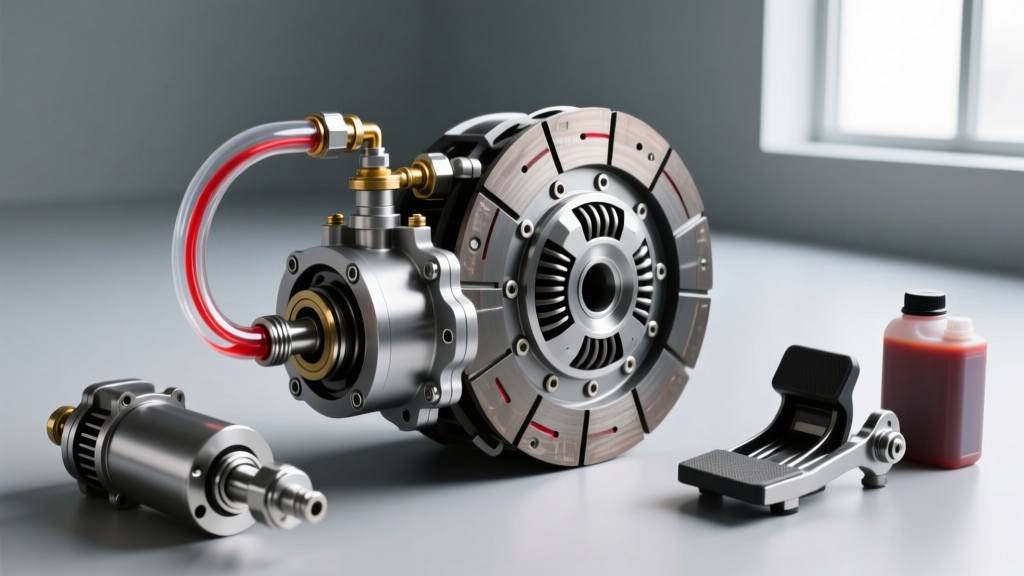
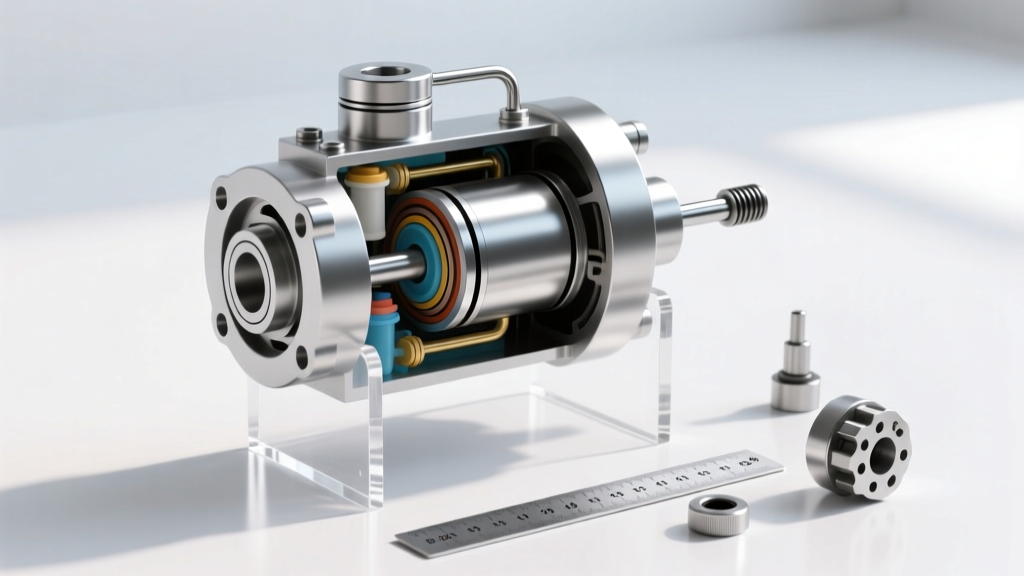
Hydraulic systems operate on Pascal's Law, using incompressible brake fluid to transfer force from the pedal to the transmission. Pressing the pedal pushes a piston inside the master cylinder (typically mounted on the firewall), which pressurizes the fluid. This pressure travels through hard lines and flexible hoses to a slave cylinder, which actuates the clutch fork or directly pushes a hydraulic throwout bearing.
Why Hydraulics Dominate in 2026
The primary advantage of a hydraulic system is modulation. Because fluid transfers force smoothly without the mechanical binding of a cable, the driver can precisely feather the clutch engagement point. Additionally, hydraulic systems self-adjust for clutch wear. As the friction disc wears down, the fluid simply displaces further into the slave cylinder, maintaining consistent pedal height and feel without the need for manual cable adjustments.
Head-to-Head Comparison Chart
| Feature | Cable Clutch System | Hydraulic Clutch System |
|---|---|---|
| Pedal Feel | Heavy, prone to binding | Smooth, highly modular |
| Maintenance | Lubrication, free-play adjustment | Fluid flushes, bleeding, seal replacement |
| Lifespan | 30,000 - 60,000 miles | 80,000 - 120,000+ miles |
| Common Failure | Fraying at firewall grommet | Slave cylinder leaks, quick-connect failures |
| Avg. Replacement Cost | $40 - $120 (Cable only) | $150 - $450 (Master/Slave kit) |
The Maintenance Reality Check: Where Hydraulics Get Tricky
While hydraulic systems offer a vastly superior driving experience, they introduce plumbing into the equation. And where there is plumbing, there are leaks. The most common point of failure for beginners working on modern hydraulic clutches (especially GM, Ford, and Chrysler trucks from the 2000s through current 2026 models) is not the master cylinder itself, but the quick-connect fittings secured by the hydraulic clutch line retaining clip.
What is the Hydraulic Clutch Line Retaining Clip?
To simplify assembly line manufacturing and ease dealership servicing, automakers use quick-connect fittings to join the nylon or rubber soft line to the aluminum hard line or the slave cylinder port. These fittings rely on internal O-rings for sealing and a tiny, external U-shaped metal or plastic clip to lock the line into the fitting body.
This tiny piece of hardware—the hydraulic clutch line retaining clip—is the only thing standing between a secure hydraulic circuit and a massive fluid dump. When you stomp the clutch pedal, line pressure can easily exceed 1,200 PSI. If the retaining clip is missing, bent, or degraded, that pressure will instantly blow the soft line out of the fitting, dumping your DOT fluid onto the exhaust and leaving you with zero clutch disengagement.
Failure Modes and Part Numbers
There are two primary styles of retaining clips you will encounter in the wild:
- The Plastic Push-Pin (Common on GM): Often white, black, or red, these plastic clips become incredibly brittle due to engine bay heat cycles. When a beginner attempts to pull the line without removing the clip first, the plastic shatters. The OEM GM part number for many Silverado/Sierra applications is 15714938. Aftermarket equivalents like the Dorman 800-181 Quick Connect Retainer are widely available for under $5.
- The Metal Roll-Pin (Common on Ford/Chrysler): These are U-shaped spring steel clips that slide into a groove on the male line insert. They are more durable but prone to rusting into place. If you lose one in the grass while servicing your truck, you cannot safely reuse an old, stretched clip. You must source a replacement from the dealer or an auto parts store.
How to Safely Remove and Replace the Clip
Never simply yank on a hydraulic clutch line. If you are replacing a slave cylinder or flushing the system, follow this exact procedure to avoid destroying the quick-connect fitting:
- Step 1: Clean the fitting with brake cleaner to remove road grime that can obscure the clip.
- Step 2: Identify the clip type. If it is a metal roll-pin, use a small pick or flathead screwdriver to gently pry it outward. If it is a plastic collar-style clip, you may need a specialized 5/16-inch or 3/8-inch clutch line disconnect tool (such as the Lisle 39460) to depress the internal release tabs before the clip can be slid off.
- Step 3: Once the hydraulic clutch line retaining clip is removed, push the soft line inward toward the fitting to relieve pressure on the internal O-rings, then pull the line straight out.
- Step 4: Upon reassembly, ensure the line clicks fully into the fitting. Critical Step: Reinstall the retaining clip, then give the soft line a firm, sharp tug to verify it is locked in place before adding fluid.
Fluid Dynamics: Choosing the Right Blood for the System
When bleeding a hydraulic clutch after servicing a line or replacing a retaining clip, fluid selection is paramount. Most OEM systems specify DOT 3 or DOT 4 glycol-based brake fluid. According to Wilwood Engineering's technical guidelines, DOT 4 fluid offers a higher dry boiling point (typically 446°F / 230°C) compared to DOT 3 (401°F / 205°C). Because the clutch slave cylinder is often mounted directly to the bellhousing or inside the transmission case, it is subjected to immense radiant heat. Using a high-quality DOT 4 or DOT 5.1 fluid prevents vapor lock, which causes a spongy pedal and incomplete clutch disengagement.
Warning: Never mix glycol-based fluids with DOT 5 (silicone-based) or mineral oil (used in some European BMW/Audi hydraulic systems). Doing so will cause the EPDM rubber seals inside the master and slave cylinders to swell and fail catastrophically.
Upgrade Paths: Converting Cable to Hydraulic
If you are tired of the heavy pedal effort and binding associated with a vintage cable setup, converting to a hydraulic system is one of the most rewarding modifications you can undertake. Companies like McLeod and Tremec offer complete bolt-in hydraulic conversion kits.
Key Specifications for a Successful Swap
- Master Cylinder Bore Size: A 3/4-inch bore master cylinder provides a lighter pedal feel but requires more pedal travel. A 7/8-inch bore provides a firmer pedal with less travel. Match the bore size to your pressure plate's clamp load (e.g., use 7/8-inch for high-clamp-load 3000+ lb pressure plates).
- Firewall Mounting: Most universal master cylinders mount to the firewall using M8x1.25 bolts. Ensure you use a firewall reinforcement plate to prevent the sheet metal from flexing under load. Torque these mounting bolts to 18 lb-ft using a medium-strength threadlocker.
- Bleeding the System: Gravity bleeding is rarely sufficient for a newly installed hydraulic clutch due to the complex routing of the hard lines. Invest in a Motive Products power bleeder. Pressurize the master cylinder reservoir to 15 PSI and open the slave cylinder bleeder screw until a steady, bubble-free stream of fluid emerges.
Final Verdict for the DIY Beginner
The debate between hydraulic vs cable clutches ultimately comes down to your project's goals. For a purist restoration where originality is king, a high-quality Teflon-lined cable from a reputable manufacturer like Lokar will serve you well, provided you stay on top of free-play adjustments. However, for any vehicle driven in modern traffic, or any build producing over 400 horsepower, a hydraulic system is mandatory for drivability and reliability.
If you choose the hydraulic route, respect the plumbing. Always keep a handful of spare retaining clips in your toolbox, inspect your quick-connect fittings for weeping fluid during every oil change, and never cut corners on fluid quality. Mastering the small details—like properly seating a hydraulic clutch line retaining clip—is what separates a frustrated novice from a seasoned drivetrain expert. For more deep-dives into transmission components and clutch diagnostics, keep exploring the RockAuto catalog and our extensive technical archives.