Understanding the Honda VTM-4 Rear Differential Architecture
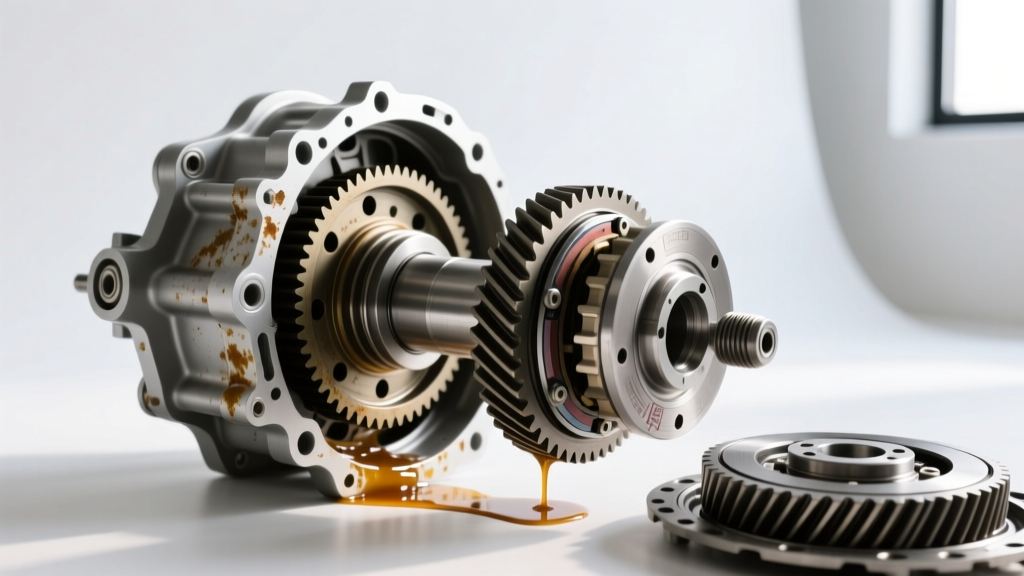
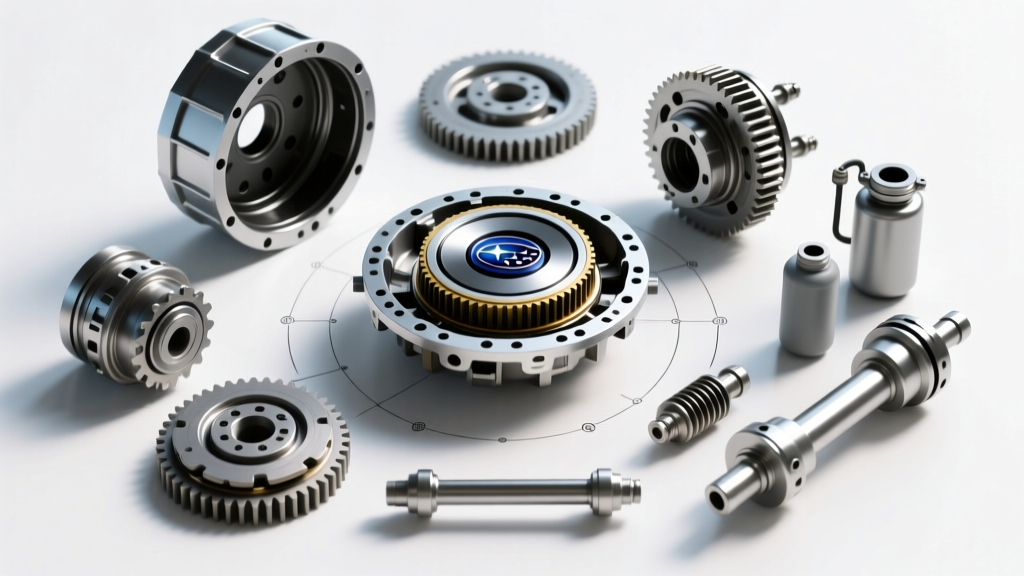
Honda’s Variable Torque Management (VTM-4) system is a marvel of early-2000s engineering that continues to underpin the AWD capabilities of the Pilot, Ridgeline, Odyssey, and CR-V. Unlike traditional open differentials or mechanical limited-slip units, the VTM-4 rear axle utilizes a pair of electromagnetic wet-clutch packs. These clutches independently engage the left and right rear axles based on traction demands. Because the clutches operate submerged in the gear oil, the fluid acts as both a lubricant for the hypoid ring and pinion gears and a vital hydraulic friction modifier. When a leak develops, the resulting fluid starvation doesn't just cause gear whine; it leads to catastrophic wet-clutch burnout and the infamous "VTM-4 judder" during tight turns.
As of 2026, many of these Honda and Acura vehicles are crossing the 100,000-mile threshold where factory rubber seals begin to harden and fail. This model-specific repair guide details exactly how to diagnose, isolate, and repair leaks on the Honda rear differential, ensuring your AWD system remains fully operational.
Primary Leak Sources on Honda VTM-4 Axles
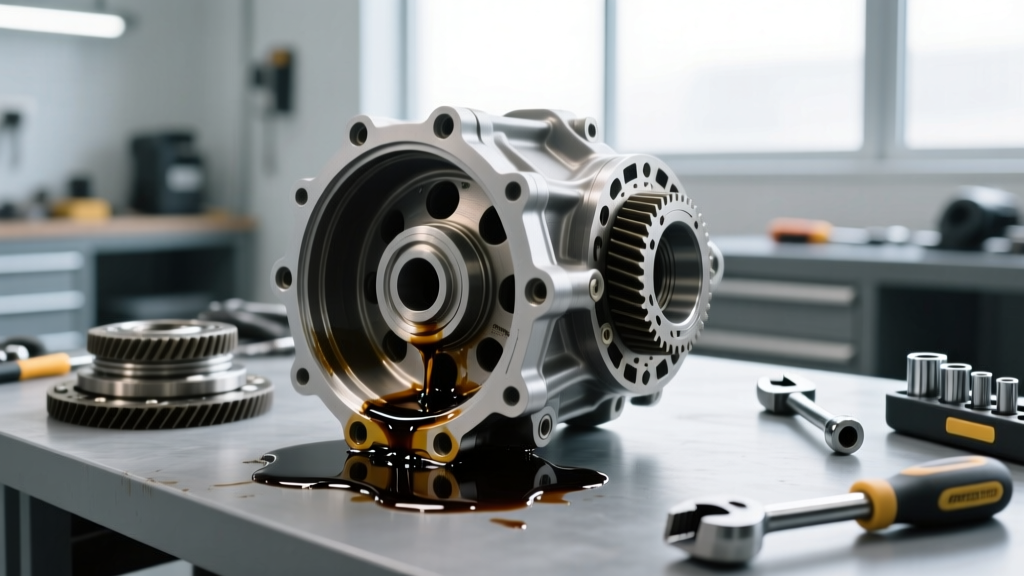
Before ordering parts, you must accurately identify the leak's origin. The rear differential housing has four primary failure points where fluid escapes:
1. Axle Shaft Seals (Left and Right)
The most common leak source. The axle shaft seals sit at the point where the CV axles enter the differential housing. Over time, the internal garter spring loses tension, and the lip hardens. You will typically see a slinging pattern of gear oil on the inner CV joint, the lower control arms, and the exhaust heat shield. If the fluid level drops low enough, air gets whipped into the remaining oil by the ring gear, causing a frothy, aerated mess that accelerates clutch wear.
2. Fill and Drain Plug Washers
The rear differential features two large bolt heads (typically 17mm or 3/8-inch drive square). If a previous mechanic or quick-lube technician reused the aluminum crush washers, or over-torqued the plugs, the threads can strip or the seal can fail. Leaks here are localized to the bottom and side of the differential casing.
3. Pinion Seal (Front of the Differential)
Located where the rear driveshaft connects to the pinion flange. A failing pinion seal will drip fluid directly onto the exhaust pipe, often creating a distinct burning oil smell inside the cabin during highway driving. Before replacing this seal, inspect the companion flange sealing surface. If the flange has a deep wear groove cut by the old seal's lip, a new seal will leak immediately upon installation. A Honda speedi-sleeve or flange replacement is required in those edge cases.
4. The Clogged Breather Valve Culprit
This is a frequently overlooked diagnostic trap. The VTM-4 differential has a small breather valve on the top of the housing. As the differential heats up during towing or highway driving, the internal air expands. If the breather is clogged with road grime, internal pressure builds until it blows past the weakest seal—usually the axle seals. Always clean the breather with electrical contact cleaner and compressed air before condemning the axle seals.
OEM Parts, Fluids, and Tool Requirements
Using aftermarket generic seals can lead to premature failure due to improper lip compounds reacting with VTM-4 friction modifiers. Always source OEM Honda components for this repair. Below is the essential bill of materials based on Honda Parts Now catalogs and RockAuto cross-references.
| Component | OEM Part Number | Quantity | Est. Cost (2026) |
|---|---|---|---|
| Honda VTM-4 Differential Fluid (1 Qt) | 08200-9003 | 3 Quarts | $14.00 / ea |
| Drain/Fill Plug Crush Washer | 91394-RZ4-003 | 4 | $2.50 / ea |
| Rear Axle Shaft Seal (L/R) | 91256-RZ4-003 | 2 | $18.00 / ea |
| Pinion Seal | 91254-RG5-005 | 1 | $22.00 |
Specialty Tools Required: Seal puller, appropriate-sized seal driver (or a large deep-well socket matching the outer diameter of the seal), torque wrench (inch-pounds and foot-pounds), and a fluid transfer pump.
Step-by-Step Leak Repair and Fluid Service
According to Honda Service Information, proper seal seating and torque specifications are critical to preventing comeback leaks. Follow this procedure for a comprehensive repair.
Phase 1: Draining and Preparation
- Level the Vehicle: Safely lift and support the vehicle on four jack stands or a two-post lift. The vehicle must be perfectly level to ensure accurate fluid capacity measurement.
- Clean the Housing: Spray the entire rear differential with brake cleaner and wipe it down. This prevents contamination when the seals are removed.
- Drain the Fluid: Remove the upper fill plug first (crucial step: if the fill plug is seized and you drain the fluid first, you are stranded). Then remove the lower drain plug. Allow the fluid to drain completely. Inspect the drain plug magnet for excessive metallic fuzz; a fine paste is normal, but large shards indicate internal bearing or clutch failure.
Phase 2: Axle Seal Replacement
- Remove the Axles: Unbolt the rear brake calipers and rotors. Disconnect the lower shock mount and outer tie rod to free the rear knuckle. Carefully slide the CV axle out of the differential hub. Support the knuckle with a bungee cord to avoid straining the ABS sensor wiring.
- Extract the Old Seal: Use a specialized internal seal puller to hook the inner metal ring of the seal. Avoid gouging the aluminum differential housing bore, as scratches here will cause fluid to bypass the outer edge of the new seal.
- Lubricate and Seat: Coat the outer edge of the new OEM seal with fresh VTM-4 fluid, and pack the inner lip with multipurpose grease. Using a seal driver, tap the seal into the bore until it sits perfectly flush with the housing edge. An angled or cocked seal will leak immediately.
Phase 3: Refilling and Torquing
The standard Honda VTM-4 rear differential capacity is approximately 4.7 US pints (2.2 liters). However, the most accurate method is the "level plug" technique.
- Install the lower drain plug with two new crush washers (one on the head, one inside if applicable, though Honda typically uses one per plug). Torque the drain plug to 33 lb-ft (44 Nm).
- Using a transfer pump, fill the differential through the upper hole with genuine Honda VTM-4 fluid (08200-9003).
- Continue pumping until the fluid begins to drip steadily from the lower edge of the fill hole. This indicates the differential is perfectly full to the internal level check.
- Install the upper fill plug with new crush washers and torque to 33 lb-ft (44 Nm).
Cost Analysis: DIY vs. Dealership Repair
Rear differential service and seal replacement can be labor-intensive due to the suspension teardown required to pull the axles. Below is a realistic cost breakdown for 2026 market rates.
| Service Type | Parts Cost | Labor Cost | Total Estimated Cost |
|---|---|---|---|
| DIY Fluid Change Only (No Leaks) | $45.00 | $0.00 | $45.00 |
| DIY Full Seal & Fluid Repair | $120.00 | $0.00 | $120.00 |
| Independent Shop (Seals + Fluid) | $180.00 | $350.00 - $500.00 | $530.00 - $680.00 |
| Honda Dealership (Seals + Fluid) | $210.00 | $550.00 - $750.00 | $760.00 - $960.00 |
Critical Warning: The GL-5 Gear Oil Trap
The most destructive mistake an owner or inexperienced technician can make is substituting standard 75W-90 GL-5 gear oil for Honda VTM-4 fluid. While 75W-90 is perfectly suited for standard open or mechanical limited-slip differentials found in trucks and older SUVs, it lacks the proprietary friction modifiers required for the VTM-4 wet-clutch packs.
If GL-5 gear oil is used, the clutches will aggressively grab and slip, resulting in severe shuddering during low-speed turns. Within a few thousand miles, the clutch material will delaminate, contaminating the fluid and destroying the internal strainer and electromagnetic coils. There is no flush procedure that can fully reverse this damage once the clutch packs are burned. Always verify that the fluid bottle explicitly states "VTM-4" and carries the Honda 08200-9003 designation.
Post-Repair Verification
After completing the repair and lowering the vehicle, perform a test drive. Execute several tight, full-lock figure-eight turns in an empty parking lot at speeds under 10 mph. The VTM-4 system will actively engage the rear clutches during these maneuvers. The operation should be completely silent and smooth. Re-inspect the differential housing after 50 miles of driving to ensure the breather valve is functioning and no new seepage is present at the axle bores or plug sites. Properly maintaining your Honda VTM 4 differential fluid and addressing leaks promptly will easily push the lifespan of the rear drive unit well past 200,000 miles.