The Diagnostic Window: What Your Honda's Diff Fluid Tells You
When performing a Honda rear differential fluid change, the drained lubricant serves as a critical diagnostic fluid. As of 2026, the aging population of Honda's all-wheel-drive fleet—specifically models equipped with the VTM-4 (Variable Torque Management), DPS (Dual Pump System), and SH-AWD (Super Handling All-Wheel Drive) rear differentials—means that high-mileage bearing and seal failures are increasingly common. Many DIYers and generalist mechanics treat the rear differential as a 'fill-and-forget' component, but ignoring the physical condition of the drained fluid can lead to catastrophic gear failure.
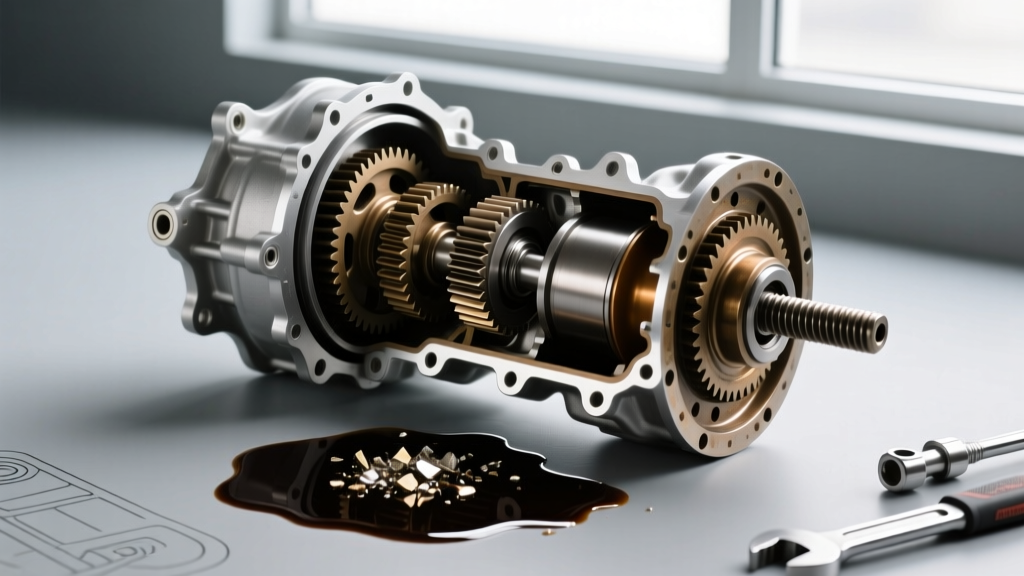
Before you even consider a bearing or seal replacement, you must analyze the old fluid. Honda's VTM-4 and DPS systems rely heavily on wet-clutch packs and precise hydraulic pressures. If your drained fluid contains a fine, metallic 'glitter' or brass-colored particles, you are looking at clutch pack degradation or tapered roller bearing wear. A simple fluid flush will not resolve the groaning noise on tight turns if the underlying pinion or carrier bearings have suffered race pitting. According to the Honda Technical Information System, metallic particulate in the fluid mandates a complete teardown and bearing preload inspection.
Axle Seal vs. Pinion Seal: Identifying the Leak Source
Honda rear differentials are generally robust, but they are prone to specific leak paths that often necessitate a rebuild or seal replacement. Identifying the exact source of the leak is crucial before ordering parts from suppliers like the RockAuto Parts Catalog.
- Axle Shaft Seals: Located where the CV axles enter the differential housing. Failure here is common on lifted Pilots or CR-Vs that see off-road use, as the increased suspension droop puts lateral stress on the seal lip. OEM part numbers typically follow the 91209-RXX-XXX format.
- Pinion Shaft Seal: Located at the front of the differential where the driveshaft connects. Pinion seal leaks are often misdiagnosed as transmission output shaft leaks. If left unchecked, fluid drops below the pinion bearing level, leading to rapid bearing starvation, overheating, and whining noises at highway speeds.
- Venting and O-Ring Leaks: Honda differentials utilize a breather tube. If this tube becomes clogged with mud or debris, internal pressure builds up as the fluid heats up, forcing lubricant past otherwise healthy axle seals.
Step-by-Step Axle Seal and Bearing Replacement Protocol
Replacing a rear differential seal on a Honda AWD system is rarely a simple 'pop out and tap in' job. If the bearing behind the seal has failed, or if the seal lip has worn a groove into the axle shaft, specialized procedures are required.
Axle Seal Extraction and Installation
Once the rear CV axle is removed (which requires breaking the staked axle nut using a heavy-duty 1/2-inch drive breaker bar), the axle seal is exposed. Do not use a flathead screwdriver to pry the seal out, as scoring the aluminum differential housing will guarantee a permanent leak. Instead, use an internal seal puller or a blind-hole bearing puller setup. When installing the new OEM Honda seal, use a seal driver that matches the exact outer diameter of the seal housing. The seal must sit perfectly flush; driving it in crooked will pinch the internal spring and result in immediate failure.
Tapered Roller Bearing Preload and Shim Selection
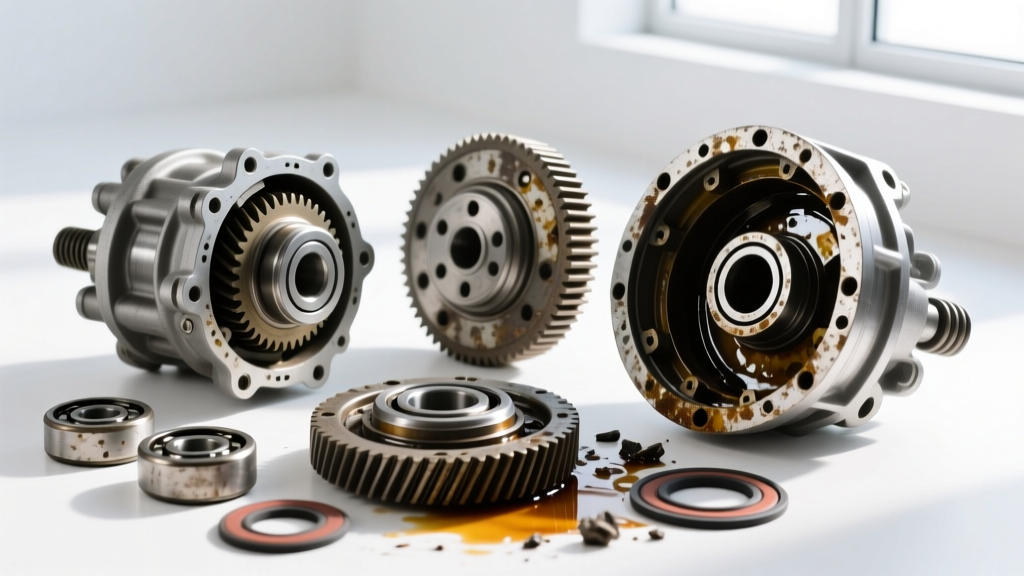
If your fluid analysis revealed steel flakes, the tapered roller bearings supporting the pinion or carrier gear must be replaced. Honda differentials do not use crush sleeves for bearing preload like many domestic trucks; they rely on precise shim packs. Removing the pinion gear requires a hydraulic press and a bearing splitter. When reassembling, you must measure the pinion bearing drag torque using an inch-pound torque wrench. The target drag torque is typically between 8 to 14 inch-pounds for new bearings. Selecting the correct shim thickness from a Honda shim kit is mandatory to achieve this spec. Incorrect preload will result in either rapid bearing loosening (too loose) or extreme heat generation (too tight).
2026 Honda Rear Differential Torque & Capacity Matrix
Accurate torque specifications are non-negotiable when reassembling Honda drivetrain components. Over-torquing the fill and drain plugs can crack the cast aluminum housing, while under-torquing the axle nut will destroy the wheel bearing and CV joint.
| System Type | Common Models | Fluid Spec | Fill/Drain Torque | Axle Nut Torque | Capacity |
|---|---|---|---|---|---|
| VTM-4 | 2003-2015 Pilot, Ridgeline | VTM-4 Fluid | 33 lb-ft (44 Nm) | 180-254 lb-ft | 3.0 qt (2.8L) |
| DPS | 2012-2016 CR-V, HR-V | Dual Pump II | 33 lb-ft (44 Nm) | 180 lb-ft (245 Nm) | 1.2 qt (1.1L) |
| SH-AWD | 2019+ Passport, Pilot | SH-AWD Fluid | 33 lb-ft (44 Nm) | 254 lb-ft (345 Nm) | 2.6 qt (2.4L) |
Expert Note: Always replace the aluminum crush washers on the drain and fill plugs. Reusing them is the leading cause of post-service weeping on Honda differentials. The OEM part number for the standard 20mm drain plug washer is 90471-PX4-000.
The SH-AWD Factor: Clutch Packs and Specialized Tooling
If you are working on a newer Honda Passport or Pilot equipped with SH-AWD, the rear differential is vastly more complex than a standard open or VTM-4 unit. The SH-AWD rear differential contains twin wet-clutch packs and a planetary gearset that allows it to overdrive the outer rear wheel during cornering. A bearing failure in an SH-AWD unit often contaminates the clutch packs with metallic debris, ruining the friction material.
Rebuilding an SH-AWD rear differential requires specialized Honda service tools, specifically the clutch pack clearance measuring tool and the planetary gear alignment fixtures. As discussed extensively on Honda-Tech Forums, attempting to service an SH-AWD differential without the factory service manual and specific shim-measuring tools will almost certainly result in a 'Code 62' or 'Code 63' SH-AWD system warning on the dashboard due to improper clutch pack clearances.
Cost Breakdown and Tooling Requirements
Understanding the financial and tooling investment required for a Honda rear differential bearing and seal replacement helps in deciding whether to rebuild or replace the unit with a remanufactured assembly.
- DIY Seal Replacement: $50 - $120 for OEM seals and fluid. Requires a slide hammer, seal driver set, and a torque wrench capable of 250+ lb-ft for the axle nut.
- DIY Bearing Rebuild: $250 - $450 for bearings, seals, shim kits, and fluid. Requires a hydraulic press, bearing puller set, inch-pound torque wrench, and micrometer.
- Professional Rebuild: $1,200 - $2,800 depending on whether the ring and pinion gears are scored. Labor rates for specialized drivetrain work typically exceed $150/hour.
- Remanufactured Unit Swap: $1,800 - $3,500. Often the most practical route for SH-AWD units if the internal clutch packs and bearings are severely compromised.
Ultimately, a routine Honda rear differential fluid change is your first line of defense. By paying close attention to the fluid's condition and addressing minor seal weeps before they lead to bearing starvation, you can extend the life of your Honda's AWD system well past the 200,000-mile mark.