The Danger of the 'Weep': Ford 9.75-Inch Axle Leak Diagnostics
The Ford 9.75-inch rear axle, widely utilized in F-150 trucks from 2004 through the current generation, is a robust semi-floating or full-floating drivetrain component capable of handling immense towing loads. However, its longevity is entirely dependent on proper lubrication. When a seal fails, the resulting fluid loss drops the oil level below the ring gear's splash-lubrication threshold. The gears overheat, the protective film breaks down, and you are suddenly faced with the dreaded discovery of metal shavings in differential fluid.
In this model-specific repair guide, we will walk through the exact diagnostic and repair procedures for the Ford 9.75-inch rear axle. We will cover how to pinpoint the leak, properly evaluate the drained gear oil for internal damage, and execute a professional-grade pinion seal and crush sleeve replacement to restore your axle to factory specifications.
Identifying the Source of Your Differential Leak
Before tearing into the drivetrain, you must accurately identify where the gear oil is escaping. The 9.75-inch axle has three primary failure points for leaks:
- The Pinion Seal: Located at the front of the differential where the driveshaft connects. Leaks here often spray fluid onto the exhaust or the underside of the truck bed due to rotational fling. This is the most common failure point and the focus of our repair guide.
- The Axle Shaft Seals: Located where the axle shafts slide into the differential housing. A leak here will coat the inside of the rear brake rotors or drums, leading to severe braking performance issues and a distinct burning smell.
- The Differential Cover Gasket: While less common unless recently serviced, a warped cover or degraded RTV silicone/silicone gasket can allow fluid to seep down the back of the housing.
Pro-Tip: Always check the axle breather tube located on the top or upper side of the differential housing. If this one-way valve becomes clogged with mud or debris, the axle cannot vent expanding gases as it heats up. The resulting internal pressure will force gear oil past perfectly good seals.
Draining the Axle: Evaluating for Internal Damage
Once the leak is confirmed, the fluid must be drained. This is your first and most critical diagnostic step to determine if your axle requires a simple seal replacement or a complete teardown.
The Magnet Test: Fuzz vs. Shrapnel
Place a clean drain pan under the 10mm or 12mm drain plug (if equipped) or remove the differential cover bolts (13mm) to drop the pan. As the fluid flows out, inspect it closely.
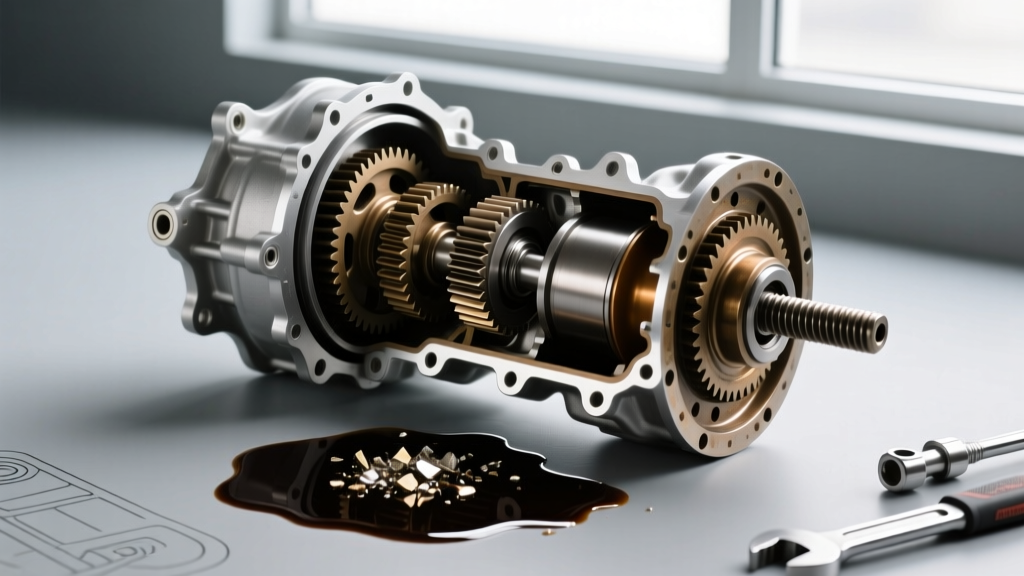
Finding some degree of metallic paste on the differential cover magnet is normal. This 'fuzz' is the result of standard clutch-pack wear (in limited-slip models) and minor gear seating. However, if you discover distinct metal shavings in differential fluid that resemble coarse glitter, needle bearings, or chipped gear teeth, the low-fluid operation has caused catastrophic ring and pinion damage. At this stage, a seal replacement is merely a band-aid; the differential requires a full rebuild or replacement.
Ford 9.75-Inch Axle Specifications and Parts Guide
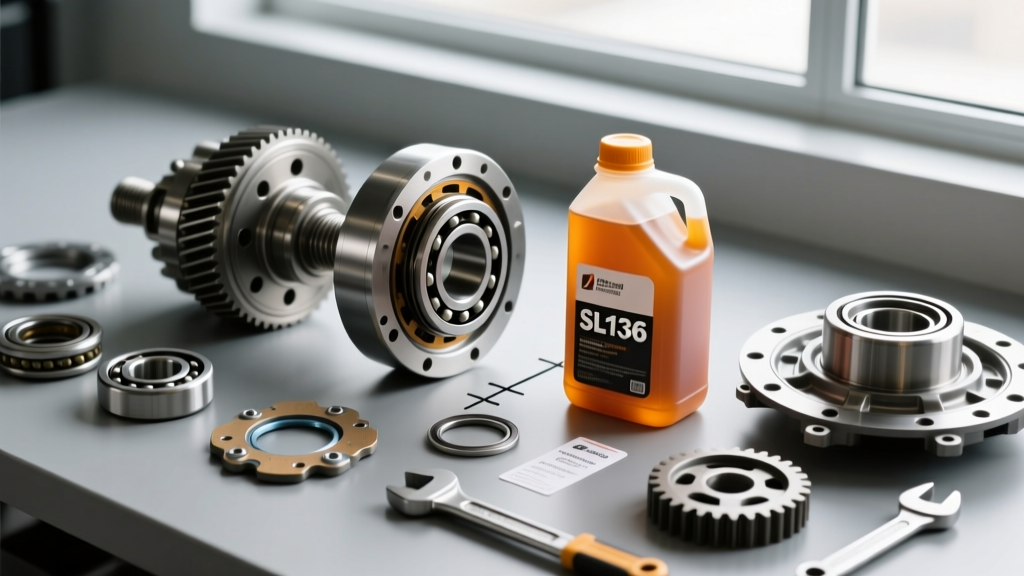
Having the correct OEM or high-quality aftermarket parts is non-negotiable for drivetrain repairs. Below is the reference table for the Ford 9.75-inch rear axle.
| Component / Parameter | Specification / Part Number | Torque / Capacity |
|---|---|---|
| Pinion Seal | Motorcraft BR-26 / National 710992 | N/A |
| Crush Sleeve | OEM Ford / Spicer Equivalent | Crush to Preload Spec |
| Pinion Nut Rotational Torque | Used Bearings: 15-25 in-lbs | New Bearings: 25-35 in-lbs |
| Pinion Flange Nut (Tightening) | M20x1.5 Flange Nut | 200-250 ft-lbs (Max limit) |
| U-Joint Strap Bolts | 12mm / 1/2-inch | 70 ft-lbs |
| Differential Cover Bolts | M10x1.5 | 28 ft-lbs |
| Fluid Capacity | Motorcraft SAE 75W-140 Synthetic (XL-6) | Approx. 2.7 Pints (1.35 Quarts) |
| LSD Friction Modifier | Motorcraft XL-3 (If Clutch-Type LSD) | 4 oz (Do not use for Torsen) |
Note: Always verify your specific year's owner manual. Some newer F-150s with the 9.75-inch axle specify 75W-85 synthetic (Motorcraft XL-5) for improved fuel economy. Stick to the factory viscosity.
Step-by-Step Pinion Seal and Crush Sleeve Replacement
Replacing the pinion seal on a 9.75-inch axle requires resetting the bearing preload. Many amateur mechanics simply tighten the pinion nut until it 'feels tight,' which over-crushes the sleeve, overloads the pinion bearings, and guarantees a howling differential within 5,000 miles. You must replace the crush sleeve and measure rotational torque.
- Prep and Mark: Safely support the truck on jack stands. Use a paint pen to mark the pinion flange and the pinion shaft threads. This helps you track how many threads are exposed when reassembling.
- Remove the Driveshaft: Remove the four U-joint strap bolts (12mm or 1/2-inch). Support the driveshaft to prevent stress on the transmission output shaft.
- Measure Initial Preload (Optional but Recommended): With the rear wheels off the ground and brakes disengaged, use a beam-style inch-pound torque wrench on the pinion nut. Record the rotational torque required to turn the pinion (typically 15-25 in-lbs for used bearings).
- Remove the Pinion Nut and Flange: Secure the flange using a specialized holding tool (like the OTC 4530). Use a 1/2-inch drive impact or a massive breaker bar to remove the pinion nut. Pull the pinion flange off the splines using a jaw puller.
- Extract the Old Seal: Carefully pry out the old pinion seal using a seal puller. Avoid gouging the aluminum or steel sealing bore of the differential housing.
- Install the New Seal: Lubricate the outer edge and inner lip of the new Motorcraft BR-26 seal. Tap it into place using a seal driver or a large socket until it seats fully and flush.
- Install the NEW Crush Sleeve: This is the most critical step. Reach inside the pinion bore and remove the old, crushed sleeve. Tap the new crush sleeve onto the pinion shaft.
- Reinstall Flange and Nut: Slide the pinion flange back onto the splines. Install a new M20 pinion flange nut.
- Crush the Sleeve to Preload: Using your torque wrench, tighten the pinion nut in small increments (10-15 ft-lbs at a time). Frequently stop and check the rotational torque with your inch-pound beam wrench. Stop tightening the exact moment you reach 15-25 in-lbs of rotational drag. If you overshoot, you must install a brand new crush sleeve and start over. You cannot back off the nut to reduce preload.
- Reassemble: Reattach the driveshaft and torque the U-joint straps to 70 ft-lbs.
Refilling: Fluid Capacities and Limited-Slip Additives
With the seal replaced, it is time to refill the housing. Clean the differential cover and mating surface thoroughly with brake cleaner. Apply a continuous 1/4-inch bead of black or grey RTV silicone (or use the factory reusable silicone gasket if equipped). Reinstall the cover and torque the bolts in a star pattern to 28 ft-lbs.
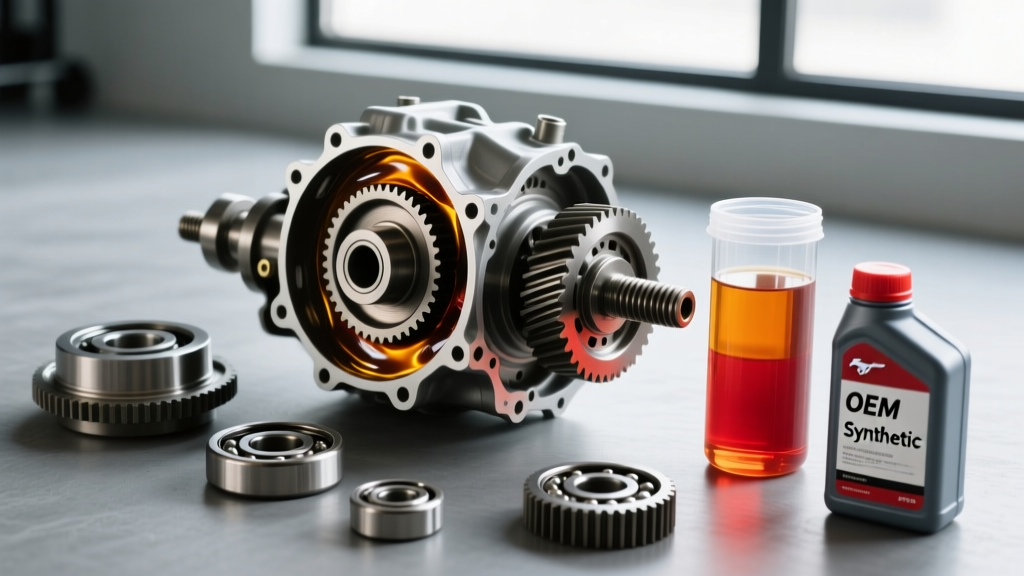
Allow the RTV to cure for at least one hour before adding fluid. Pump in your specified gear oil (typically Motorcraft 75W-140 Synthetic) through the fill plug until it begins to weep out of the hole. This equates to roughly 2.7 pints.
The Friction Modifier Debate
Does your F-150 have a clutch-type Limited Slip Differential (LSD) or a Torsen (torque-sensing) LSD? If your axle tag indicates a clutch-type locker (e.g., Ford 8.8 or early 9.75 LSDs), you must add 4 ounces of Motorcraft XL-3 Friction Modifier before topping off with gear oil. Failure to do so will result in severe chatter during low-speed cornering. However, if your truck is equipped with a Torsen-style helical gear locker (common in modern F-150 FX4 or Tremor packages), do not use friction modifier, as it reduces the locking capability of the helical gears.
When to Abandon the Repair and Rebuild
If, during your drain and inspection, you found actual chunks of steel or excessive metal shavings in differential fluid, do not bother refilling and driving the truck. The ring and pinion gear teeth have likely suffered micro-fractures or pitting from oil starvation. Continuing to drive will result in the pinion gear shearing off its shaft, potentially locking the rear wheels at highway speeds or destroying the entire axle housing from the inside out.
In these scenarios, the only safe recourse is to pull the axle assembly and install a remanufactured unit or perform a complete ring, pinion, and bearing master rebuild kit installation (such as those from Spicer Parts or Yukon Gear & Axle). For sourcing OEM replacement seals, bearings, and fluids, RockAuto and Ford Parts remain the most reliable vendors to ensure you aren't installing counterfeit drivetrain components.
By addressing differential leaks immediately and understanding the difference between normal clutch wear and catastrophic gear failure, you can keep your Ford 9.75-inch rear axle logging hundreds of thousands of reliable, heavy-duty miles.