When Maintenance Turns Mechanical: The SH-AWD Reality
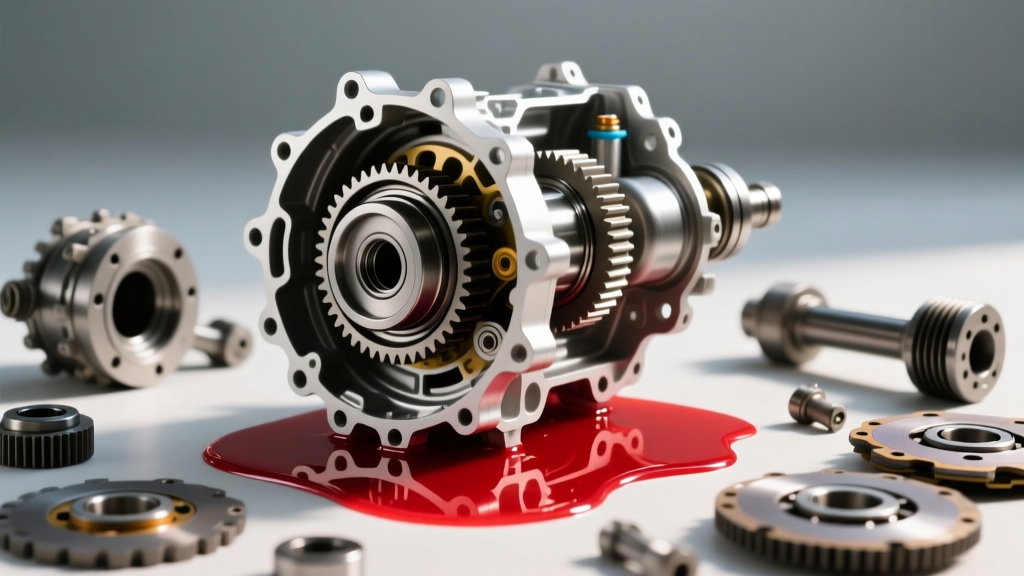
Performing a standard 2025 Honda Pilot rear differential fluid change is typically a straightforward, 30-minute maintenance task outlined in the owner’s manual. However, the Pilot’s Super Handling All-Wheel Drive (SH-AWD) rear axle is far from a traditional open differential. It is a complex, torque-vectoring assembly featuring a hypoid ring-and-pinion gear set paired with twin electromagnetic wet-clutch packs. When you pull the drain plug and the fluid tells a story of internal degradation, a simple drain-and-fill is no longer sufficient. You are now looking at a full differential rebuild.
As we navigate the 2026 automotive service landscape, SH-AWD units are accumulating higher mileage, and the electromagnetic clutch packs are showing predictable wear patterns. This step-by-step how-to guide bridges the gap between a routine fluid service and a complete, bench-top rebuild of the Honda SH-AWD rear differential, ensuring your AWD system maintains its legendary cornering dynamics and traction.
Reading the Drain Pan: Diagnosing the Need for a Rebuild
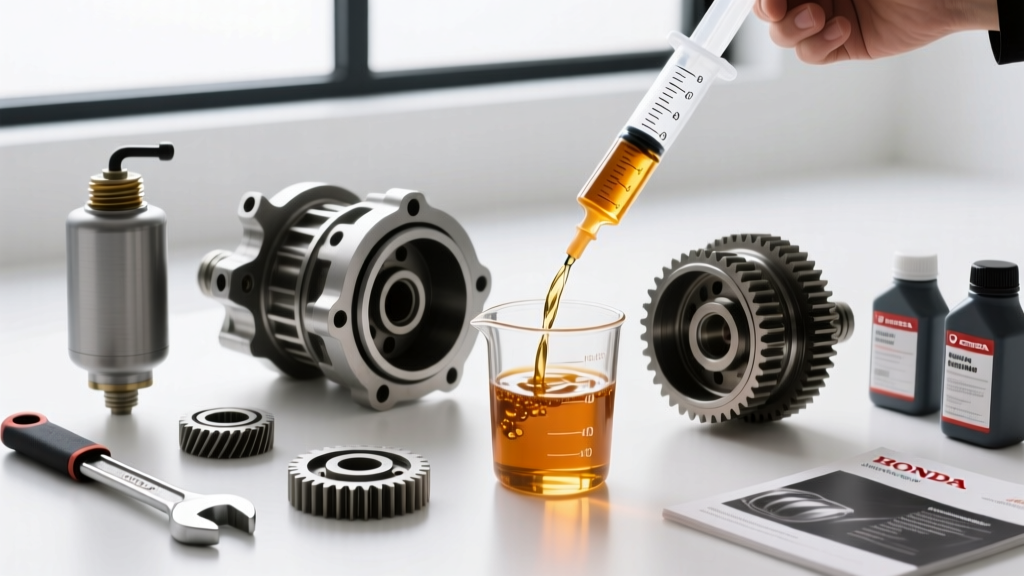
Before tearing into the casing, you must interpret the condition of the drained Honda DPSF-II (Dual Pump System Fluid II). The fluid is your primary diagnostic window into the health of the hypoid gears and the direct clutch assemblies.
- Normal Wear (Safe to Refill): The fluid is dark brown or black but translucent, with a fine, microscopic metallic paste on the magnetic drain plug. This is standard hypoid gear break-in and clutch friction material wear.
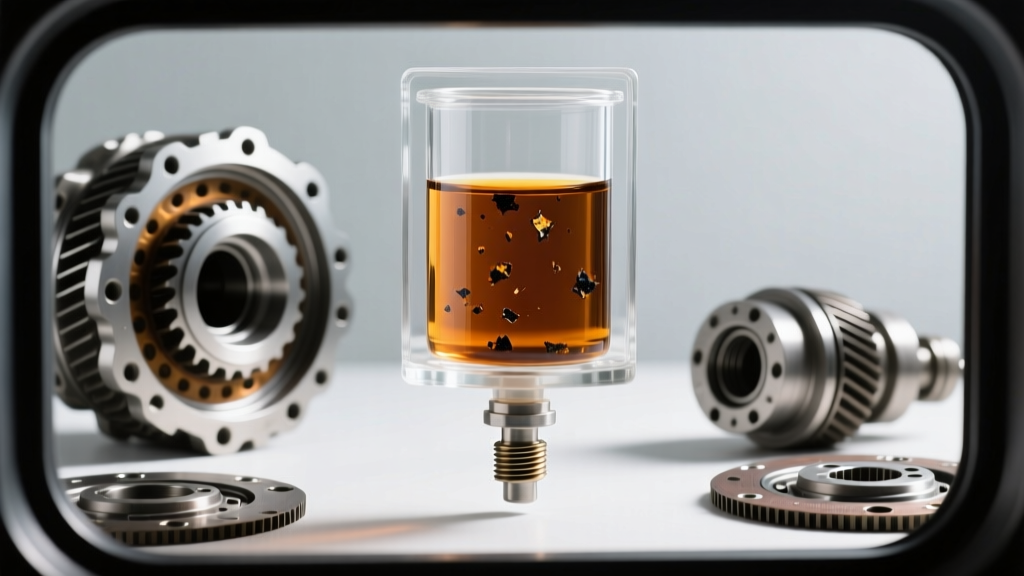
- Brass/Gold Flakes (Clutch Basket Failure): If you see glittering gold or brass flakes, the internal splines of the clutch hubs or the separator plates are wearing down. The clutch packs must be replaced.
- Silver Chunks or 'Glitter' (Hypoid Gear Pitting): Chunky steel debris or heavy silver glitter indicates the ring and pinion gears are spalling or the pinion bearing has catastrophically failed. A complete teardown, gear replacement, and bearing press job are mandatory.
Expert Insight: Never use generic 75W-90 gear oil in an SH-AWD unit. The friction modifiers required for the twin wet-clutch packs are proprietary. Using standard GL-5 gear oil will cause immediate clutch chatter and permanent AWD system failure. Always source OEM Honda DPSF-II (Part #08200-9007).
Essential Tooling and OEM Parts Sourcing
A precision rebuild requires specialized measuring tools. Guessing on clearances will result in immediate SH-AWD binding or slip. You will need a hydraulic press, a dial indicator with a magnetic base, an inch-pound beam-style torque wrench, and a set of metric snap-ring pliers. For parts, rely on verified OEM channels like Honda Parts Now to ensure exact shim tolerances.
| Component | OEM Part Number / Spec | Quantity | Notes |
|---|---|---|---|
| DPSF-II Fluid | 08200-9007 | 3 Qts | Capacity is approx. 2.7 US Qts |
| Direct Clutch Pack Kit (L/R) | 41200-5R0-A00 | 2 Kits | Includes friction and steel plates |
| Pinion Locknut & Collar | 90201-PC1-000 | 1 | Must be replaced; one-time staking |
| Pinion Bearing Set | Koyo/Honda Spec | 2 | Inner and outer tapered rollers |
| Casing Seals & O-Rings | Various | 1 Kit | Prevents DPSF-II leaks at axle seals |
Step 1: Teardown and Component Extraction
Bench Preparation and Disassembly
Once the rear differential is removed from the Pilot and secured to a workbench, begin by unbolting the rear housing cover. Unlike a traditional solid-axle differential where the ring gear drops out with the carrier, the SH-AWD unit requires sequential extraction of the clutch assemblies first.
- Remove the Clutch Packs: Carefully slide the left and right electromagnetic clutch assemblies off the axle shafts. Note the orientation of the pressure plates and the wave springs. Inspect the electromagnetic coils for burnt wiring or melted insulation.
- Extract the Hypoid Assembly: Unbolt the bearing caps holding the ring gear carrier. Use a brass drift to gently tap the carrier out of the main casing. Next, unbolt the pinion gear flange and press the pinion shaft out through the front of the casing.
- Bearing Removal: Use a bearing puller to remove the inner and outer pinion bearings, as well as the carrier side bearings. Never reuse tapered roller bearings during a rebuild; the microscopic wear patterns will destroy new races.
Step 2: Hypoid Gear Setup and Pinion Depth
The core of any differential rebuild procedure is setting the pinion depth and gear backlash. Honda’s SH-AWD hypoid set operates under immense stress during torque-vectoring events, making precision non-negotiable.
Setting Pinion Depth
Install the new outer pinion bearing race into the casing. Place the pinion shaft into the casing with the new inner bearing and a setup shim. According to Honda Technical Information System documentation, the factory pinion depth shim typically ranges between 1.20mm and 1.80mm, but you must verify this using a pinion depth gauge block. The goal is to align the centerline of the pinion gear perfectly with the centerline of the ring gear.
Measuring Backlash
Mount the ring gear to the carrier using new ring gear bolts (torqued to 76 lb-ft with a thread-locking compound). Install the carrier into the housing with setup side shims. Mount your dial indicator perpendicular to the ring gear teeth. Rotate the gear back and forth to measure backlash. The target specification for the SH-AWD rear unit is 0.0043 to 0.0067 inches (0.11 - 0.17 mm). Adjust the side shims iteratively until the backlash and gear contact pattern (using yellow marking compound) are perfectly centered on the drive and coast sides of the teeth.
Step 3: SH-AWD Clutch Pack Shimming and Reassembly
This is where the SH-AWD differs radically from standard differentials. The twin wet-clutch packs dictate how much torque is sent to the left or right rear wheel. If the clutch pack clearance is too tight, the Pilot will bind during tight turns. If it is too loose, the AWD system will slip and throw a dashboard warning code.
- Soak the Friction Plates: Submerge the new OEM friction plates in fresh DPSF-II fluid for at least two hours before assembly. Dry plates will burn up upon initial engagement.
- Stack the Pack: Alternate steel and friction plates according to the factory service manual stack order. Install the pressure plate and the wave spring.
- Measure Clearance: Use a feeler gauge or a dial indicator to measure the gap between the pressure plate and the snap-ring groove. The target clearance is typically 0.040 to 0.060 inches.
- Select the Snap-Ring: Honda provides selective-thickness snap-rings. Choose the one that brings your measured clearance into the exact middle of the specification window. Repeat for the opposite side.
Step 4: Torque Specifications and Final Sealing
With the clearances verified, it is time to seal the unit and apply final torque values. The pinion nut on the SH-AWD does not use a traditional crush sleeve; it relies on a precise torque value followed by staking the collar to lock it in place.
- Pinion Locknut: Tighten to 188 lb-ft (255 Nm) using a heavy-duty torque wrench, then stake the collar into the shaft groove using a cold chisel.
- Pinion Bearing Preload: Before final staking, verify rotating preload using an inch-pound torque wrench. Target new-bearing preload is 1.7 to 2.2 in-lbs.
- Ring Gear Bolts: 76 lb-ft (103 Nm) + 45-degree turn.
- Rear Housing Cover Bolts: 29 lb-ft (39 Nm) in a crisscross pattern.
- Drain and Fill Plugs: 32 lb-ft (44 Nm) with new aluminum crush washers.
For a deeper understanding of how these clutches manipulate yaw moments during reassembly, reference Car and Driver's SH-AWD Breakdown, which details the mechanical brilliance of this torque-vectoring system.
Step 5: Post-Rebuild Calibration (The Missing Step)
Reinstalling the differential and filling it with 2.7 quarts of DPSF-II is not the final step. The 2025 Honda Pilot’s ECU monitors clutch engagement parameters. Because you have installed new friction materials and altered the physical clearances, the ECU’s baseline data is now obsolete.
You must connect a bi-directional scan tool (such as the Honda Diagnostic System or an advanced aftermarket equivalent like Autel/Snap-On) and navigate to the SH-AWD module. Perform the 'SH-AWD Clutch Calibration' procedure. This routine commands the electromagnetic coils to engage and disengage at varying duty cycles, allowing the ECU to learn the new fluid volume and friction coefficients of your rebuilt clutch packs. Skipping this calibration will result in harsh engagement, AWD warning lights, and premature wear of your freshly rebuilt components.
Final Break-In Protocol
After calibration, drive the Pilot on a smooth, paved surface. Perform a series of tight, low-speed figure-eights in an empty parking lot. This forces the left and right clutch packs to slip slightly, distributing the DPSF-II fluid evenly across the friction surfaces and bedding in the new plates. Re-check the fluid level after 500 miles, as the clutch packs will absorb a small amount of fluid during the break-in period, potentially dropping the level below the fill plug threshold.