The K-Series Hydraulic Clutch Dilemma
If you own a manual transmission Honda or Acura equipped with the legendary K-Series engine (K20 or K24)—such as the Civic Si, RSX, TSX, or Accord Euro-R—you are likely familiar with the dreaded throw-out bearing (TOB) whine. You start the car in neutral, and a distinct chirping, whirring, or rattling noise emanates from the bellhousing. The moment you depress the clutch pedal, the noise changes pitch or disappears entirely.
While the immediate assumption is often a failing release bearing or a worn clutch fork, senior drivetrain technicians know that diagnosing this symptom requires looking outside the bellhousing. In many K-Series applications, the true culprit is a tiny, easily overlooked piece of rubber and plastic located in the driver’s footwell: the clutch pedal stopper. Understanding the hydraulic interplay between the pedal assembly and the slave cylinder is critical to saving your transmission from catastrophic internal damage.
How a Missing Clutch Pedal Stopper Kills Your Throw-Out Bearing
To understand why a broken clutch pedal stopper destroys a throw-out bearing, we must examine the hydraulic master cylinder's compensation port. The clutch master cylinder (CMC) relies on a precise resting position to keep the internal piston retracted enough to expose the fluid compensation port to the reservoir. This port allows fluid to expand and contract with temperature changes without building pressure in the hard line.
The clutch pedal stopper (often integrated with the clutch interlock switch pad) limits the upward travel of the pedal assembly. When this stopper degrades, crumbles, or falls out—a notorious issue on 2002–2015 Honda platforms—the pedal rests too high. This over-travel pulls the master cylinder pushrod outward, dragging the piston past its resting point and covering the compensation port.
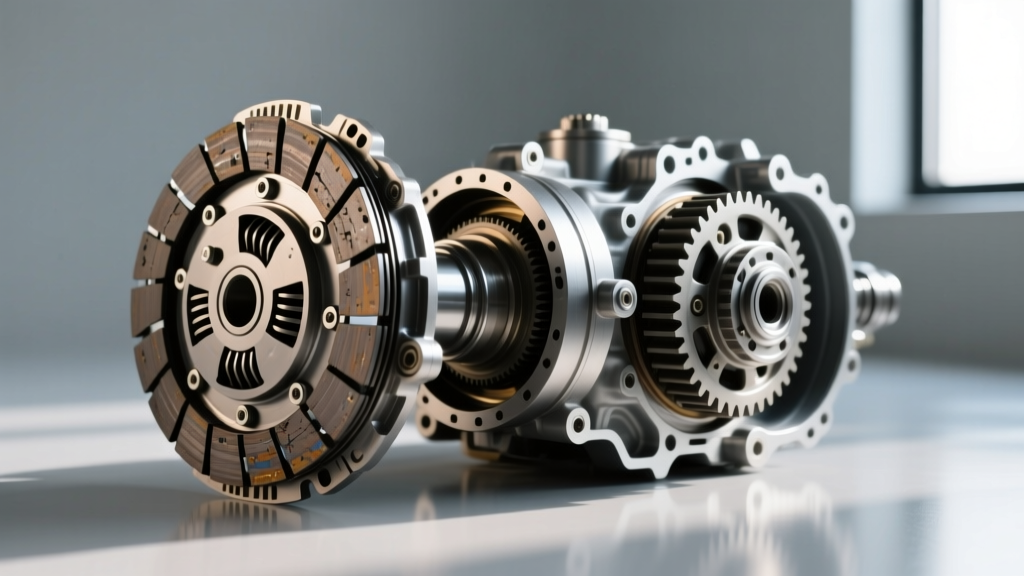
Once the port is blocked, the hydraulic system becomes a closed loop. As engine bay heat transfers to the hard line, or simply due to the mechanical tension of the pedal spring, hydraulic pressure builds. This pressure travels down the line to the slave cylinder, pushing the clutch fork forward. The fork then applies constant, light pressure to the throw-out bearing, forcing it to ride against the spinning fingers of the diaphragm spring on the pressure plate. This constant friction generates intense heat and wear, leading to premature TOB failure, clutch fork pivot ball wear, and eventually, a complete loss of clutch disengagement.
Diagnostic Protocol: Stopper vs. Bearing
Before dropping the transmission, you must verify whether the noise is caused by hydraulic pre-load or actual mechanical bearing failure. Use the following diagnostic matrix to isolate the fault.
| Symptom / Test | Hydraulic Pre-Load (Bad Stopper) | Mechanical TOB Failure |
|---|---|---|
| Noise at Idle (Neutral) | Light chirp or whirring | Loud grinding, rattling, or squealing |
| Noise when Pedal Depressed | Noise often disappears or softens | Noise gets significantly louder |
| Pedal Free-Play Measurement | Zero free-play (pedal is tight at top) | Normal free-play (1.0 - 1.4 inches) |
| Pushrod Adjustment Test | Loosening pushrod eliminates noise | Noise persists regardless of pushrod |
| Visual Inspection (Under Dash) | Missing rubber pad on pedal arm | Stopper pad is intact and present |
Pro-Tip: To perform the pushrod adjustment test, loosen the locknut on the master cylinder pushrod under the dash and shorten the rod by 2-3 turns. If the throw-out bearing noise immediately ceases, your bearing is likely fine, and you simply need to replace the clutch pedal stopper and readjust the free-play.
Model-Specific Repair: Replacing the Clutch Pedal Stopper
If your diagnosis points to the pedal assembly, the repair is straightforward and requires minimal tools. For most K-Series Civics, RSXs, and TSX models, the OEM part number for the clutch interlock switch pad/stopper is 46505-S5A-013. As of 2026, this part is still readily available through dealerships and online catalogs like Honda Parts Now for roughly $4.00 to $7.00.
Step-by-Step Replacement
- Disconnect the Battery: Disconnect the negative terminal to prevent the starter from engaging accidentally while testing the interlock circuit.
- Access the Pedal Assembly: Remove the lower dashboard trim panel (usually held by three 8mm bolts and a few plastic push-clips) to expose the clutch pedal arm and master cylinder.
- Remove the Old Stopper: If the rubber pad has disintegrated, use a plastic trim tool to carefully pry the remaining plastic stem out of the pedal arm hole. Clean the hole with isopropyl alcohol.
- Install the New Stopper: Push the new 46505-S5A-013 stopper into the pedal arm until it clicks securely into place.
- Adjust the Pushrod: Loosen the 10mm locknut on the master cylinder pushrod. Adjust the rod length until you achieve exactly 1.0 to 1.4 inches (25-35mm) of free-play at the top of the pedal pad. This ensures the compensation port remains fully open.
- Verify Interlock Function: Reconnect the battery. Ensure the vehicle will only crank when the clutch pedal is fully depressed to the floor.
When the Damage is Done: TOB Replacement Specs
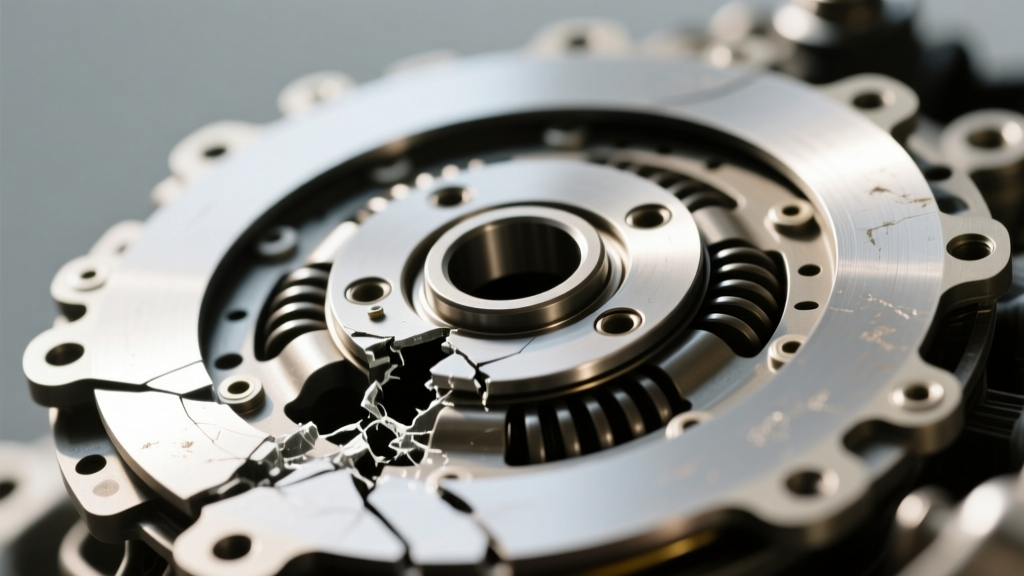
If the missing clutch pedal stopper was ignored for months, the throw-out bearing is likely pitted, glazed, or completely seized. Furthermore, the constant pressure often wears a groove into the clutch fork pivot ball. At this stage, the transmission must be removed.
When sourcing replacement parts, avoid cheap aftermarket release bearings. The OEM Honda throw-out bearing (Part 51000-PND-003) or a direct equivalent from Exedy USA (Part HC4003) are the only units recommended for K-Series applications. Aftermarket units with inferior grease or loose tolerances will begin chirping within 5,000 miles.
Critical K-Series Torque Specifications
When reinstalling the transmission and drivetrain components, precision is mandatory. Use a calibrated torque wrench for the following fasteners:
- Flywheel Bolts (M12 x 1.0): 76 lb-ft (103 Nm). Always use new OEM stretch bolts and apply a drop of medium-strength threadlocker.
- Pressure Plate Bolts (M8 x 1.25): 19 lb-ft (25 Nm), tightened in a crisscross pattern.
- Bellhousing to Engine Block (12mm bolts): 47 lb-ft (64 Nm).
- Bellhousing to Engine Block (10mm bolts): 33 lb-ft (44 Nm).
- Slave Cylinder Mounting Bolts: 9 lb-ft (12 Nm). Over-torquing these easily cracks the aluminum mounting ear on the transmission case.
- Front Axle Spindle Nuts: 134 lb-ft (181 Nm). Stake the nut collar immediately after torquing.
Hydraulic Bleeding Procedure
After replacing the TOB and reassembling the drivetrain, the hydraulic system must be bled. Air trapped in the hard line will result in a spongy pedal and incomplete clutch disengagement, causing gear grind—particularly on the K-Series' notoriously tight 2nd-to-3rd gear synchronizers.
- Fill the reservoir with fresh DOT 3 or DOT 4 brake fluid.
- Attach a clear vacuum bleeder hose to the slave cylinder bleed nipple.
- Open the nipple and use a hand-pump vacuum bleeder to pull fluid down from the reservoir. This is significantly more effective on Hondas than the traditional two-person 'pump and hold' method, as the hard line routing tends to trap air bubbles near the master cylinder.
- Once bubble-free fluid is visible, close the nipple, top off the reservoir, and test pedal feel.
2026 Cost Analysis: Dealer vs. Independent vs. DIY
Labor rates have continued to climb, making the diagnosis of the clutch pedal stopper an invaluable money-saver. If you misdiagnose the issue and allow a shop to replace the TOB unnecessarily, you are paying for a massive labor job. Conversely, if you catch the failing stopper early, the repair costs less than a fast-food meal.
- The 'Stopper Only' DIY Fix: $5 - $10 (OEM Part + basic hand tools). Time: 20 minutes.
- Dealer TOB Replacement: $1,200 - $1,600. (Book time is roughly 5.5 hours, and dealerships rarely replace just the bearing; they will upsell a full clutch kit and flywheel resurfacing).
- Independent Shop TOB Replacement: $800 - $1,100. (Assuming you supply the OEM Exedy/Honda bearing and they reuse the existing clutch disc if it is within spec).
For more in-depth teardowns and community-driven troubleshooting on K-Series manual transmissions, enthusiast archives and parts diagrams available via RockAuto remain excellent resources for cross-referencing OEM part numbers and visualizing the master cylinder pushrod assembly.
Final Verdict
Never ignore a chirping throw-out bearing, but do not immediately order a new clutch kit. The hydraulic architecture of the Honda K-Series makes it highly susceptible to master cylinder pre-load issues caused by a degraded clutch pedal stopper. By spending five minutes under the dashboard with a flashlight and a wrench, you can accurately diagnose the root cause, preserve your OEM clutch components, and save over a thousand dollars in unnecessary transmission removal labor.