Identifying the Symptoms of Clutch Drag and Release Failure
Clutch drag on a Harley-Davidson Big Twin isn't merely an annoyance; it is a critical safety hazard and a primary catalyst for premature transmission gear dog wear. When a wet multi-plate clutch fails to fully disengage, the friction plates continue to transmit rotational force to the transmission input shaft even when the lever is pulled to the grip. As of 2026, the most common symptoms of this failure include a violent 'clunk' and forward lurch when shifting into first gear, an inability to find neutral while the engine is running, and a creeping motorcycle at stoplights. Diagnosing clutch drag and release problems requires a systematic approach to both the external actuation system and the internal primary drive. This step-by-step guide walks you through inspecting, measuring, and replacing the necessary Harley Davidson clutch parts to restore crisp, reliable shifts.
The Anatomy of Harley Clutch Drag: Why It Happens
Before tearing into the primary case, it is vital to understand the mechanical culprits behind clutch drag. The Harley Big Twin (from the 2007 Cruise Drive 6-speed through the modern Milwaukee-Eight platforms) utilizes a wet, multi-plate clutch system bathed in primary chaincase lubricant. Drag typically originates from one of three areas:
- Notched Clutch Hub (Basket): Over time, the aluminum tabs of the inner clutch hub and outer clutch shell develop grooves. These notches prevent the friction and steel plates from expanding outward and separating when the pressure plate is lifted, causing them to drag against one another.
- Warped Steel Plates: Excessive heat from slipping the clutch can warp the steel separator plates. Even a few thousandths of an inch of warp prevents the pack from fully collapsing, maintaining friction contact.
- Release Mechanism Failure: A seized release bearing, a worn pushrod, or an improperly adjusted internal ball-and-ramp adjuster will physically restrict the pressure plate from traveling its full outward stroke.
Sourcing the Right Harley Davidson Clutch Parts
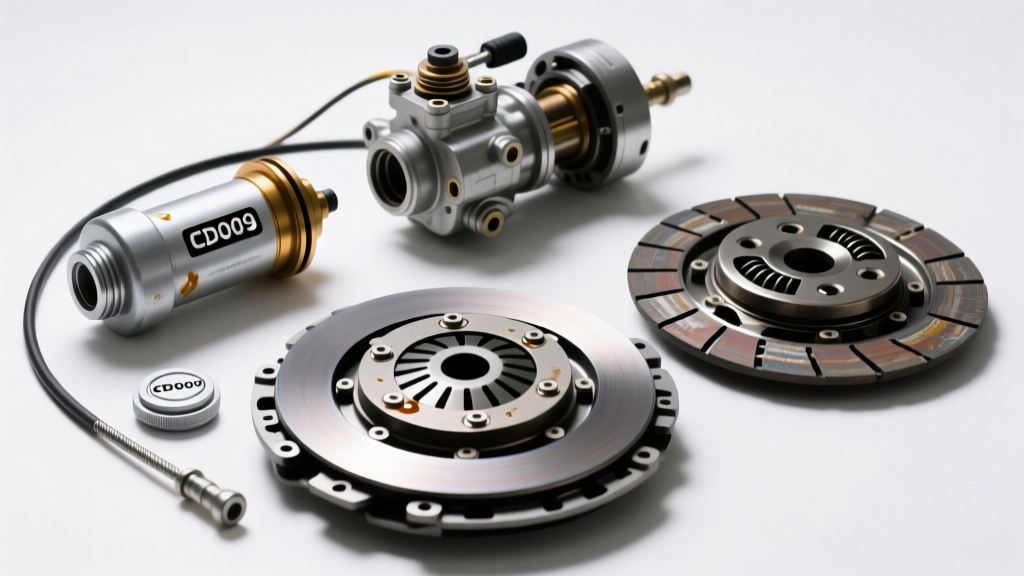
When addressing release problems, using high-quality OEM or premium aftermarket components is non-negotiable. Cheap aftermarket steels warp under the thermal load of a heavy touring bike, while inferior friction materials glaze and slip. Below is a diagnostic parts matrix for the 2007-Later Big Twin 6-Speed platform, reflecting current 2026 market pricing and part numbers.
| Component | OEM Part Number | Premium Aftermarket Alt. | Est. Cost (2026) |
|---|---|---|---|
| Friction Plate Kit (Standard) | 37900110 | Barnett Kevlar (303-30-1002) | $140 - $190 |
| Steel Separator Plates | 37900111 | Barnett Steels (301-30-1002) | $90 - $130 |
| Clutch Release Bearing | 37850-08 | AIM Smooth-Pull Bearing | $45 - $75 |
| Inner Clutch Hub | 38577-06B | Screamin' Eagle Billet Hub | $180 - $350 |
| Clutch Hub Nut (LH Thread) | 6712 | Andrews / S&S | $8 - $15 |
For a comprehensive catalog of verified components, technicians frequently reference J&P Cycles' Harley Clutch Parts directory to cross-reference OEM numbers with high-capacity touring upgrades.
Step 1: Primary Case Teardown and Initial Inspection
- Drain the Primary Fluid: Place a catch pan beneath the primary case. Remove the drain plug and allow the Formula+ or synthetic V-Twin primary fluid (typically 32 oz capacity) to drain completely.
- Remove the Derby Cover: Unbolt the outer primary derby cover. Note the condition of the gasket; replace it if it shows signs of compression set or tearing.
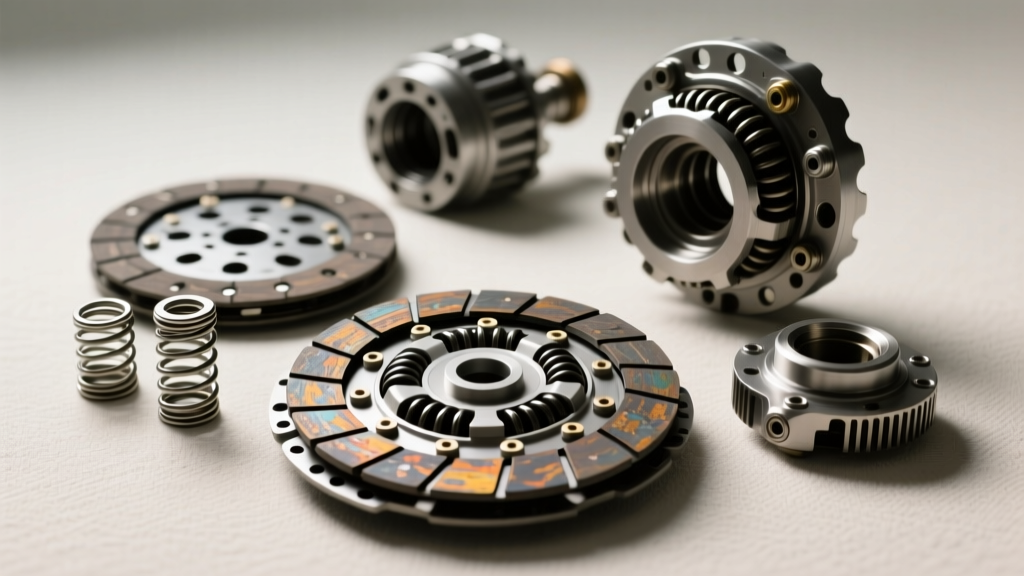
- Extract the Pressure Plate and Springs: Remove the six pressure plate bolts and lift off the cover. Carefully extract the clutch springs. If your bike is equipped with a diaphragm spring (common on later Milwaukee-Eight models), use a clutch spring compressor tool to safely remove the retaining ring.
- Pull the Clutch Pack: Remove the friction and steel plates as a single stack. Keep them in order if you plan to reuse them, though replacement is highly recommended if drag is present.
Step 2: Measuring Friction and Steel Plates
Diagnosing clutch drag requires precision measuring tools. Guesswork leads to repeated teardowns.
Friction Plate Thickness
Using a digital micrometer, measure the thickness of the friction material (excluding the steel tangs). For a standard Big Twin 6-speed, a new friction plate measures approximately 0.145 inches (3.68 mm). The factory service manual dictates a wear limit of 0.120 inches (3.05 mm). If any plate falls below this threshold, the entire pack must be replaced to maintain clamping pressure and prevent localized slipping that leads to warping.
Steel Plate Warpage
Place each steel separator plate on a known-flat surface plate or a piece of thick, verified-flat glass. Attempt to slide a 0.004-inch (0.10 mm) feeler gauge beneath the plate. If the gauge slips underneath at any point, the steel plate is warped beyond specification and will cause clutch drag by maintaining contact with the friction material even when the lever is pulled.
Step 3: Inspecting the Clutch Hub and Release Mechanism
This is where the root cause of most Harley clutch release problems hides.
The Notched Hub Diagnosis
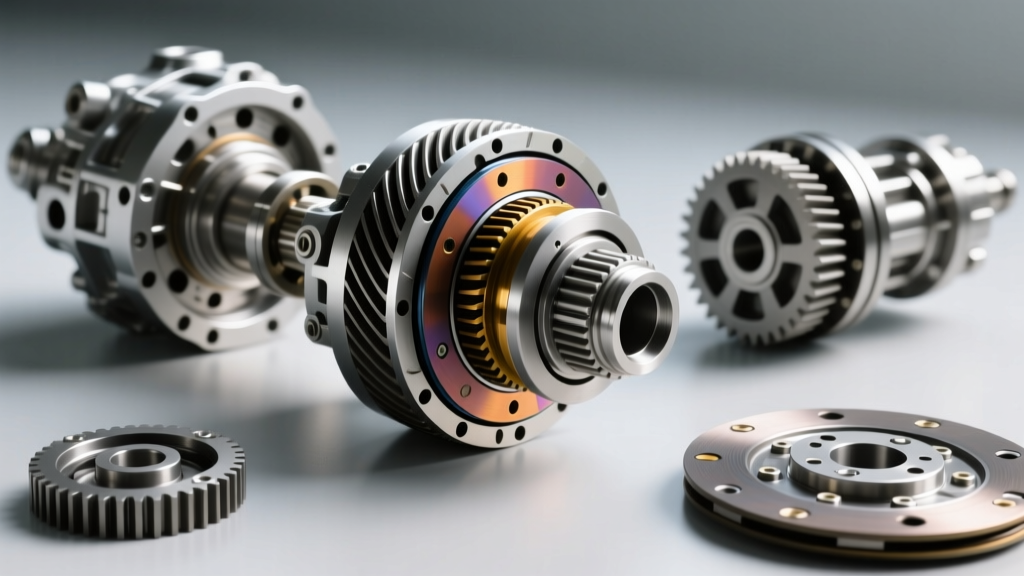
Run your fingernail along the splines of the inner aluminum clutch hub and the outer steel shell. If you feel deep grooves or 'notches' where the plate tangs rest, the plates are physically binding. When the pressure plate lifts, the notches pinch the plates together, causing severe drag. Pro-Tip: If notches are present, filing them down is a temporary and dangerous fix. Aluminum filings will circulate in the primary fluid and destroy the hydraulic release mechanism and chain bearings. Replace the hub and shell assembly.
The Release Bearing and Pushrod
Remove the clutch release cover on the outer primary housing. Extract the pushrod and the release bearing assembly (Part 37850-08). Spin the bearing by hand. It should rotate smoothly with slight viscous resistance. If it feels gritty, binds, or has lateral play, it is failing. A failing release bearing absorbs the actuation travel meant for the pressure plate, resulting in incomplete disengagement. For deep technical insights on clutch actuation geometry, Barnett Clutches' technical documentation provides excellent cross-sections of these failure modes.
Step 4: Reassembly and Torque Specifications
When installing new Harley Davidson clutch parts, proper stacking and torque are critical to preventing future drag and vibration.
- Pre-Soak the Friction Plates: Submerge all new friction plates in clean primary fluid for at least 2 hours before installation. Installing dry plates will cause immediate glazing and catastrophic slip upon first engagement.
- Stacking Sequence: Ensure you alternate steel and friction plates, starting and ending with a friction plate. If using a high-capacity aftermarket kit (which may include 11 or 12 friction plates instead of the standard 9), follow the manufacturer's specific stacking diagram to ensure the pressure plate sits flush.
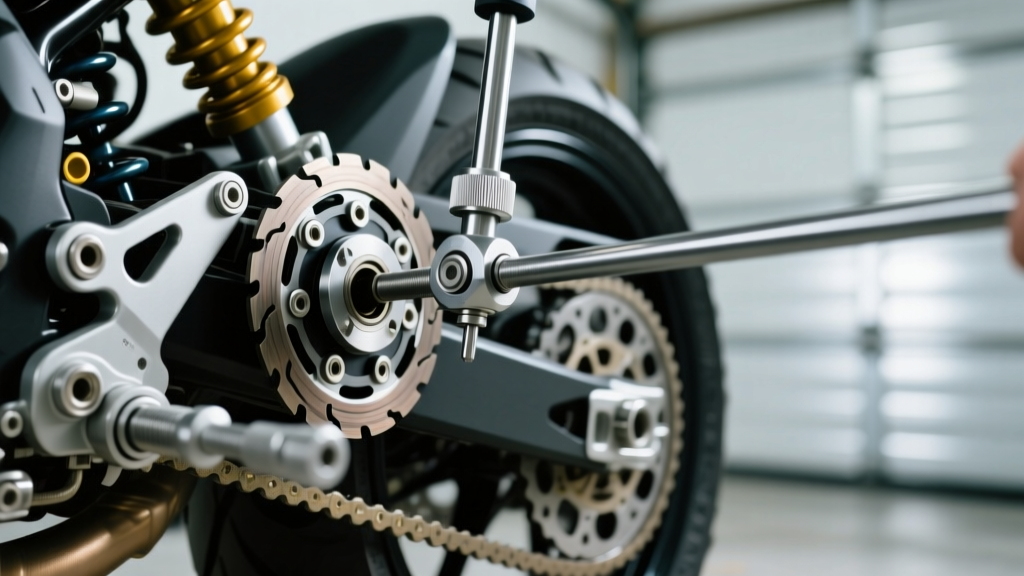
- Clutch Hub Nut Torque: The mainshaft clutch hub nut is a Left-Hand Thread. Apply a medium-strength threadlocker (Red Loctite 272) to the threads. Torque the nut to 70-80 ft-lbs using a primary locking tool to hold the hub stationary.
- Compensator Sprocket: If removed, the compensator nut is Right-Hand Thread, torqued to 150-165 ft-lbs with Red Loctite 272.
Step 5: Cable and Internal Adjuster Protocol
Even with brand-new parts, an improper adjustment will mimic the symptoms of a worn clutch pack. The adjustment sequence must be performed in this exact order:
1. Internal Pushrod Adjuster (The Ball and Ramp)
With the derby cover removed, locate the adjuster screw in the center of the clutch release mechanism. Loosen the lock nut. Turn the adjuster screw clockwise with an Allen key until you feel distinct resistance. This resistance indicates the pushrod has fully seated against the pressure plate. Back the screw out exactly 1/4 to 1/2 turn to allow for thermal expansion and clutch pack wear. Hold the screw in place and tighten the lock nut to 120 in-lbs.
2. External Cable Free Play
Adjust the cable adjuster located on the lower frame downtube or at the lever perch. The goal is to achieve 1/16-inch to 1/8-inch of free play measured at the outer edge of the clutch lever blade. This microscopic gap ensures the cable is not applying constant inward pressure on the release mechanism, which would cause the clutch to slip under heavy load and generate the heat that warps steel plates.
Final Bleed and Road Test
Refill the primary case with exactly 1 quart (32 oz) of high-quality V-Twin primary fluid. Overfilling the primary case causes the clutch pack to churn in the fluid, creating hydraulic drag and aeration that mimics mechanical clutch drag. Start the motorcycle, allow it to idle, and pull the clutch lever in. Wait 10 seconds for the fluid to penetrate the new friction material, then shift into first gear. The engagement should be firm, but the motorcycle should not creep forward while the lever is held to the grip. Finding neutral at a stoplight should now require only a gentle tap of the shifter, confirming your diagnostic and repair protocol was successful.