The Evolution of the Honda E-Clutch System
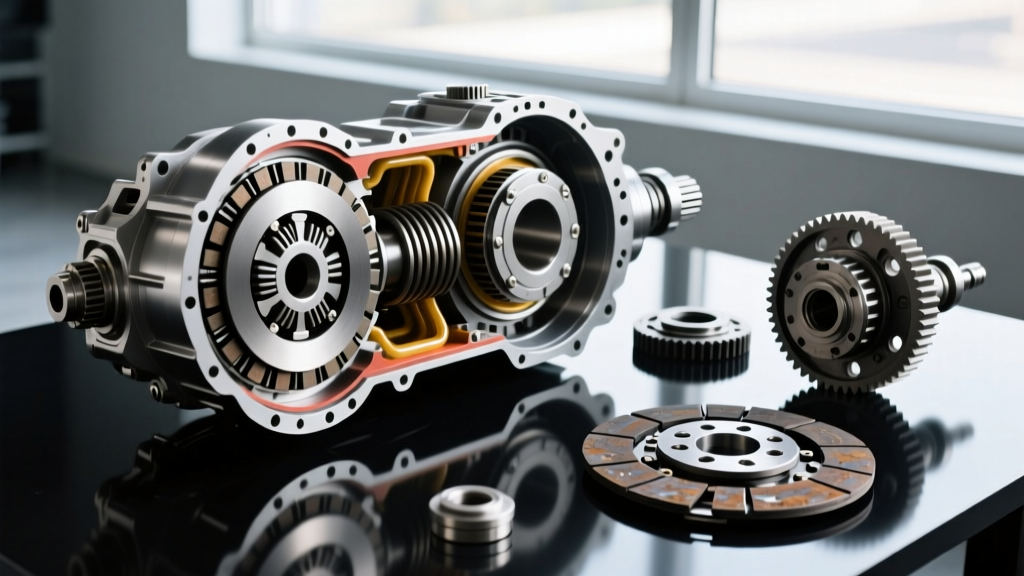
When Honda introduced the E-Clutch system on the CB650R and CBR650R, it fundamentally altered the landscape of mid-weight inline-four motorcycles. By 2026, these pioneering models have matured into the secondary market, accumulating high mileage and presenting a new frontier for clutch system diagnostics. Unlike traditional manual setups or full Dual Clutch Transmissions (DCT), the Honda E-Clutch utilizes a sophisticated hybrid approach: it retains a physical clutch lever for rider override but relies on a dual-motor actuator and hydraulic slave cylinder to automate engagement and disengagement based on throttle position, RPM, and gear sensor inputs.
For mechanics, diagnostic technicians, and prospective buyers, understanding the unique failure modes of this electromechanical system is critical. The E-Clutch does not suffer from traditional cable stretch or simple master cylinder leaks. Instead, its failure signatures are rooted in sensor calibration drift, hydraulic fluid hygroscopy, and actuator motor binding. This comprehensive guide breaks down the root cause analysis of Honda E-Clutch failures and provides a definitive buyer's guide for inspecting these machines in 2026.
Primary Failure Modes & Root Cause Analysis
Diagnosing an E-Clutch requires shifting from purely mechanical troubleshooting to electromechanical logic analysis. Below are the three most common failure modes encountered on Honda's 650cc E-Clutch platform.
1. Actuator Motor Binding and Potentiometer Corrosion
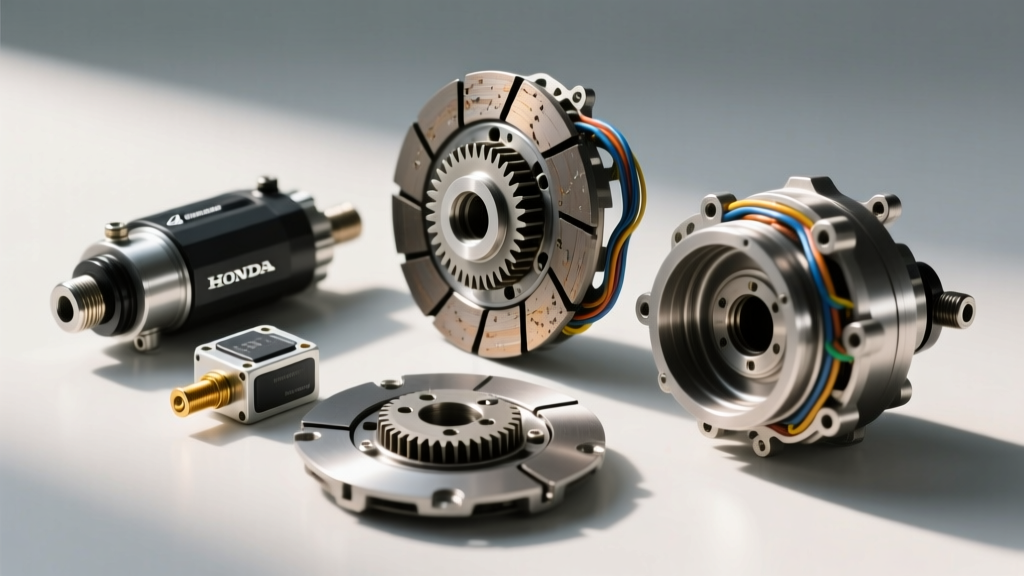
The E-Clutch actuator assembly is mounted directly to the left side of the engine, housing two distinct electric motors. The primary motor handles gross clutch disengagement, while the secondary motor manages micro-adjustments for slip control during upshifts and downshifts.
Root Cause: The most frequent catalyst for actuator failure is water ingress. Riders who use high-pressure washers near the left crankcase cover can force moisture past the actuator's O-ring seals. This leads to corrosion on the internal position potentiometer. When the ECU detects a voltage variance outside the expected 0.5V to 4.5V range, it triggers a dashboard E-Clutch warning light and defaults the bike into a limp mode, locking the clutch in its current state to prevent basket destruction.
Symptom Signature: A distinct mechanical 'whining' or 'grinding' noise from the left engine cover during gear changes, followed by an illuminated MIL (Malfunction Indicator Lamp) and a stiff, unresponsive manual clutch lever.
2. Clutch Position Sensor (CPS) Drift via Fluid Hygroscopy
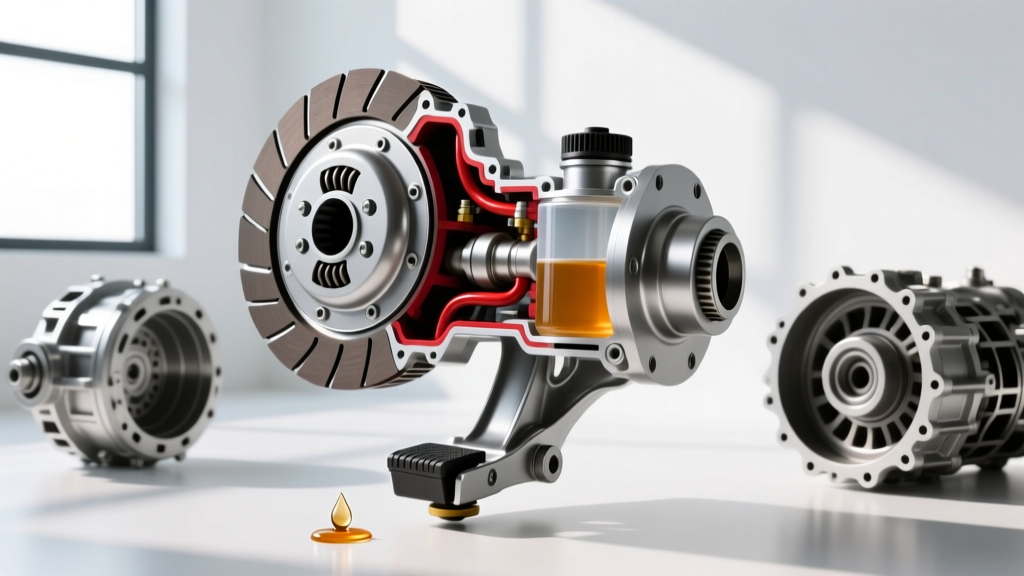
The E-Clutch system utilizes a dedicated hydraulic circuit linking the electric actuator to the internal slave cylinder. The ECU relies heavily on the Clutch Position Sensor (CPS) to determine the exact bite point of the friction plates.
Root Cause: DOT 4 brake fluid is highly hygroscopic. If the E-Clutch hydraulic circuit is not bled at the manufacturer-recommended 2-year interval, moisture accumulation lowers the fluid's boiling point and alters its volumetric expansion characteristics under heat. As the fluid degrades, the hydraulic pressure required to move the slave cylinder changes, causing the CPS to report an inaccurate clutch position to the ECU. The ECU interprets this as a mechanical slip fault.
Symptom Signature: Erratic engagement in stop-and-go traffic, unexpected engine stalling when coming to a halt, and a 'spongy' feel when using the manual override lever.
3. Micro-Slip Friction Plate Glazing
While the E-Clutch is designed to reduce rider fatigue, its programming allows for intentional micro-slipping to smooth out gear transitions, particularly in the lower gears.
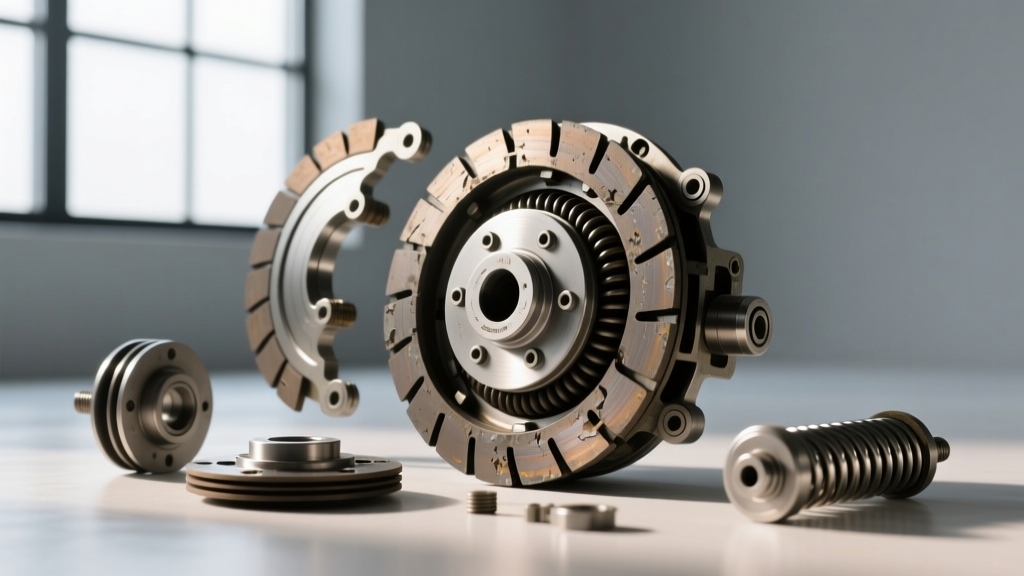
Root Cause: In heavy urban commuting, the ECU's algorithm may keep the clutch in a state of partial engagement longer than a human rider would. This generates excessive thermal load on the friction plates. Furthermore, installing standard manual clutch plates (instead of the specific E-Clutch friction materials designed for higher thermal tolerance) will result in rapid glazing and shuddering.
Symptom Signature: High-RPM flaring during upshifts, a burning odor from the left stator cover area, and reduced top-end acceleration despite healthy engine compression.
E-Clutch vs. Traditional Manual: Diagnostic Comparison
When evaluating a motorcycle for purchase or repair, it is vital to distinguish between traditional mechanical failures and E-Clutch-specific faults. The table below outlines the diagnostic divergence.
| Diagnostic Parameter | Traditional Manual Clutch | Honda E-Clutch System |
|---|---|---|
| Lever Feel / Feedback | Direct mechanical feedback via cable or hydraulic pressure. | Simulated feedback; lever feel can remain static even if slave cylinder fails. |
| Slipping Under Load | Worn friction plates or weak clutch springs. | CPS sensor drift, actuator micro-motor failure, or ECU thermal limp-mode. |
| Stalling at Stops | Rider error (failing to pull lever). | ECU failing to recognize neutral/idle state due to gear position sensor fault. |
| Diagnostic Tooling | Visual inspection, cable measurement, hydraulic bleed. | Requires Honda Diagnostic System (HDS) to read CPS voltage and cycle actuator. |
Buyer's Guide: Inspecting a Used Honda E-Clutch Motorcycle
As 2024 and 2025 E-Clutch models flood the used market in 2026, buyers must perform specific inspections that go beyond standard tire and chain checks. According to technical service bulletins and expert reviews from Cycle World, the E-Clutch system is highly reliable when maintained, but catastrophic in repair costs if neglected.
Pro-Tip for Buyers: Never test ride a used E-Clutch motorcycle without first verifying the manual override. Pull the clutch lever in while the bike is in gear and the engine running. If the bike does not fully disengage and attempts to creep forward, the hydraulic slave circuit has air or the actuator gear is stripped.
The 5-Point E-Clutch Inspection Checklist
- The 'Ignition On' Actuator Test: Turn the key to the ON position without starting the engine. You should hear a brief, high-pitched whirring sound from the left side of the engine as the ECU cycles the actuator motors to verify position. Silence indicates a blown actuator fuse or dead motor.
- Fluid Moisture Check: Inspect the DOT 4 fluid in the E-Clutch reservoir (located on the left side, distinct from the front brake reservoir). If the fluid is dark amber or black, the CPS drift is highly likely, and a full HDS-assisted hydraulic bleed is mandatory.
- Thermal Flare Test: During the test ride, accelerate hard in 3rd gear from 4,000 RPM. The E-Clutch should lock up instantly. Any RPM flaring indicates glazed friction plates from excessive urban micro-slipping.
- Connector Corrosion: Trace the wiring harness from the left crankcase actuator to the main ECU loom. Check the rubber weather seals for green copper oxide, a telltale sign of pressure-washing damage.
- HDS Code Scan: Insist on a pre-purchase scan using the Honda Diagnostic System. Look for pending codes related to the 'Clutch Actuator Motor' or 'Clutch Stroke Sensor' that a seller may have cleared without fixing the root cause.
OEM Part Numbers, Torque Specs, and Repair Costs
Repairing an E-Clutch system requires strict adherence to Honda's torque specifications and the use of exact OEM friction materials. As noted by parts specialists at Honda Powersports, mixing traditional manual clutch components with E-Clutch hardware will result in immediate ECU fault codes due to incompatible friction coefficients.
| Component / Service | OEM Part Number (Reference) | Torque Spec / Capacity | Est. 2026 Cost (Parts + Labor) |
|---|---|---|---|
| E-Clutch Actuator Assembly | 22200-MJE-D50 (Module) | Mounting Bolts: 10 N·m (7.3 lb-ft) | $950 - $1,300 |
| Friction Plate Set (E-Clutch Specific) | 22201-KYJ-900 (x6) | Soak in MA-10W-30 for 12 hrs prior | $180 - $250 |
| Clutch Center Lock Nut | 90301-KYJ-900 | 64 N·m (47 lb-ft) + Loctite 243 | $12 (Nut replacement mandatory) |
| Hydraulic Slave Cylinder Rebuild | 43150-MJE-D01 (Seal Kit) | Bleed via HDS Actuator Cycle Mode | $150 - $220 |
| DOT 4 Fluid Circuit Bleed | Honda DOT 4 | Capacity: ~0.25L (Actuator Circuit) | $80 - $120 (Shop Rate) |
The Track-Day Conversion Dilemma
A growing trend in 2026 among track-day enthusiasts is the desire to 'delete' the E-Clutch system and revert to a traditional manual cable/hydraulic setup to save weight and eliminate electronic nannies. While physically possible by swapping the left crankcase cover, clutch actuator, and ECU, the financial barrier is steep. Sourcing the traditional manual clutch pushrod, manual master cylinder, and a non-E-Clutch wiring harness often exceeds $1,800 in parts alone. For most riders, maintaining the OEM E-Clutch system with rigorous 10,000-mile fluid flushes remains the most economically sound decision.
Expert Verdict: Maintenance is the Ultimate Diagnostics Tool
The Honda E-Clutch represents a marvel of modern drivetrain engineering, bridging the gap between visceral manual engagement and automated convenience. However, its diagnostic landscape requires technicians and owners to abandon old-school mechanical assumptions. The root causes of E-Clutch failure are rarely catastrophic mechanical breakages; rather, they are the result of neglected hydraulic fluid, improper washing techniques, and the use of incompatible aftermarket friction plates.
For buyers entering the market, a well-maintained E-Clutch motorcycle offers unparalleled commuting comfort without sacrificing the sport-riding DNA of the CB650R and CBR650R platforms. By adhering to the OEM torque specs, utilizing the Honda HDS for hydraulic bleeding, and respecting the unique friction material requirements, the E-Clutch system will reliably deliver hundreds of thousands of seamless shifts. For deeper technical schematics and maintenance intervals, always consult the official RevZilla Common Tread technical archives or your local authorized Honda service center.