The Illusion of the External Fix: Motorcycle vs. Automatic
When DIY mechanics and enthusiasts transition from wrenching on two wheels to four, they frequently look for the automotive equivalent of a motorcycle clutch adjustment screw to cure slipping, shuddering, or delayed engagements. On a motorcycle, a simple turn of an external pushrod adjuster or cable barrel can instantly restore clutch pack friction and eliminate slip. However, diagnosing and repairing clutch problems in automatic transmissions requires a completely different mechanical paradigm.
Automatic transmissions do not rely on a single, manually engaged multi-plate wet clutch. Instead, they utilize a complex network of hydraulically applied multi-plate clutch packs, apply bands, and one-way sprag clutches to route power through planetary gearsets. In 2026, with the dominance of 8-speed and 10-speed automatics like the ZF 8HP and GM 10L80, the idea of an "external adjustment" is entirely obsolete. This buyer’s guide and diagnostic comparison will bridge the gap between motorcycle simplicity and automatic transmission complexity, helping you select the right tools and parts to diagnose and fix auto clutch failures.
How Automatic Transmission Clutches Actually Engage
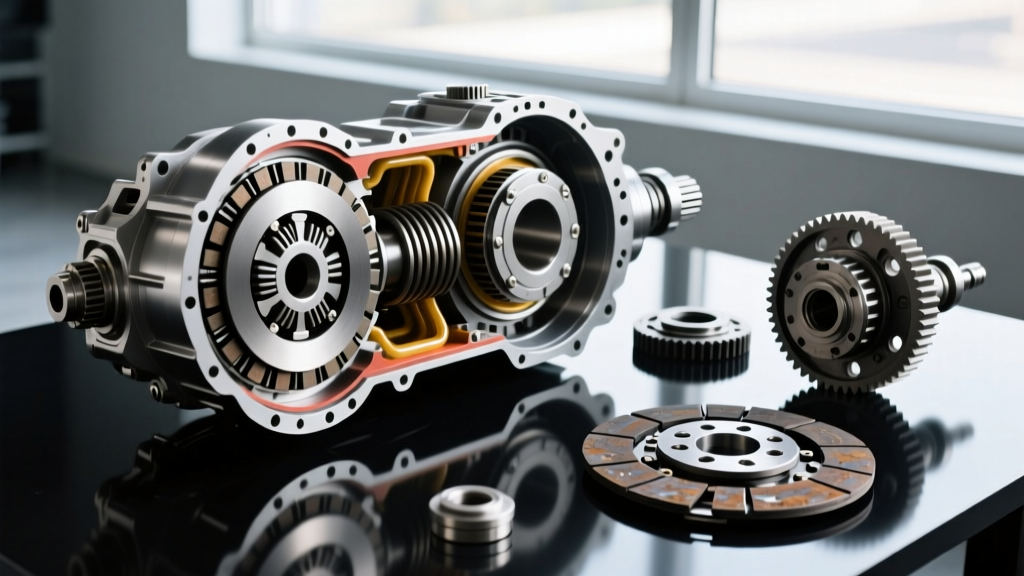
To understand why you cannot simply turn a screw to fix an automatic transmission slip, you must understand the hydraulic apply circuit. When the Transmission Control Module (TCM) commands a gear change, it energizes a shift solenoid. This directs line pressure to a specific clutch piston, which compresses a stack of alternating friction and steel plates against a backing plate.
If you are experiencing RPM flares (slipping) between gears, harsh "clunking" engagements, or a complete loss of drive in specific gears (e.g., no 3rd or 5th gear in a GM 6L80), the issue is rarely an "adjustment" problem. It is typically one of three failures:
- Hydraulic Pressure Loss: Worn piston seals, cracked drum housings, or leaking valve body check balls.
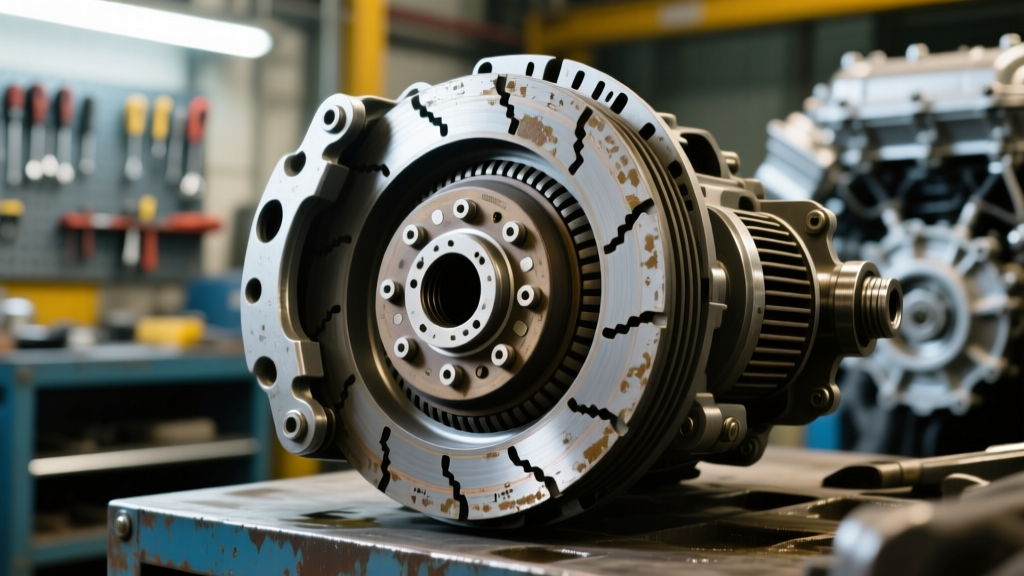
- Friction Material Degradation: Glazed, burnt, or physically sheared friction plates.
- Clearance Drift: Excessive gap between the backing plate and the clutch pack due to worn snap rings or collapsed wave plates.
The 4L60E Band Adjuster: The Closest Auto Equivalent
There is exactly one scenario in modern automotive repair where a technician uses something resembling a motorcycle clutch adjustment screw: the intermediate band adjustment on the legendary GM 4L60E (and its predecessors like the 700-R4). The 2-4 band wraps around the reverse input drum to hold it stationary during 2nd and 4th gears. If you have a 1-2 shift flare or no 4th gear, the band might be loose.
Unlike a motorcycle, this adjuster is located inside the transmission pan. The adjustment procedure requires strict adherence to torque specifications:
- Remove the transmission pan and locate the intermediate band adjuster screw.
- Loosen the locknut and torque the adjuster screw inward to exactly 72 in-lbs (8 Nm).
- Back the screw out exactly 3 full turns.
- Hold the adjuster screw stationary while torquing the locknut to 25 ft-lbs (34 Nm).
Beyond this specific legacy application, modern automatics rely on selective shimming and hydraulic line pressure manipulation.
Modern Clutch Packs: ZF 8HP and GM 6L80
In modern transmissions like the ZF 8HP70 or the GM 6L80, there are no bands and no adjuster screws. Clutch pack clearance is established at the factory using selective snap rings or selective pressure plates. For example, the target clearance for the 3-5-R clutch pack in a GM 6L80 is typically between 0.040" and 0.060" (1.0 - 1.5mm). If the clearance exceeds this due to worn friction material, the piston runs out of stroke before fully compressing the pack, resulting in a catastrophic RPM flare and burnt fluid.
Diagnostic & Adjustment Comparison Matrix
The following table contrasts the adjustment and diagnostic methodologies across different drivetrain platforms to illustrate the leap in complexity.
| Platform | Clutch Mechanism | Adjustment Method | Primary Diagnostic Tool | Common Failure Symptom |
|---|---|---|---|---|
| Sport Motorcycle | Manual Multi-plate Wet | External pushrod / cable screw | Feeler gauge, free-play measurement | Slip at high RPM, lever drag |
| GM 4L60E (Auto) | Apply Band (2-4) | Internal pan screw (72 in-lbs + 3 turns) | Line pressure gauge, road test | 1-2 flare, no 4th gear |
| GM 6L80 (Auto) | Multi-plate Clutch Packs | Selective snap rings (No external adjust) | Bi-directional scanner, air-check | 3-5-R flare, harsh downshifts |
| ZF 8HP (Auto) | Overlapping Clutch Packs (A-E) | Selective pressure plates (No external adjust) | TCM adaptation reset, pressure test | Mechatronic sleeve leaks, E-clutch slip |
Buyer’s Guide: Diagnostic Tools for Auto Clutch Problems
Since you cannot simply turn a screw to fix an automatic transmission clutch, you must invest in tools that measure hydraulic pressure and electronic solenoid duty cycles. Here is what belongs in your 2026 diagnostic arsenal.
- Master Transmission Pressure Gauge Kit
- Recommended: Astro Pneumatic 78585 or OTC 5630 Master Kit.
Price Range: $250 - $400.
Why You Need It: Automatic clutch apply is entirely dependent on fluid pressure. If your TCM commands a shift but the clutch slips, you must tap into the specific clutch apply port on the transmission case. A standard 4L60E should show ~75-90 PSI in gear at idle, jumping to ~180+ PSI at wide-open throttle (WOT). If pressure is low, the clutch pack isn't the problem—the pump, pressure regulator valve, or solenoid is. - Bi-Directional Scan Tool with TCM Adaptations
- Recommended: Autel MaxiCOM MK808S or XTOOL D7.
Price Range: $450 - $800.
Why You Need It: Modern transmissions (like the ZF 8HP or Ford 10R80) use adaptive learning tables. As clutch friction material naturally wears, the TCM incrementally increases solenoid duty cycle to maintain shift firmness. If you replace a valve body or reset the TCM without performing a "Clutch Adaptation / Relearn" procedure, the transmission will shift violently or slip, mimicking a mechanical failure.
Buyer’s Guide: Internal Repair Parts & Kits
When diagnostic testing confirms internal clutch pack failure or hydraulic cross-leaks, you must drop the transmission or perform a bench rebuild. Rely on authoritative industry suppliers like Raybestos Powertrain and Sonnax for components that exceed OEM tolerances.
1. High-Energy Friction Kits
For heavy-duty applications or vehicles suffering from chronic heat degradation, standard OEM paper-based frictions will not suffice. The Raybestos GPZ (Pro Series) clutch packs utilize a proprietary composite material that increases torque capacity by up to 30% and drastically improves heat dissipation. A complete GPZ master overhaul kit for a GM 6L80 typically retails between $350 and $500.
2. Valve Body Zip Kits
Often, a "clutch problem" is actually a valve body bore wear issue. The Sonnax Zip Kits provide drop-in, anodized aluminum valve sleeves and new spool valves that restore tight hydraulic clearances. For the ubiquitous ZF 6HP26/8HP70 mechatronic units, replacing the worn solenoid regulator valve sleeves (often under $150 for the kit) will cure clutch chatter and harsh engagements without requiring a full transmission teardown.
Expert Technician Tip: When assembling modern clutch packs, never rely on "feel." You must use a dial indicator or a precision feeler gauge to measure the gap between the backing plate and the top friction disc. If the clearance on a GM 6L80 1-2-3-4 clutch pack exceeds 0.080", you must swap the selective backing plate for a thicker unit to restore the 0.040"-0.060" specification. Ignoring this will result in immediate post-rebuild slip.
Cost Breakdown: DIY vs. Professional Rebuild
Understanding the financial reality of automatic clutch problems helps frame why proper diagnosis is critical. Unlike replacing a $40 motorcycle clutch cable, automatic transmission repairs require significant capital.
- DIY Diagnostic Phase: $40 (ATSG service manual) + $300 (Pressure gauge kit) = $340.
- DIY Valve Body/Solenoid Repair: $250 (Sonnax Zip Kit/Solenoids) + $150 (12 qts Dexron VI or ZF LifeguardFluid 8) = $400.
- DIY Full Clutch Pack Rebuild: $500 (Master kit with steels/frictions/seals) + $150 (Fluids/Filters) + $200 (Specialty tools/snap ring pliers) = $850.
- Professional Remanufactured Unit: Swapping in a professionally rebuilt unit from a supplier like Jasper or local specialist typically ranges from $2,800 to $4,500 installed, depending on the vehicle and core charge.
Final Verdict: Leave the Screwdriver, Grab the Scanner
While the concept of a motorcycle clutch adjustment screw represents the elegant simplicity of mechanical cable-and-rod actuation, automatic transmission clutch problems live in the realm of fluid dynamics, microscopic clearances, and electronic solenoid mapping. Stop looking for an external adjustment bolt. Invest in a quality pressure test kit, acquire a bi-directional scanner capable of reading TCM clutch volume indices (CVI), and trust precision measurement tools over guesswork. By treating the automatic transmission as a sealed hydraulic circuit rather than a mechanical linkage, you will accurately diagnose the root cause of the slip and execute a permanent repair.