The Drivetrain Bottleneck: Understanding PTO Clutch Dynamics
The Power Take-Off (PTO) clutch on a lawn tractor or zero-turn mower serves the exact same fundamental purpose as an automotive torque converter or manual friction clutch: it couples rotational mass to a driven load. When you are replacing PTO clutch on Cub Cadet models, unresolved engagement chatter and harmonic vibration can quickly destroy the engine crankshaft main bearings, shear flywheel keys, and shred mower deck belts. As of 2026, with the rise of high-drag commercial attachments like heavy-duty leaf vacuums and 60-inch snowblowers, the stock electromagnetic clutches on many garden tractors are operating at their absolute thermal limits. To properly diagnose and upgrade these systems, we must apply rigorous automotive drivetrain diagnostic principles to small-engine power transfer units.
Diagnosing PTO Clutch Chatter: The Air Gap and Voltage Matrix
Clutch chatter in an electromagnetic PTO is defined as a rapid, high-frequency slip-grab cycle during initial engagement. Unlike an automotive clutch where chatter is often caused by oil contamination or weak torsional damper springs, PTO clutch chatter is almost exclusively a symptom of magnetic flux starvation or mechanical tolerance degradation. The electromagnet must generate enough localized force to pull the armature plate against the rotor face, overcoming the rotational inertia of the mower deck spindles.
Electrical Diagnostics: Voltage Drop Under Load
The most common misdiagnosis in PTO chatter is blaming the mechanical components when the fault lies in the wiring harness. A standard Warner or Ogura 5282-series clutch requires a minimum of 12.4V DC at the clutch pigtail while the engine is running and the PTO is engaged. Voltage drop across the safety interlock circuit (seat switch, brake switch, PTO relay, and dash switch) can easily rob the clutch of critical amperage.
- Static Test: Engine off, key on, PTO engaged. Measure voltage at the clutch connector. It should read within 0.2V of battery resting voltage.
- Dynamic Load Test: Engine at 3200 RPM, PTO engaged. Measure voltage. If it drops below 12.2V, the magnetic field collapses microscopically, causing the armature to slip and grab (chatter).
- Resistance Check: Unplug the clutch and measure resistance across the terminals. A healthy 5282-series clutch should read between 2.8 and 3.4 ohms. A reading below 2.0 ohms indicates shorted internal windings, which will draw excessive amperage, overheat the relay, and cause severe voltage drop.
Mechanical Diagnostics: Air Gap and Runout Tolerances
If voltage is optimal, the next suspect is the air gap. As the friction surfaces wear, the gap between the rotor and the armature widens. The magnetic field strength decreases exponentially as the gap increases. Most OEM Cub Cadet PTO clutches require an air gap between 0.010' and 0.015'. This must be measured using a tapered feeler gauge inserted through the inspection slots on the clutch body. If the gap exceeds 0.020', the clutch will chatter violently upon engagement. Many performance clutches feature adjustable set-screws with locking nuts to manually reset this gap, whereas sealed OEM units require outright replacement once the friction material is depleted.
Vibration Analysis: Isolating Harmonic Frequencies
While chatter occurs during the engagement phase, continuous vibration is a rotational imbalance issue that persists as long as the PTO is spinning. Vibration will fatigue the engine crankshaft stub and eventually lead to catastrophic main bearing failure.
Expert Drivetrain Insight: Never assume a vibrating PTO clutch is internally defective without first verifying crankshaft runout. A bent crankshaft from striking a stump or hidden rock will transmit severe harmonic vibration through the clutch rotor, mimicking a failed internal clutch bearing. Always verify the engine stub shaft before condemning the new clutch assembly.
To isolate vibration, you must perform a dial indicator runout test. Mount a magnetic base dial indicator to the engine block and place the needle on the outermost edge of the crankshaft stub. Rotate the engine by hand. Maximum allowable runout for Kawasaki FX and Kohler Command V-twin engines is 0.003'. If runout exceeds 0.005', the vibration is originating from the engine, not the clutch. Additionally, inspect the anti-rotation collar. The PTO clutch must not be rigidly bolted to the frame; it must be secured by an anti-rotation pin or strap that prevents the stator from spinning without inducing lateral binding on the clutch body.
Thermal Glazing and the Slip-Grab Cycle
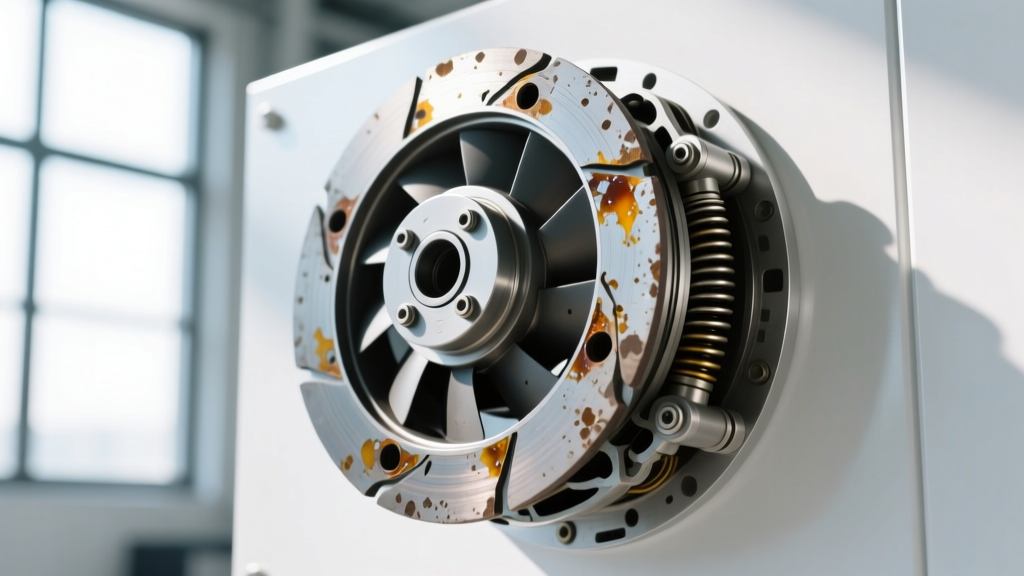
When a PTO clutch is subjected to high-inertia loads (such as engaging a heavy snowblower auger at high RPM), it slips. This slip generates immense heat, often exceeding 400°F at the friction interface. This heat glazes the friction surfaces and warps the armature plate. A warped armature will never seat perfectly flat against the rotor, creating a localized high-spot that causes a rhythmic thumping or vibration at high RPM. When replacing PTO clutch on Cub Cadet tractors used for heavy commercial or estate clearing, upgrading to a unit with superior thermal dissipation is mandatory to break this cycle.
Performance Upgrade Guide: Beyond the OEM Replacement
Standard OEM replacements are generally rated for standard 42-to-54 inch mower decks. If your Cub Cadet is pushing the limits of its PTO system, you must look at high-torque, high-heat aftermarket alternatives. Companies like Ogura Industrial manufacture heavy-duty GT-series clutches that feature precision-machined armatures, high-temp epoxy encapsulated coils, and upgraded sealed ball bearings that resist lateral loading.
| Specification | OEM Standard (Warner 5282-63) | Performance (Ogura GT2.5 / Xtreme) |
|---|---|---|
| Static Torque Rating | 85 ft-lbs | 125 - 150 ft-lbs |
| Max Heat Dissipation | 75 Watts | 110 Watts (Finned Rotor) |
| Bearing Type | Standard Sealed Radial | High-Load Angular Contact |
| Coil Encapsulation | Standard Epoxy | High-Temp Thermal Resin |
| Adjustable Air Gap | Rare (Usually Sealed) | Yes (3-Point Set Screw) |
Upgrading to a high-torque unit ensures that the magnetic lock-up is instantaneous, completely eliminating the slip-grab chatter phase and drastically reducing thermal degradation. You can source exact-fit heavy-duty replacements through specialized drivetrain vendors like Jack's Small Engines, ensuring you match the exact crankshaft diameter (typically 1' or 1-1/8') and spline/pin configuration of your specific Cub Cadet model.
Precision Installation: Torque Specs and Validation
Proper installation is critical to preventing post-replacement vibration. The center mounting bolt secures the clutch rotor directly to the crankshaft. Under-torquing allows micro-movements that will wallow out the keyway, while over-torquing can stretch the crankshaft stub or crack the rotor hub.
- Kohler Courage / Command V-Twins: Torque the center bolt to 55-60 ft-lbs. Use a strap wrench to hold the clutch body; never use an impact wrench to tighten the center bolt, as the rotational shock can shatter the internal epoxy coil housing.
- Kawasaki FX / FS Series: Torque to 74 ft-lbs. Verify the Woodruff key is fully seated in the crankshaft slot before sliding the clutch on. A partially seated key will cause immediate binding and severe vibration.
- Briggs & Stratton Intek / Endurance: Torque to 65 ft-lbs.
Always apply a medium-strength threadlocker (such as Loctite 243) to the center bolt threads to prevent backing out due to harmonic vibration. Finally, ensure the anti-rotation bracket has a 1/16' clearance on either side of the clutch tab. The bracket must prevent rotation but must not support the weight of the clutch or bind the housing, as this will transfer engine harmonics directly into the mower deck belt drive system. For further engine-specific teardown procedures and crankshaft tolerance limits, always consult the official Kohler Engine Service Manuals or your respective manufacturer's documentation before beginning the swap.