The Engineering Behind Honda's Real Time 4WD System
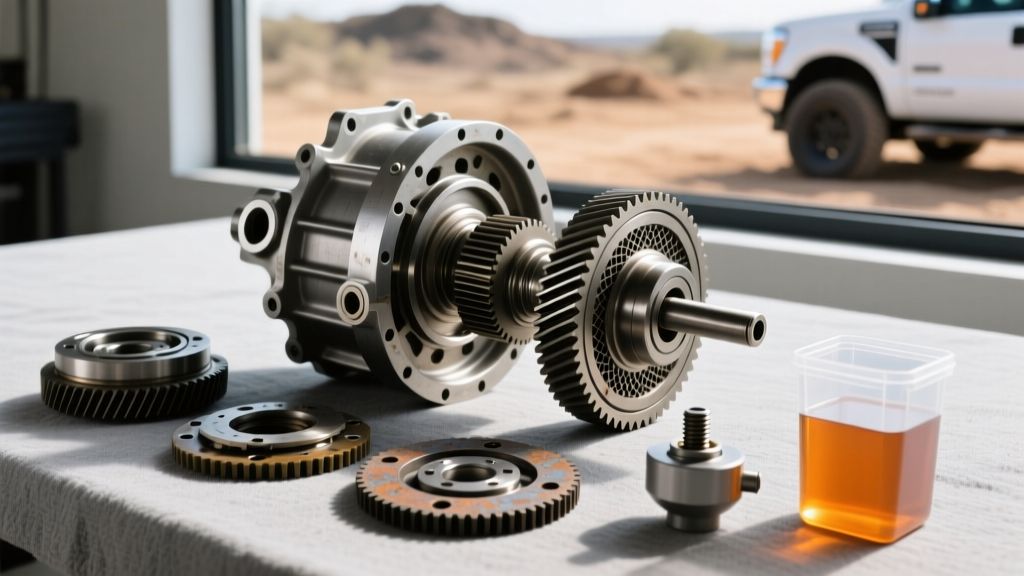
Unlike traditional torque-biasing differentials, viscous coupling systems, or electronically controlled clutch packs found in modern crossovers, Honda’s classic Real Time 4WD system relies on a purely mechanical hydraulic principle. At the heart of this system is the dual-pump assembly. When the front wheels lose traction and spin faster than the rear wheels, a hydraulic pressure differential is created between the two internal pumps. This pressure forces a wet clutch pack to engage, seamlessly transferring torque to the rear axle.
However, this elegant mechanical solution is entirely dependent on the shear stability and frictional characteristics of the fluid inside. When Honda dual pump differential fluid degrades, it loses its specific friction modifiers. The result is the infamous "Honda groan"—a shuddering, binding noise heard from the rear of the vehicle during tight, low-speed turns. As of 2026, maintaining this fluid remains one of the most critical, yet frequently overlooked, aspects of Honda and Acura AWD longevity.
Fluid Identification: Dual Pump II vs. DPSF
Before turning a single wrench, you must identify the correct fluid for your specific chassis. Using standard 75W-90 gear oil or generic limited-slip fluid will destroy the internal clutch pack in a matter of miles.
- Dual Pump Fluid II (Part # 08200-9007): The legacy fluid used in 1997–2011 Honda CR-Vs, Honda Elements, and early Acura RDX models.
- DPSF - Dual Pump System Fluid (Part # 08200-9008): Introduced for the 2012+ Honda CR-V and newer Real Time AWD platforms. It features an updated friction modifier package and improved thermal stability.
Always consult your owner's manual or the Honda Technical Service Information portal to verify the exact fluid specification for your VIN.
Required Tools and Materials
Gather the following OEM and shop materials before beginning the service:
- Fluid: 2 Quarts of Genuine Honda Dual Pump Fluid II or DPSF (Capacity is typically 1.1 to 1.3 quarts, but you need extra for the flush/top-off procedure).
- Crush Washers: 2x OEM 18mm Drain/Fill Plug Washers (Part # 90471-PX4-000). Never reuse the old aluminum crush washers.
- Wrenches: 17mm socket or 3/8-inch square drive breaker bar (depending on the model year of your differential).
- Torque Wrench: Capable of measuring in the 30-40 lb-ft range.
- Fluid Transfer Pump: A manual hand pump that threads onto the quart bottle.
- Drain Pan & Shop Towels.
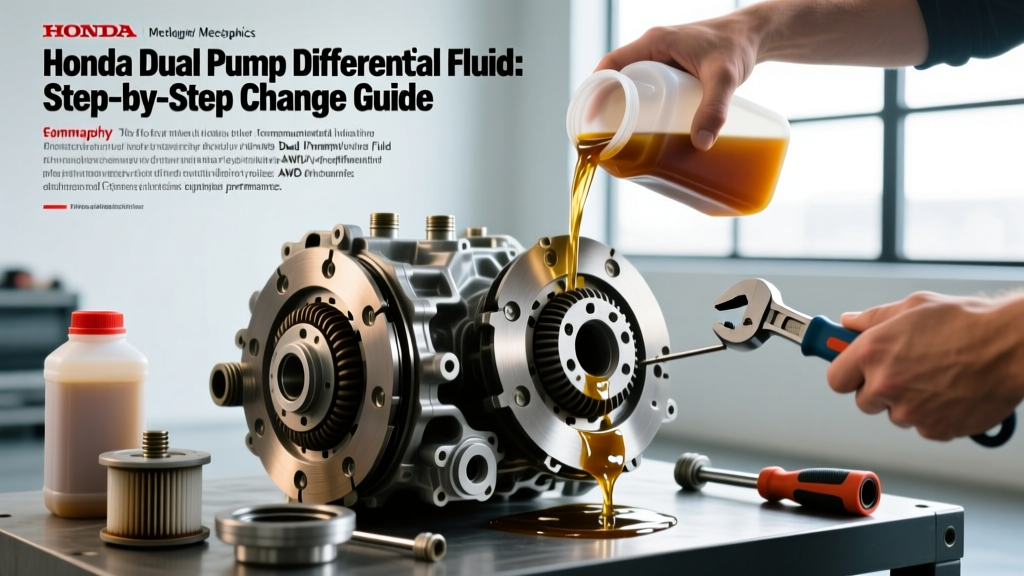
Step-by-Step Honda Dual Pump Fluid Change Procedure
Step 1: The Golden Rule of Differential Service
Always remove the FILL plug first. If you drain the differential and subsequently discover that the fill plug is seized or stripped, you will be left with a dry, immobile vehicle that requires differential disassembly to extract. Break the fill plug loose while the fluid is cold, then move to the drain plug.
Step 2: Draining the Degraded Fluid
- Drive the vehicle onto level jack stands or a flat-surface lift. The Real Time 4WD system must be perfectly level to ensure an accurate fill volume.
- Place your drain pan beneath the rear differential.
- Remove the 17mm (or 3/8" square) drain plug located at the bottom of the rear housing.
- Allow the fluid to drain completely. Inspect the magnetic tip of the drain plug. A small amount of fine metallic paste is normal wear; large chunks or shimmering glitter indicate internal clutch or bearing failure requiring a rebuild.
- Wipe the drain plug clean, install a new 18mm crush washer, and reinstall the plug.
- Torque the drain plug to 33 lb-ft (44 Nm).
Step 3: Initial Refill
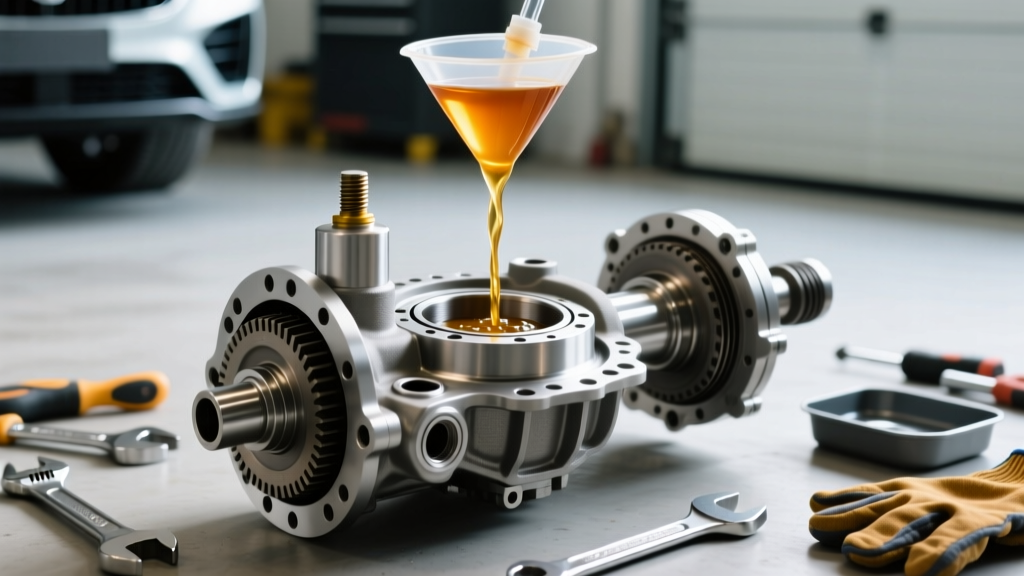
- Thread your fluid transfer pump onto the bottle of Genuine Honda Dual Pump fluid.
- Insert the pump hose into the fill hole.
- Pump the fluid into the differential until it begins to weep out of the fill hole. For most CR-V and Element models, this will be between 1.05 and 1.25 quarts.
- Once the fluid weeps out, temporarily reinstall the fill plug without a new crush washer just to keep dirt out during the test drive.
Step 4: The Mandatory Figure-8 Test Drive
Critical E-E-A-T Warning: Do not skip this step. Honda Technical Service Bulletins (TSBs) explicitly require a specific driving procedure to bleed air from the clutch pack and circulate the new friction modifiers. Failing to do this will result in persistent groaning and an inaccurate final fluid level.
- Take the vehicle to an empty, paved parking lot.
- Drive the vehicle in a continuous "Figure-8" pattern at low speeds (5-10 mph) for approximately 3 to 5 minutes.
- This tight turning forces the front and rear wheel speeds to differ, actively engaging the dual hydraulic pumps and forcing the new fluid deep into the porous wet clutch pack.
- Return to the shop and place the vehicle back on level stands.
Step 5: Final Top-Off and Sealing
- Remove the temporary fill plug. You will notice the fluid level has dropped as the clutch pack absorbed the new fluid and air was purged.
- Pump additional fluid into the fill hole until it weeps out once again.
- Wipe the fill plug threads, install your second new 18mm crush washer, and reinstall the plug.
- Torque the fill plug to 33 lb-ft (44 Nm).
- Clean the differential housing with brake cleaner to remove any spilled fluid, making it easier to spot future leaks.
Maintenance Intervals: When to Change the Fluid
Honda's official maintenance minder system often neglects the rear differential, relying on a generic "Service Code" that many owners ignore. To protect the clutch pack, adhere to the following interval chart based on your driving profile.
| Driving Condition | Replacement Interval | Common Scenarios |
|---|---|---|
| Normal Service | Every 90,000 miles | Highway commuting, mild climates, flat terrain. |
| Severe Service | Every 30,000 miles or 2 years | Frequent tight turns, snow/ice driving, towing, trailering, or mountainous terrain. |
| Corrective Service | Immediately | If rear axle groaning, binding, or shuddering is detected during low-speed cornering. |
Troubleshooting: What If the Groaning Persists?
If you have completed the fluid exchange and the Figure-8 test drive, but the rear end still groans on tight turns, do not panic. In severe cases of fluid degradation, the clutch pack retains old, contaminated friction material. According to Honda Parts Now OEM Catalog guidelines and veteran technician consensus, a "double flush" is often required.
Simply drain the newly installed fluid immediately, refill it with fresh Dual Pump Fluid II or DPSF, and repeat the Figure-8 test drive. In 95% of cases, this double-flush procedure completely resolves the binding noise without the need to replace the $1,200+ rear differential assembly. If the noise persists after two fluid changes, the wet clutch pack has suffered permanent mechanical glazing, and a differential teardown or replacement is necessary.
Final Thoughts on AWD Longevity
The Honda Real Time 4WD system is remarkably durable, provided its hydraulic lifeblood is respected. By utilizing only OEM Honda dual pump differential fluid, adhering to precise torque specifications, and executing the mandatory clutch-bleeding test drive, you ensure your AWD system remains transparent, quiet, and ready to deliver traction exactly when you need it.