The Reality Behind the 'Rear Differential Fluid Change Cost Near Me' Search
When you type rear differential fluid change cost near me into your search engine, you are typically met with a barrage of local dealership and independent shop quotes ranging from $180 to well over $350. As we navigate through 2026, with national average shop labor rates hovering between $140 and $185 per hour, paying a master technician to crack open a differential cover and swap out three pints of gear oil is one of the least cost-effective maintenance items you can outsource.
The rear differential is a marvel of hypoid gear engineering, but it is entirely dependent on a thin film of extreme-pressure (EP) gear oil to prevent the ring and pinion from welding together under load. Whether you are driving a daily-driven half-ton truck, a Jeep Wrangler with a Dana 44, or a Mustang with a Ford 8.8-inch axle, mastering this procedure in your own garage will save you hundreds of dollars and give you a baseline understanding of your drivetrain's health.
2026 Cost Breakdown: Dealership vs. Independent Shop vs. DIY
Before we grab our wrenches, let us look at the hard data regarding what you will actually pay if you choose to outsource this job. The table below reflects average national pricing for a standard solid-axle rear differential service (drain, clean, RTV seal, and fill) in 2026.
| Service Provider | Parts & Fluid Cost | Estimated Labor | Total Cost | Time Required |
|---|---|---|---|---|
| OEM Dealership | $85 - $130 (OEM Branded) | $160 - $210 | $245 - $340 | 1.5 Hours |
| Independent Shop | $45 - $70 (Valvoline/Castrol) | $110 - $150 | $155 - $220 | 1 Hour |
| DIY (Home Garage) | $35 - $55 (Premium Synth) | $0 (Your Time) | $35 - $55 | 45 - 60 Mins |
As the data illustrates, the DIY route yields an immediate 75% to 85% return on investment compared to dealership pricing. Furthermore, doing it yourself allows you to use top-tier synthetic lubricants that many dealerships will not stock on-site.
Understanding Differential Fluid Intervals and Degradation
Many modern owner's manuals claim differential fluid is 'lifetime' or recommend intervals of 100,000 miles. From a tribology and mechanical engineering standpoint, this is largely a marketing concession to lower the cost of scheduled maintenance for the original buyer. In reality, hypoid gears generate immense shearing forces and localized heat, which breaks down the viscosity index improvers in the gear oil over time.
- Normal Driving (Commuting, Highway): Change every 50,000 miles.
- Severe Duty (Towing, Off-Road, Track): Change every 15,000 to 30,000 miles.
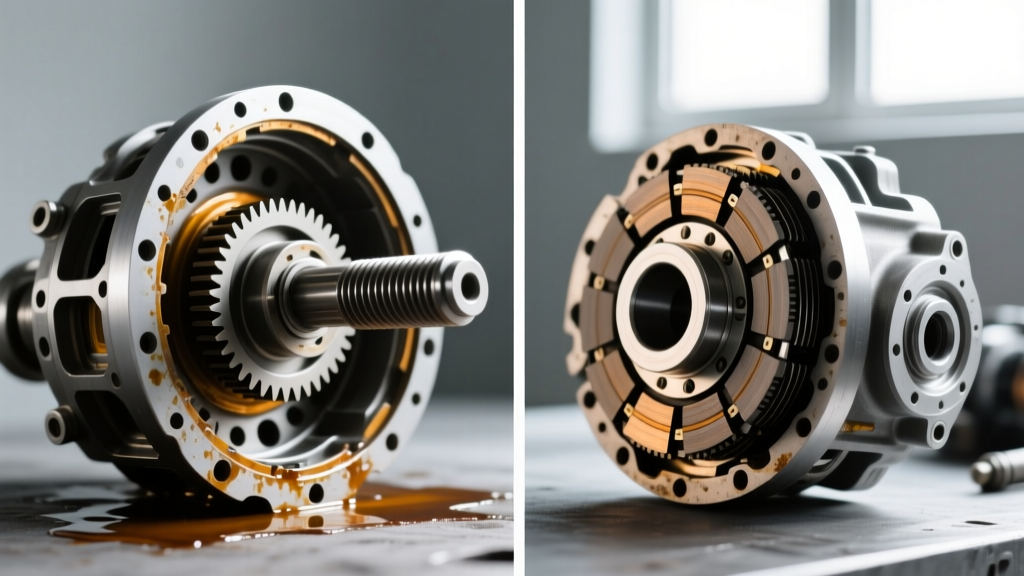
- Water Intrusion: If you submerge your axle hubs in mud or water, change the fluid immediately. Water mixes with gear oil to form a corrosive, milky sludge that will pit bearing races and destroy gear teeth in a matter of weeks.
Gathering Your Arsenal: Tools, Fluids, and Friction Modifiers
To execute this procedure flawlessly, you need the right chemistry and hardware. Do not skimp on the sealant or the fluid pump.
Required Consumables
- Gear Oil: 3 to 4 quarts of 75W-90 or 75W-140 Full Synthetic. We recommend checking Valvoline's gear oil lineup or exploring AMSOIL's severe gear technical data for high-shear stability.
- Friction Modifier: If your vehicle has a Clutch-Type Limited Slip Differential (LSD), you must add a friction modifier (e.g., Motorcraft XL-3 or GM EOS) to prevent low-speed cornering chatter.
- RTV Silicone: Permatex Ultra Black (Part #85224) or Permatex The Right Stuff. Do not use standard gasket maker; you need an oil-resistant, high-torque sensor-safe formula.
- Brake Parts Cleaner: 2 cans for degreasing the mating surfaces.
Required Tools
- 3/8-inch drive torque wrench (inch-pound or low-range foot-pound capable)
- Socket set (10mm, 13mm, or 15mm depending on axle cover bolts)
- 3/8-inch drive ratchet or breaker bar for the fill plug
- Manual fluid transfer pump (Lumax or similar)
- Brass bristle brush and plastic gasket scraper
- Jack stands and a hydraulic floor jack
Step-by-Step Rear Differential Fluid Change Procedure
Phase 1: Preparation and the Golden Rule of Drain Plugs
Start by driving the vehicle for 10 to 15 minutes. Warm gear oil flows significantly faster and carries suspended metallic particulates out of the housing much more effectively than cold, viscous oil. Once back in the garage, safely support the rear axle on jack stands. Never work under a vehicle supported solely by a hydraulic jack.
The Golden Rule: Always remove the fill plug before you remove the cover bolts. The fill plug is typically located on the front-facing side of the differential housing, near the driveshaft pinion. If you drain the fluid via the cover and then discover the fill plug is seized or stripped, you will be stranded with an empty axle and no way to refill it.
Once the fill plug is out, place a large drain pan (minimum 5-quart capacity) under the differential cover. Use your socket to break loose the cover bolts, working from the bottom up. Leave the top two bolts threaded in by just a few turns. Use a flathead screwdriver to gently pry the bottom of the cover loose, allowing the fluid to cascade into the pan without spilling over the edges.
Phase 2: Degreasing and RTV Application
Once drained, remove the final two bolts and drop the cover. Inspect the inside of the cover and the housing. A fine, dark metallic paste on the magnet is normal wear. Chunky metal shards or brass-colored flakes indicate bearing or bronze thrust washer failure, requiring a full rebuild.
Use your plastic scraper and brass brush to remove all old RTV from both the cover and the axle housing mating surface. Follow up with brake parts cleaner and a lint-free shop towel. The surface must be surgically clean and completely dry.
Apply a continuous, 3mm to 4mm bead of Permatex Ultra Black RTV to the differential cover. Ensure you circle every bolt hole. Pro-Tip: Allow the RTV to 'skin over' in the open air for 10 minutes before installing the cover. This prevents the silicone from squishing entirely out of the joint when torqued.
Reinstall the cover and thread all bolts in by hand. Tighten them in a crisscross star pattern to draw the cover down evenly. Torque the cover bolts to the manufacturer's specification (typically 25 to 35 lb-ft, detailed below). Allow the RTV to cure for at least one hour before filling.
Phase 3: Friction Modifier Math and Final Fill
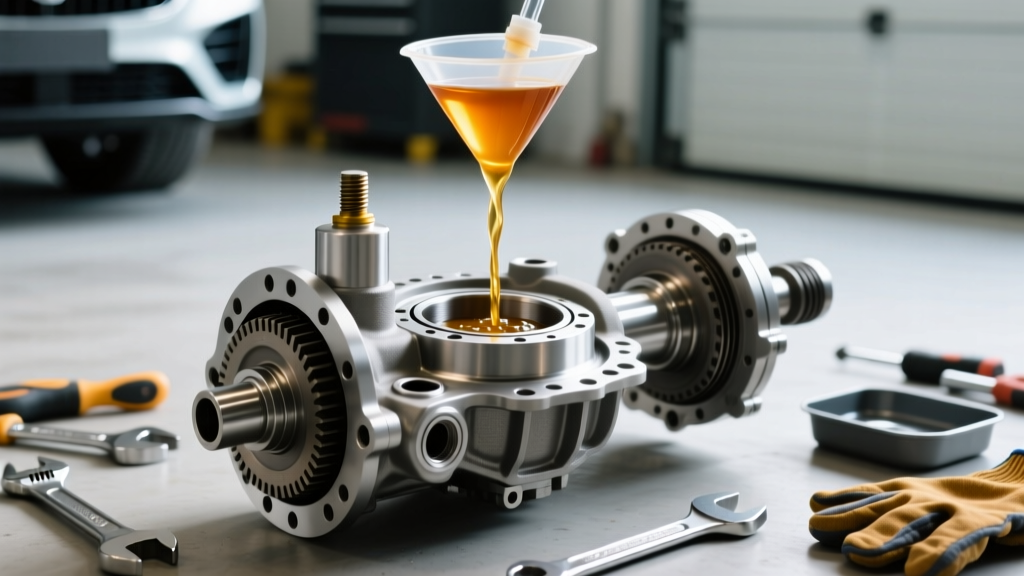
If your axle requires a friction modifier, pour the entire bottle into the empty differential housing through the fill hole before pumping in the gear oil. This ensures the modifier mixes thoroughly with the new fluid rather than sitting at the top of the fill hole.
Attach your manual fluid pump to the gear oil bottle and feed the hose into the fill hole. Pump the fluid until it begins to weep out of the bottom lip of the fill hole. This is the universal indicator that the differential is full to the correct level. Reinstall the fill plug and torque it to 15-20 lb-ft.
Quick-Reference Torque and Capacity Specifications
Always verify with your specific factory service manual, but these are the industry-standard baselines for the most common solid axles found on North American trucks and SUVs:
- Ford 8.8-Inch Axle: Capacity: 2.5 to 3.0 pints. Cover Bolt Torque: 32 lb-ft. Fill Plug Torque: 15 lb-ft. (Requires Motorcraft XL-3 if equipped with Traction-Lok LSD).
- GM 8.5 / 8.6-Inch 10-Bolt: Capacity: 2.1 to 2.4 pints. Cover Bolt Torque: 25 lb-ft. Fill Plug Torque: 15 lb-ft. (Requires GM EOS if equipped with Eaton Positraction).
- Dana 44 (Jeep/Truck): Capacity: 2.2 to 2.5 quarts. Cover Bolt Torque: 30 lb-ft. Fill Plug Torque: 25 lb-ft. (Note: Many modern Rubicon Dana 44s use a threaded bung instead of a 10-bolt cover).
Post-Service Verification
After the RTV has fully cured (usually 24 hours for maximum chemical resistance), take the vehicle for a 20-mile test drive. If you have a clutch-type LSD, perform several tight, low-speed figure-eights in an empty parking lot to circulate the friction modifier into the clutch packs. Park over a clean piece of cardboard and inspect the differential cover perimeter for any weeping. If it remains dry, you have successfully completed a dealership-quality service for a fraction of the cost, entirely eliminating the need to ever search for a shop to handle your drivetrain maintenance again.