Understanding the Honda Powersports DCT: A Beginner's Guide
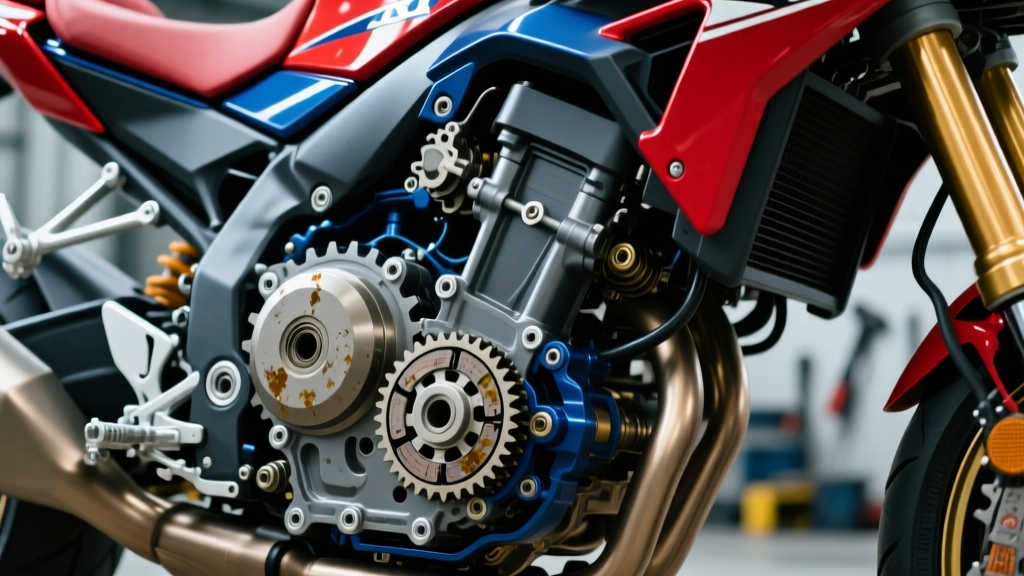
When riders and off-road enthusiasts first encounter a dual clutch transmission Honda DCT equipped machine, the experience feels like magic. Whether you are navigating city traffic on an NC750X, conquering trails on an Africa Twin CRF1100L, or hauling gear in a Pioneer 1000 UTV, the DCT offers seamless, clutchless gear changes. But what happens when that magic starts to feel a bit clunky? For beginners, diagnosing DCT issues can seem intimidating because the system bridges the gap between traditional manual wet clutches and fully automatic CVTs.
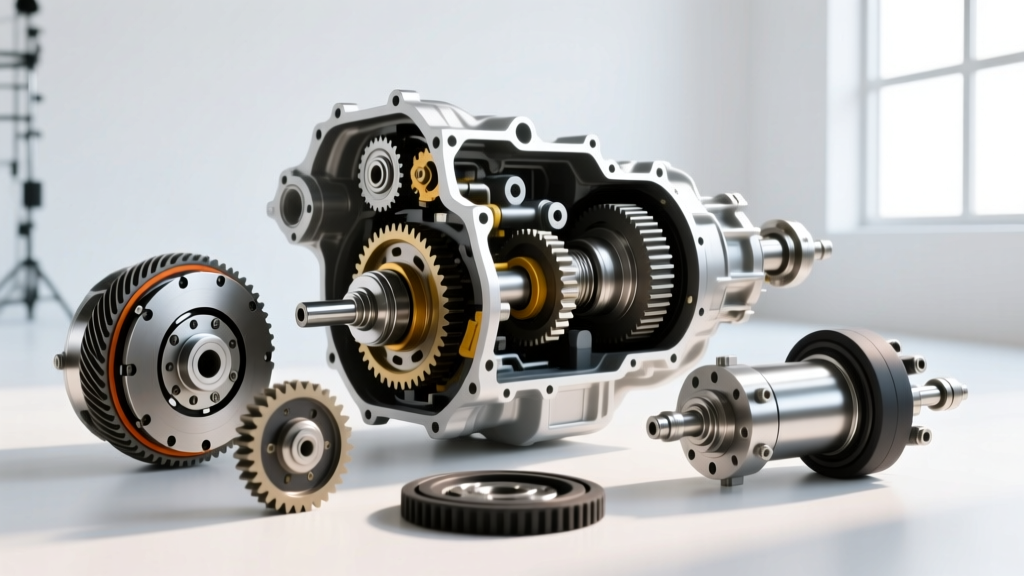
At its core, Honda's powersports DCT is essentially two manual transmissions housed in one case, operated by a computer and hydraulic solenoids. Clutch 1 handles the odd gears (1, 3, 5), while Clutch 2 manages the even gears (2, 4, 6). When a shift is commanded, the hydraulic control unit pre-selects the next gear and seamlessly swaps the clutches. Because the clutches are 'wet' (bathed in oil), they rely heavily on fluid integrity, precise hydraulic pressure, and mechanical clearances. When clutch problems specific to motorcycles and ATVs arise, they usually manifest in a few highly specific ways. Let's break down the most common symptoms, the exact science behind them, and how to diagnose them like a seasoned powersports technician.
Top 5 Honda DCT Clutch Symptoms in Motorcycles and ATVs
1. Low-Speed Shudder and Chatter (The 'Pioneer 1000 Jerk')
One of the most frequently reported issues on Honda UTVs like the Pioneer 1000 and Talon is a violent shudder or chatter when taking off from a dead stop, especially in 1st gear. Beginners often mistake this for a broken CV axle or a failing differential, but it is almost always a clutch engagement issue.
The Technical Cause: This shudder is typically caused by glazed clutch friction plates or contaminated hydraulic fluid. Because the DCT relies on micro-slippage to pull a heavy UTV from a stop, the friction material generates immense heat. If the machine is frequently lugged at low RPMs or used for heavy towing, the transmission fluid degrades, losing its friction modifiers. The clutch plates then grab and release in rapid succession, causing the chassis to shudder.
The Fix: Start with a fluid flush. The Pioneer 1000 requires dedicated Honda HCF-2 transmission fluid (Part #08200-HCF2). Do not use standard engine oil here, as it lacks the necessary friction modifiers for the UTV's specific DCT clutch pack. If a flush doesn't resolve the chatter, the friction plates (OEM Part #22201-HA0-000 equivalent series) must be inspected for glazing and replaced.
2. Harsh Shifting or 'Clunking' Between Gears
On motorcycles like the Africa Twin or Gold Wing, the DCT should be imperceptible during normal riding. If you experience a harsh 'clunk' or a physical jolt when shifting from 1st to 2nd, or 2nd to 3rd, the hydraulic timing is off.
The Technical Cause: This is rarely a mechanical failure of the clutch plates themselves. Instead, it points to a failing shift fork position sensor, a sticking linear solenoid in the hydraulic valve body, or degraded engine oil. On Honda motorcycles, the DCT shares lubrication with the engine. If you are using an automotive oil with high friction modifiers (like 'Energy Conserving' API SN/SP oils), it will cause the wet clutches to slip and the ECU to aggressively pulse the solenoids to maintain shift timing, resulting in a harsh clunk.
The Fix: Always use JASO MA or MA2 certified 10W-30 motorcycle oil (like Honda GN4). If the correct oil is already installed, a technician will hook up the Honda MCS (Motorcycle Communication System) diagnostic tool to check the shift drum angle sensor calibration and test the duty cycle of the clutch linear solenoids.
3. High-RPM Clutch Slip (Loss of Acceleration)
If you roll on the throttle hard in 4th or 5th gear and the tachometer spikes but your road speed doesn't match the RPM increase, your DCT is slipping. This is a classic symptom of worn friction material or fatigued clutch springs.
The Technical Cause: Unlike a manual transmission where the rider can 'feel' the slip point and adjust, the DCT ECU commands a specific hydraulic pressure based on throttle position and RPM. As the friction discs wear down beyond the 2.0mm service limit, the hydraulic piston bottoms out, and the ECU cannot apply enough clamping force to hold the gear under high torque loads.
The Fix: You need to measure the clutch pack. For an NC750X, the standard friction plate thickness is roughly 3.0mm, with a service limit of 2.6mm. If worn, replace them with an aftermarket heavy-duty kit like the EBC CK Series (e.g., CK1186 for the Africa Twin), which uses Kevlar-based friction material for better heat resistance and bite.
4. DCT Overheating Warning Light
Honda DCT dashboards feature a specific temperature warning indicator. If this light illuminates, the ECU will automatically limit engine RPM and force the transmission into a protective limp mode.
The Technical Cause: The DCT does not have a dedicated temperature sensor inside the clutch pack. Instead, the ECU calculates clutch temperature algorithmically based on engine RPM, vehicle speed, throttle position, and the frequency of clutch engagement. If you are riding a manual mode on a steep, technical off-road trail and 'feathering' the throttle without fully engaging the gear, the algorithm detects massive theoretical heat buildup and triggers the warning to prevent the friction plates from welding together.
5. The Dreaded 'Flashing N' (Failure to Engage)
If your dashboard displays a flashing 'N' (Neutral) and the machine refuses to move into Drive, the DCT has detected a critical fault and disabled the clutches to protect the transmission.
The Technical Cause: A flashing N is usually triggered by the TR (Transmission Range) switch, low hydraulic pressure, or a shift motor failure. The TR switch tells the ECU what gear the shift drum is physically in. If the switch gets contaminated with water or mud—a common occurrence on ATVs—the ECU loses track of the gear position and shuts the system down.
Diagnostic Data Table: Honda DCT Fluid & Torque Specs
One of the biggest mistakes beginners make is treating all Honda DCTs the same. The fluid requirements and capacities vary wildly between the motorcycle and ATV lineups. Use this reference chart before turning a single wrench:
| Vehicle Model | DCT Fluid Type | Capacity (with Filter) | Drain Plug Torque | Clutch Center Locknut Torque |
|---|---|---|---|---|
| Africa Twin CRF1100L | 10W-30 MA2 (Shared Engine Oil) | 4.8 Liters | 30 Nm (22 lb-ft) | 59 Nm (43 lb-ft) |
| NC750X / Rebel 1100 | 10W-30 MA2 (Shared Engine Oil) | 3.9 Liters | 30 Nm (22 lb-ft) | 59 Nm (43 lb-ft) |
| Pioneer 1000 / Talon | Honda HCF-2 Transmission Fluid | 2.0 Liters | 24 Nm (18 lb-ft) | N/A (UTV DCT layout) |
Note: When removing the clutch center locknut on Honda motorcycle DCTs, you must use the OEM Universal Clutch Holder Tool (Part #07923-6890001) to prevent the inner hub from spinning and damaging the transmission input shaft.
Step-by-Step Beginner Diagnostic Routine
Before you order expensive clutch packs, follow this diagnostic sequence to isolate the root cause of your DCT symptoms:
- Verify Fluid Level and Condition: Check the fluid on the centerstand (motorcycles) or level ground (ATVs). Smell the fluid. If it smells burnt or looks metallic, internal clutch wear has occurred.
- Inspect the TR Switch and Linkage: On the side of the transmission case, locate the TR switch. Ensure the linkage arm is tight and the rubber boot is not torn. Clean the electrical connector with contact cleaner.
- Retrieve DTCs (Diagnostic Trouble Codes): If you have a flashing N, you can read the codes without a dealer tool on older models. Bridge the two pins on the DLC (Data Link Connector) with a paperclip, turn the key to ON, and count the flashes of the MIL (Malfunction Indicator Lamp) or the N light. A long flash equals 10, a short flash equals 1. (e.g., Code 16 is a Shift Switch issue).
- Perform a DCT Learning Reset: Sometimes, after a fluid change or battery disconnect, the ECU forgets the clutch bite points. Refer to your service manual or Adventure Rider Forums for the specific button-press sequence to force the ECU to relearn the clutch engagement points.
When to Replace the Honda DCT Clutch Pack: Costs and Realities
If your diagnostic routine confirms physical clutch wear (slipping under load, confirmed by fluid debris), replacement is mandatory. But what will it cost?
OEM vs. Aftermarket Parts: An OEM Honda DCT clutch pack for an Africa Twin can cost upwards of $450 just for the friction and separator plates. In contrast, an aftermarket alternative from EBC or ProX can bring the part cost down to $130 - $180 while offering superior Kevlar friction materials that resist glazing better than OEM paper-based plates.
Labor and Special Tools: If you are doing this in your home garage, factor in the cost of a torque wrench capable of 59 Nm, the OEM clutch holder tool ($40), and a new clutch cover gasket (OEM #11395-MJM-D00). The job takes a competent beginner about 4 to 6 hours. The most critical step is soaking the new friction plates in the correct DCT fluid for a minimum of 2 hours before installation to prevent a dry-start burn-up upon first ignition.
Final Thoughts on DCT Maintenance
The dual clutch transmission Honda DCT is an engineering marvel that has revolutionized powersports. While it eliminates the physical effort of pulling a clutch lever, it introduces a new layer of hydraulic and electronic maintenance. By respecting fluid intervals, using the exact JASO MA2 or HCF-2 specifications, and listening to the early warning signs of shudder and slip, you can easily push a Honda DCT well past 100,000 miles without needing a major clutch overhaul. When in doubt, pull the fluid, check the codes, and let the data guide your wrenching.