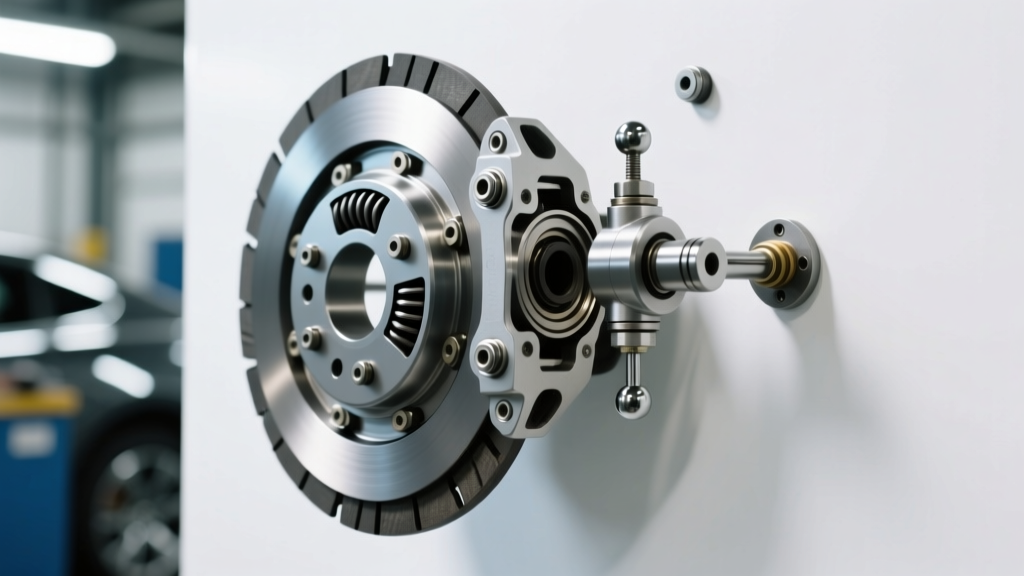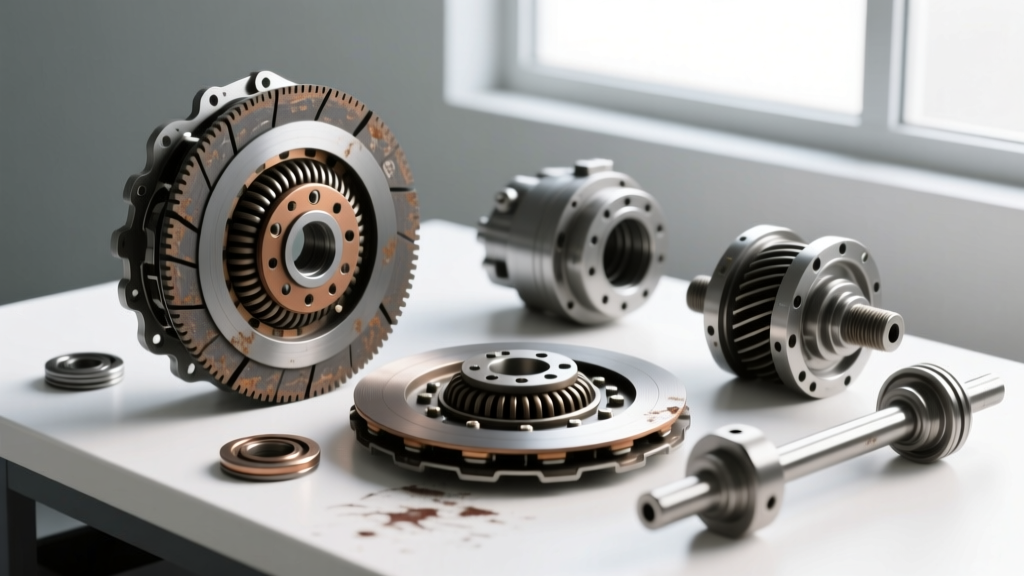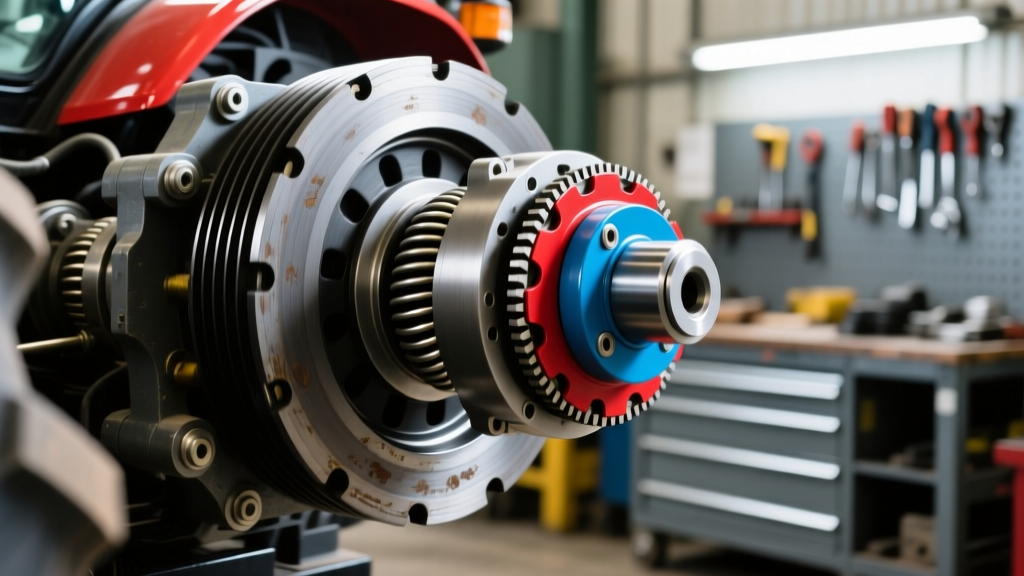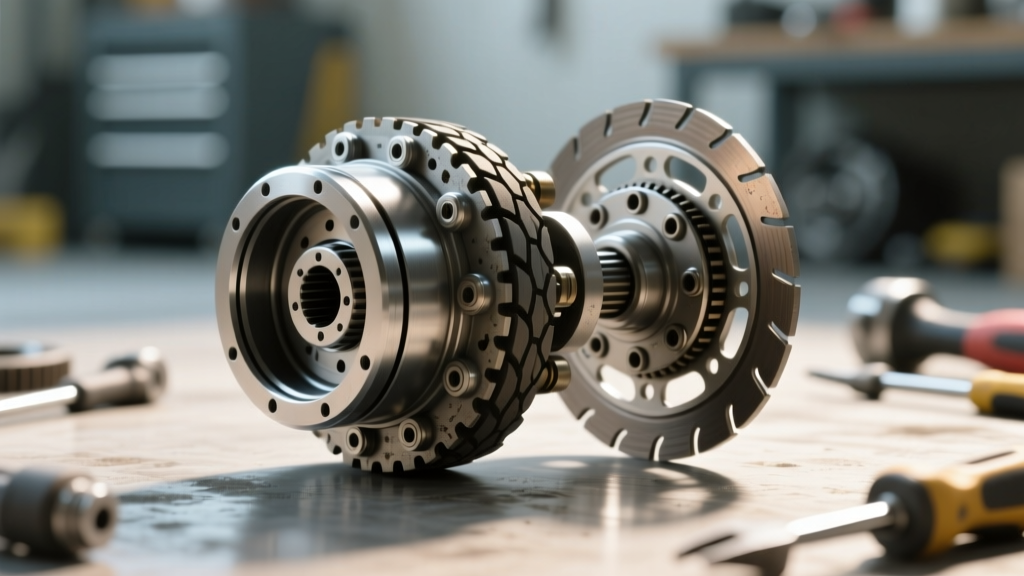
Expert Terminology Note: In strict automotive terms, a "throw-out bearing" (release bearing) is found in manual transmissions with a traditional pressure plate. However, in the powersports and small-engine community, mechanics and riders frequently use the term to describe the clutch lifter bearing and release cam mechanism found in semi-automatic centrifugal clutches. This guide addresses this exact component.
As the Honda Trail 125 (CT125) and its predecessor, the CT110 "Postie Bike," continue to dominate the dual-sport, agricultural, and overlanding markets in 2026, high-mileage examples are increasingly rolling into service bays with a distinct, whining drivetrain noise. When riders search for ways to fix centrifugal clutch issues, they are often met with generic go-kart advice that completely ignores the complex, oil-bathed semi-automatic transmissions found on Honda underbones.
If your Honda CT125 emits a grinding, whirring, or rattling noise specifically when you pull the clutch lever or press the shift pedal, you are likely dealing with a failing clutch lifter bearing (the centrifugal equivalent of a throw-out bearing). Ignoring this noise will eventually lead to a scored clutch center, clutch drag, and an inability to find neutral. This model-specific repair guide provides the exact OEM part numbers, torque specifications, and diagnostic frameworks required to resolve the issue permanently.
The Anatomy of the Honda CT125 Centrifugal Clutch Release Mechanism
Unlike a standard manual motorcycle clutch that uses a pushrod and a traditional thrust bearing, the Honda horizontal single-cylinder engine (125cc) utilizes a semi-automatic centrifugal clutch paired with a mechanical clutch lifter assembly for gear changes.
- The Centrifugal Weights: Engage the clutch drum automatically as engine RPMs rise.
- The Clutch Lifter Cam (Release Mechanism): Actuated by the shift spindle, this cam pushes against the clutch center to disengage the friction plates, allowing you to shift gears without stalling.
- The Lifter Bearing / Bushing Interface: The point of contact between the stationary lifter arm and the spinning clutch center. Over time, oil starvation at idle or contaminated oil causes this interface to wear, pit, or seize, creating the infamous "throw-out" whine.
Diagnostic Matrix: Identifying Bearing Failure vs. Normal Operation
| Symptom / Noise | When It Occurs | Root Cause | Action Required |
|---|---|---|---|
| High-pitched metallic whirring | Only when pulling clutch lever or stepping on shift pedal | Dry or pitted clutch lifter bearing/cam interface | Replace lifter assembly and inspect clutch center |
| Crunching or grinding on shifts | During gear changes under load | Clutch dragging due to worn lifter cam groove | Replace clutch center and lifter comp |
| Rattling at idle in neutral | Engine at 1,400 RPM, no lever input | Worn centrifugal clutch damper rubbers (not bearing) | Replace clutch damper rubbers (Part #22841-K81-000) |
| Difficulty finding neutral | When stopped, engine running | Lifter bearing seized, preventing full disengagement | Immediate teardown; inspect shift spindle |
Step-by-Step: How to Fix Centrifugal Clutch Bearing Noise
Repairing the clutch lifter mechanism on a Honda CT125 requires draining the engine oil and removing the right-side crankcase cover. You do not need to split the engine cases, making this a highly feasible DIY or quick-shop repair.
Phase 1: Drain and Disassembly
- Drain the Engine Oil: Remove the 12mm drain plug and drain the 0.9 Liters of 10W-40 JASO MA2 oil. Inspect the oil for fine metallic glitter, which indicates advanced bearing disintegration.
- Remove the Right Crankcase Cover: Use an 8mm socket to remove the perimeter bolts. Note the locations of the longer bolts (specifically the upper rear bolt) to ensure correct reassembly. Tap the cover gently with a rubber mallet to break the gasket seal.
- Remove the Centrifugal Oil Filter: Located on the end of the crankshaft. Remove the 14mm center bolt, the washer, and the filter housing. Clean the filter screen thoroughly with brake cleaner.
Phase 2: Extracting the Clutch Center and Lifter
To access the lifter bearing and cam, the main clutch assembly must be removed from the transmission mainshaft.
- Secure the Clutch: Use a Honda-specific clutch holding tool (Part #07923-6890000) or a heavy-duty strap wrench to prevent the clutch from spinning.
- Remove the Center Lock Nut: Using a 17mm socket, break loose the mainshaft lock nut. This nut is torqued to 49 Nm (36 lb-ft) and may have a staked washer. Remove the nut and the thick flange washer.
- Pull the Clutch Assembly: Slide the entire centrifugal clutch assembly off the splined mainshaft. If it is stuck, use a proper M10x1.25 gear puller. Never pry the clutch off with a screwdriver, as you will gouge the aluminum casing.
- Inspect the Clutch Lifter: With the clutch removed, you will see the clutch lifter arm and cam protruding from the transmission case. Remove the 6mm bolt holding the lifter arm and slide the lifter assembly out.
Phase 3: Inspection and Reassembly
Examine the hardened steel cam on the lifter assembly and the corresponding groove machined into the back of the clutch center. If the cam has worn a deep, uneven trench into the aluminum clutch center, the clutch center must be replaced. If only the lifter cam is pitted, replace the lifter assembly.
- Lubrication: Coat the new lifter cam and the clutch center groove generously with molybdenum disulfide (moly) grease before reassembly. This is critical for preventing dry-start wear.
- Reinstall Clutch: Slide the clutch back onto the mainshaft, ensuring the splines align perfectly. Install the flange washer and a new lock nut.
- Torque the Lock Nut: Torque to 49 Nm (36 lb-ft) and stake the nut edge into the shaft groove using a blunt punch.
Cost Breakdown and OEM vs. Aftermarket Parts (2026 Pricing)
When attempting to fix centrifugal clutch noise, using cheap aftermarket lifters is a common mistake. The metallurgy of the lifter cam is crucial; soft aftermarket cams will wear down the OEM Honda clutch center in under 2,000 miles, turning a $40 repair into a $250 nightmare. Always source the lifter components from Partzilla's Honda OEM Catalog or your local dealer via Honda Powersports.
| Component | Honda OEM Part Number | Est. Price (USD) | Notes |
|---|---|---|---|
| Clutch Lifter Comp | 22810-K81-000 | $28.50 | Contains the cam and primary bearing surface |
| Lifter Arm | 22821-K81-000 | $14.20 | Replace if the pivot bore is wallowed out |
| Clutch Center (If scored) | 22120-K81-000 | $85.00 | Only required if the cam groove is deeply gouged |
| Right Cover Gasket | 11395-K81-000 | $11.40 | Mandatory replacement to prevent oil leaks |
| Lock Nut (17mm) | 90201-K81-000 | $4.50 | Single-use staked nut; do not reuse |
The Critical Role of JASO MA2 Fluid in Centrifugal Clutches
A frequently overlooked cause of premature lifter bearing and clutch center wear is the use of incorrect engine oil. Automotive oils containing friction modifiers (labeled "Energy Conserving" or API SN/SP with molybdenum) will cause the centrifugal clutch shoes to slip. This slip generates excessive heat, which degrades the oil's viscosity and starves the clutch lifter cam of its protective hydrodynamic film.
For the 2026 riding season, ensure you are filling the CT125 with exactly 0.9 Liters of 10W-40 JASO MA or MA2 certified oil (such as Honda GN4 or Shell Advance 4T). The JASO MA2 certification guarantees the absence of friction modifiers, ensuring crisp centrifugal engagement and proper lubrication for the lifter mechanism. For more community-driven fluid analysis and teardown photos, the Honda Trail 125 Forum remains an invaluable resource for owners pushing these bikes in extreme off-road conditions.
Final Torque Specifications Checklist
- Clutch Center Lock Nut (17mm): 49 Nm (36 lb-ft)
- Centrifugal Oil Filter Bolt (14mm): 38 Nm (28 lb-ft)
- Right Crankcase Cover Bolts (8mm): 8 Nm (72 lb-in) — Do not overtighten; the aluminum case strips easily.
- Oil Drain Plug (12mm): 24 Nm (17 lb-ft) with a new crush washer.
By accurately diagnosing the source of the noise and utilizing the correct OEM lifter components, you can eliminate the throw-out bearing whine and restore the buttery-smooth, semi-automatic shifting that makes the Honda CT125 a legendary platform.