Why a Welded Rear Differential Demands a Perfect Gear Setup
Welding the spider gears inside a rear differential is a rite of passage for budget drift cars, grassroots off-roaders, and weekend drag racers. By fusing the side gears to the cross pin, you effectively create a locked spool, forcing both rear wheels to turn at the exact same speed. While this provides maximum forward traction and predictable slide initiation, it also introduces a harsh mechanical reality: torsional shock loading.
In an open or limited-slip differential, the spider gears absorb the rotational difference between the inside and outside wheels during a turn. In a welded rear differential, that rotational scrub is transferred directly through the axle shafts, into the carrier, and straight into the ring and pinion gear teeth. If your ring and pinion (R&P) gear setup is even slightly out of specification, those shock loads will quickly chip teeth, overheat the gear oil, and grenade the rear end.
This beginner-friendly guide will demystify the ring and pinion gear setup process, using the ubiquitous Ford 8.8-inch rear axle as our benchmark. We will cover the exact tools, torque specs, and pattern-reading techniques you need to build a rearend that survives the abuse of a locked axle.
The Beginner’s Toolkit: What You Actually Need
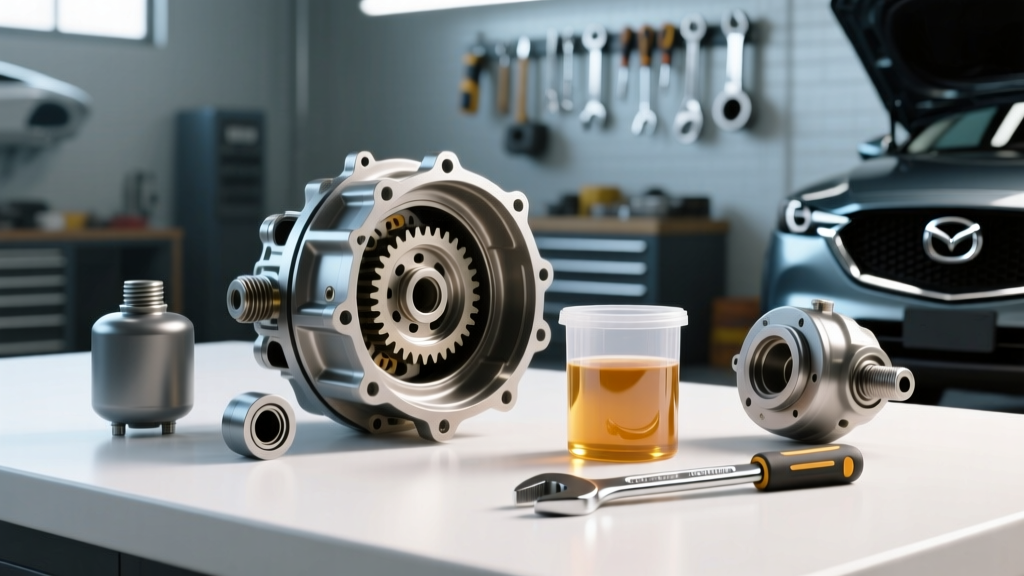
You cannot eyeball a gear setup. Precision is mandatory. Before you order your gear set—such as the popular Yukon Gear 4.10 set (Part #YG F8.8-410)—ensure you have the following tools on your bench. Expect to spend around $250 to $400 on tools if you don't already own them, which is still cheaper than paying a shop $800+ for labor.
- Beam-Style Inch-Pound Torque Wrench: Essential for measuring pinion bearing rotational preload. Digital or click-style wrenches are not sensitive enough for this.
- Dial Indicator with Magnetic Base: Required to measure backlash (the clearance between the ring and pinion teeth) down to the thousandth of an inch.
- Bearing Puller/Splitter: You will be pulling the pinion bearing on and off multiple times to adjust shims. A basic harmonic balancer puller kit works perfectly.
- Gear Marking Compound: Yellow compound for the drive side, white or light grey for the coast side. Do not use standard grease.
- Master Install Kit: Never reuse old bearings. Buy a master kit (e.g., Yukon MK F8.8, approx. $140) that includes fresh Timken bearings, crush sleeves, shims, and ring gear bolts.
Ford 8.8 Torque Specs and Setup Targets
Having a reference chart on your wall prevents costly mistakes. Below are the factory-accepted specifications for a standard Ford 8.8-inch rear axle. Always double-check the spec sheet included with your specific aftermarket gear set, as Motive Gear and Yukon Gear & Axle may have slight variances based on the metallurgy of their batches.
| Measurement / Fastener | Target Specification | Notes for Welded Diffs |
|---|---|---|
| Ring Gear to Carrier Bolts | 70 - 85 ft-lbs | Use Red Loctite 271. Torque in a star pattern. |
| Carrier Bearing Cap Bolts | 70 - 85 ft-lbs | Ensure caps are aligned with factory arrows. |
| Pinion Nut (Crush Sleeve) | 175 - 225 ft-lbs (Max) | Stop crushing when rotational preload is met. |
| Pinion Rotational Preload (Used) | 15 - 25 in-lbs | Measured with inch-pound beam wrench. |
| Pinion Rotational Preload (New) | 25 - 35 in-lbs | New bearings require slightly higher drag. |
| Backlash | 0.008" - 0.012" | Aim for 0.010" to handle welded diff shock loads. |
Step 1: Pinion Depth and Bearing Preload
Pinion depth dictates how deeply the pinion gear meshes into the ring gear. This is adjusted via a shim located between the pinion head bearing and the pinion gear itself.
- Install the Pinion Head Bearing: Press the bearing onto the pinion gear. If you are reusing a pinion, use a setup bearing (a bearing with a slightly honed-out inner race) so it slides on and off by hand. This saves hours of pressing.
- Calculate the Shim: Most aftermarket pinions have a depth etching on the head (e.g., "+2" or "-1"). This indicates the deviation from the factory nominal depth. Use your master kit's shim chart to select the starting shim.
- Set the Preload: Install the pinion into the housing with the new crush sleeve and pinion seal. Tighten the pinion nut while checking the rotational drag with your inch-pound wrench. Warning: You cannot un-crush a sleeve. If you overshoot 35 in-lbs, you must throw the crush sleeve away and start over with a new one.
Step 2: Setting Backlash and Carrier Preload
Backlash is the tiny amount of rotational free-play between the ring and pinion gears. On a welded rear differential, setting backlash correctly is a balancing act. Too tight (under 0.006"), and the gears will bind and overheat when the axle housing flexes under cornering loads. Too loose (over 0.014"), and the shock load of the locked wheels scrubbing on pavement will hammer the teeth, causing catastrophic failure.
Mount the dial indicator to the housing so the plunger sits perfectly perpendicular to the face of a ring gear tooth. Rotate the carrier back and forth while holding the pinion yoke stationary. Adjust the side carrier shims (or threaded adjusters, depending on the axle) until you achieve a consistent 0.008" to 0.012" of backlash across at least four different points on the ring gear. If the backlash varies wildly around the gear, your ring gear is not seated flush against the carrier, or the carrier bearings are defective.
Step 3: Decoding the Gear Contact Pattern
Torque specs and backlash numbers are only half the battle. The gear contact pattern is the ultimate lie detector. Apply a thin, even coat of yellow marking compound to the drive side of three or four ring gear teeth, and white compound to the coast side. Apply moderate resistance to the pinion yoke with a rag while rotating the ring gear to transfer the pattern.
Expert Insight: When reading the pattern, focus on the drive side (the convex side of the tooth). The coast side is useful, but the drive side handles 95% of the torque in a locked, welded setup.
Pattern Troubleshooting Guide
- Ideal Pattern: The marking is centered from the top (face) to the bottom (flank) of the tooth, and sits squarely in the middle from toe (inner edge) to heel (outer edge). It should cover about 70% of the tooth surface.
- Pattern is High (Face Bias): The pinion is too deep. Decrease the pinion depth shim thickness by 0.002" and recheck.
- Pattern is Low (Flank Bias): The pinion is too shallow. Increase the pinion depth shim thickness by 0.002" and recheck.
- Pattern is at the Toe: Backlash is too tight. Move the ring gear away from the pinion by adjusting the carrier side shims.
- Pattern is at the Heel: Backlash is too wide. Move the ring gear closer to the pinion.
Patience is mandatory. You may need to pull the carrier and adjust shims four or five times to get a perfect pattern. Do not rush this step.
Final Assembly and Fluid Selection for Welded Diffs
Once your pattern is flawless and your torque specs are verified, it is time to seal the housing and fill it with fluid. Because a welded rear differential generates immense internal scrubbing and heat during low-speed turns, standard 75W-90 gear oil is often insufficient for track or heavy off-road use.
For a welded setup, we highly recommend stepping up to a high-quality 75W-140 Full Synthetic Gear Oil (such as Red Line 75W140 or Amsoil Severe Gear). The higher viscosity maintains a protective hydrodynamic film across the gear teeth even when the differential housing reaches extreme temperatures. Furthermore, because your differential is welded (locked), you must not add any limited-slip friction modifiers. Friction modifiers are designed for clutch packs; in a welded diff, they simply alter the viscosity and offer zero mechanical benefit.
Fill the differential until the fluid reaches the bottom of the fill plug threads (typically 2.5 to 3.0 quarts for an 8.8). Torque the fill and drain plugs to 25 ft-lbs using a high-quality sealant on the threads to prevent weeping.
Summary
Setting up a ring and pinion on a welded rear differential is entirely achievable for a beginner willing to invest in the right measuring tools and take their time. By respecting the shock loads inherent to a locked axle, adhering strictly to backlash tolerances, and reading the gear pattern with a critical eye, you can build a bulletproof rear end that handles the abuse of the track or the trail. For further reading on axle components and install kits, consult resources like Summit Racing Equipment to ensure you are ordering the correct master kits for your specific housing.