The Anatomy of the Honda Real Time AWD Differential
The Honda CR-V's Real Time All-Wheel-Drive system is an engineering marvel of hydraulic simplicity, but it is entirely dependent on precise mechanical clearances and specialized lubrication chemistry. Unlike traditional torque-biasing or viscous coupling systems, the Honda Dual Pump rear differential utilizes a front hydraulic pump driven by the ring gear and a rear hydraulic pump driven by the rear axle shafts. When the front wheels lose traction and spin faster than the rear wheels, a pressure differential is created. This pressure forces a pilot valve open, which in turn compresses a multi-plate wet clutch pack, locking the front and rear axles together.
When drivers experience the infamous "groaning" or "chattering" noise during tight, low-speed turns, it is rarely a catastrophic gear failure. Instead, it is the sound of the wet clutch packs slipping and grabbing due to degraded friction modifiers or worn clutch friction material. If a simple fluid flush fails to resolve the shudder, a complete teardown is mandatory. This guide details the exact differential rebuild procedures and highlights why identifying the correct Honda CR-V rear differential fluid type is the single most critical factor in ensuring the longevity of your rebuild.
Tools and OEM Parts Required for the Rebuild
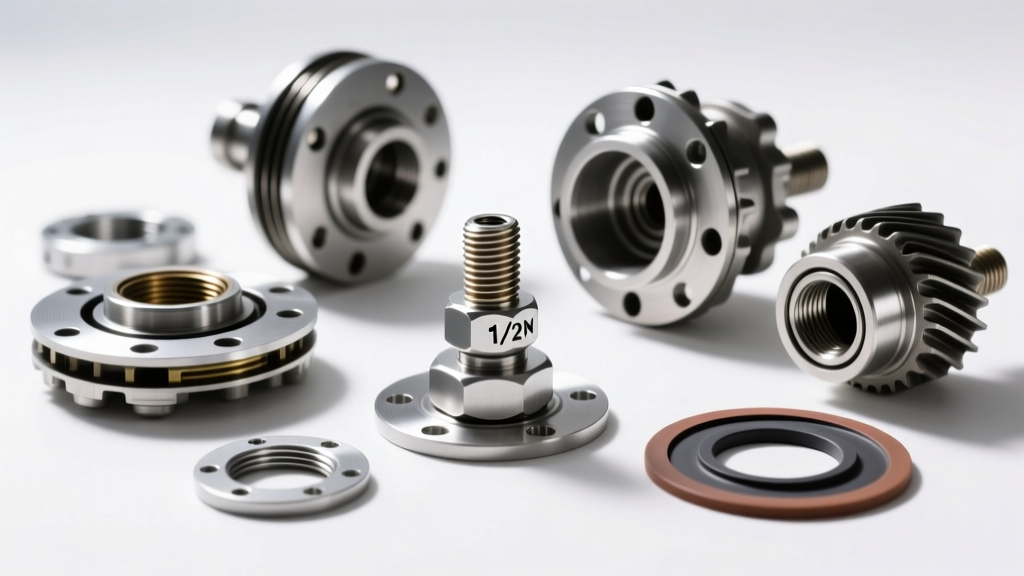
Before unbolting the propeller shaft, you must source the correct OEM components. The aftermarket is flooded with generic clutch kits and universal gear oils that will actively destroy the Honda Dual Pump system. Below is the required bill of materials for a 2007-2014 generation CR-V rear differential rebuild.
| Component | OEM Part Number / Spec | Estimated Cost (USD) | Notes |
|---|---|---|---|
| Dual Pump Fluid II (DPSF-II) | 08200-9002 | $12 - $16 / qt | Requires approx. 1.2 quarts. Do NOT substitute. |
| Clutch Pack Kit | 41200-RWD-000 | $85 - $120 | Includes friction plates, separator plates, and springs. |
| Pinion Seal & Crush Sleeve | 91208-R7C-A01 (Seal) | $15 - $25 | Crush sleeve must be replaced to set pinion preload. |
| Thrust Washer Kit | 41205-R7C-A00 | $30 - $45 | Crucial for setting clutch pack clearance. |
| RTV Silicone Sealant | Honda Bond 08718-0012 | $18 - $25 | Required for housing mating surface sealing. |
For verified OEM pricing and cataloging, mechanics frequently cross-reference listings on Honda Parts Now or utilize factory service manuals available via Honda TechInfo.
Step-by-Step Differential Rebuild Procedures
Phase 1: Teardown and Clutch Pack Extraction
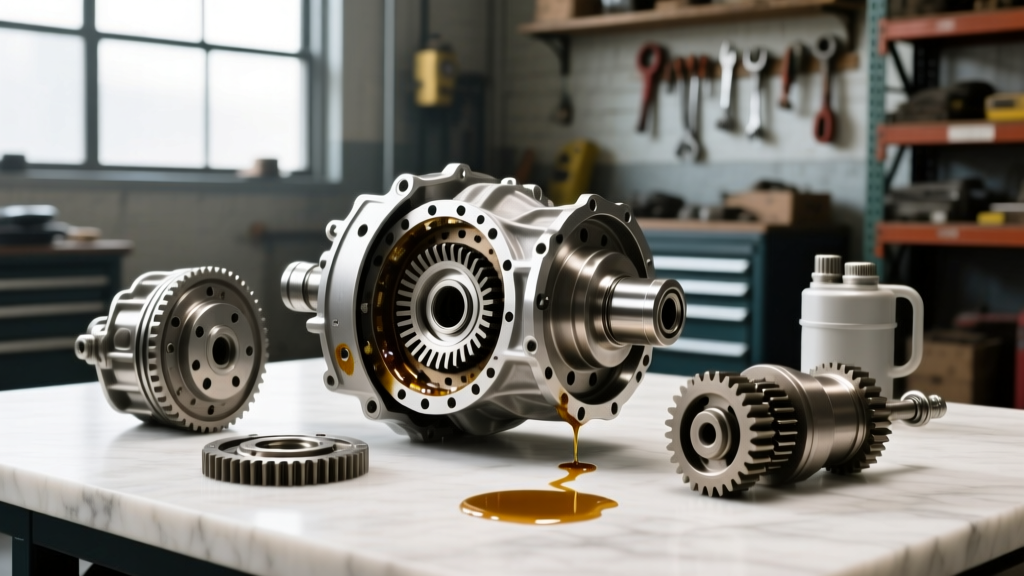
Begin by safely elevating the vehicle and supporting it on jack stands. Remove the propeller shaft connecting the transfer case to the rear differential. Before unbolting the differential from the rear subframe, pull the fill plug first to ensure it isn't seized, followed by the drain plug. Allow the degraded fluid to evacuate completely.
Once the differential is on the workbench, remove the companion flange using a specialized flange holder and a 1/2-inch drive breaker bar. The pinion nut is torqued to approximately 134 lb-ft (182 Nm) and is staked at the factory; you will need to use a cold chisel to un-stake the nut before removal. With the flange off, extract the pinion seal using a seal puller. Next, unbolt the differential housing perimeter bolts (10mm and 12mm heads). Carefully separate the case halves using a rubber mallet—never pry the mating surfaces with a flathead screwdriver, as scoring the aluminum will guarantee future leaks.
Phase 2: Inspection and Clutch Pack Shimming
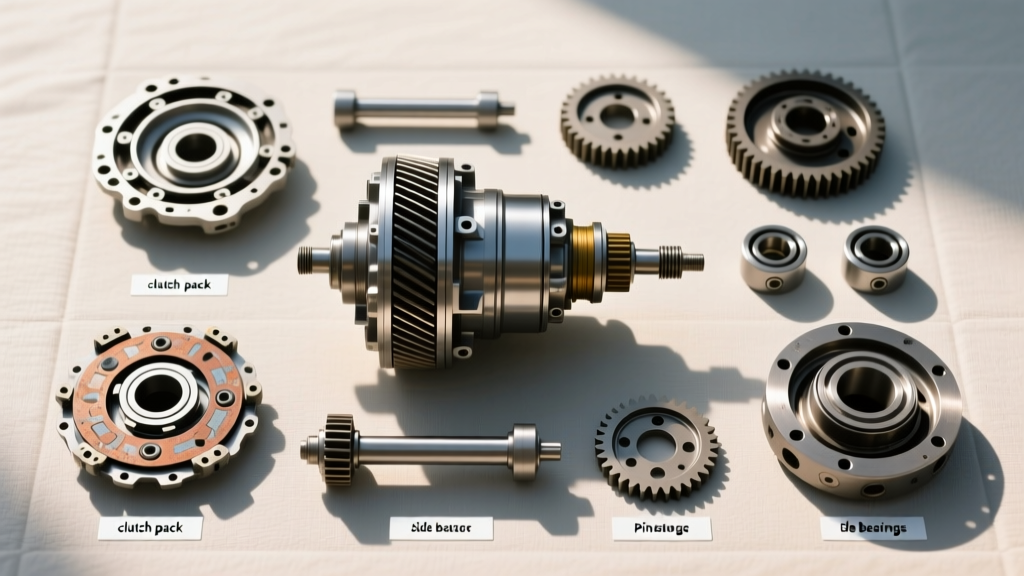
Inside the housing, you will find the ring gear assembly and the clutch drum. Extract the snap ring retaining the clutch pack. Remove the worn friction plates, steel separator plates, and the wave spring. Clean the clutch drum thoroughly with brake cleaner and compressed air to remove all metallic particulate and degraded friction material.
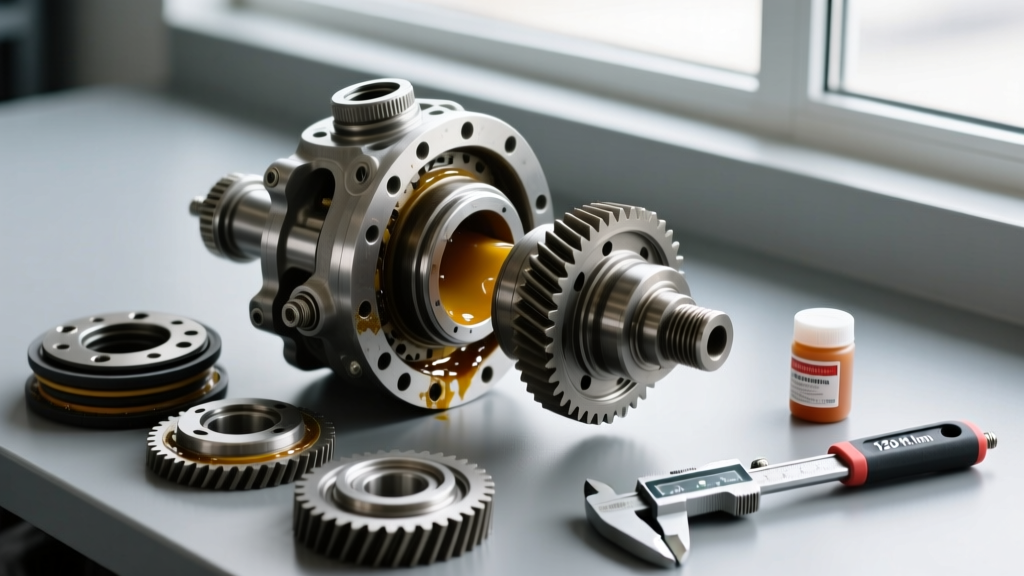
Measuring Clearance: Stack the new OEM clutch pack into the drum. Install the thickest available thrust washer from your kit. Using a dial indicator mounted to a magnetic base, measure the axial play of the clutch pack. Honda's factory specification requires a clearance between 0.040 and 0.060 inches (1.02 - 1.52 mm). If the clearance is too tight, the clutches will drag and overheat; if it is too loose, the hydraulic pressure will fail to engage the AWD system promptly. Swap the thrust washer thickness until the spec is perfectly met.
Phase 3: Reassembly and Torque Specifications
Apply a thin, continuous bead of Honda Bond RTV to the clean mating surface of the differential housing. Rejoin the case halves and torque the perimeter bolts to 28 lb-ft (38 Nm) in a crisscross pattern. Allow the RTV to cure for a minimum of 4 hours before introducing fluid or driving.
Install the new crush sleeve onto the pinion shaft, followed by a light coat of grease on the new pinion seal lip, and press it into the bore. Reinstall the companion flange. You must now torque the new pinion nut to 134 lb-ft (182 Nm) while measuring the rotating torque with an inch-pound torque gauge. The target rotating torque (pinion preload) should be between 8 and 14 inch-pounds for a used bearing set, or 14 to 19 inch-pounds if you replaced the pinion bearings. Once achieved, stake the pinion nut collar into the shaft groove using a punch and hammer to prevent it from backing off.
The Critical Fill: Identifying the Correct Honda CR-V Rear Differential Fluid Type
The most frequent cause of premature failure following a Honda rear differential rebuild is the introduction of an incorrect lubricant. Determining the exact Honda CR-V rear differential fluid type is not a matter of brand preference; it is a strict mechanical mandate. The Real Time AWD system requires Honda Dual Pump Fluid II (DPSF-II), part number 08200-9002.
CRITICAL WARNING: Never use standard GL-5 75W-90 gear oil, universal synthetic limited-slip fluids, or generic "AWD transfer case" fluids in a Honda Dual Pump differential. Standard gear oils lack the proprietary friction modifiers required for the wet clutch pack, and their extreme-pressure (EP) sulfur additives can corrode the yellow metals and hydraulic pilot valves inside the Honda unit.
Why does this specific fluid matter? DPSF-II is engineered with a highly specific shear-stability profile and a custom friction modifier package. The hydraulic pumps inside the differential are incredibly tight-tolerance gear pumps. If the fluid is too viscous (like a traditional 80W-90), the pumps will cavitate, failing to generate the hydraulic pressure required to clamp the clutch pack. Conversely, if the fluid lacks the exact kinetic friction coefficient of DPSF-II, the wet clutches will experience stick-slip friction under load, resulting in the exact same chattering and groaning noise that prompted the rebuild in the first place.
Automotive tribologists and lubrication experts on forums like Bob Is The Oil Guy have extensively documented the shear-down rates of aftermarket "equivalent" fluids, proving that only the OEM Honda DPSF-II maintains the necessary viscosity to protect the dual-pump hydraulic circuit over a 30,000-mile service interval. Fill the differential through the upper fill plug until the fluid reaches the bottom edge of the threads (approximately 1.1 to 1.2 quarts). Reinstall both the drain and fill plugs, torquing them to 33 lb-ft (44 Nm) with new aluminum crush washers.
Post-Rebuild Break-In and Maintenance Schedule
A freshly rebuilt differential requires a strict break-in procedure to seat the new clutch friction materials and lap the ring and pinion gears. For the first 500 miles, avoid aggressive acceleration, towing, or sustained highway speeds above 65 mph. You should also perform several figure-eight maneuvers in an empty parking lot every 100 miles. This forces the speed differential between the front and rear axles, cycling the hydraulic pilot valve and ensuring the new clutch plates are evenly burnished and saturated with the DPSF-II fluid.
At exactly 500 miles, perform your first post-rebuild fluid drain and fill. This is a non-negotiable step. The initial break-in period will generate microscopic metallic debris from the gear lapping process and organic dust from the clutch pack bedding. Leaving this abrasive slurry in the housing will score the hydraulic pumps and clog the internal fluid galleries. After this 500-mile flush, the differential will enter its normal service life, requiring a drain and fill with fresh Honda DPSF-II every 30,000 miles to maintain optimal AWD engagement and clutch longevity.