Understanding Differential Lock Systems vs. Limited Slips
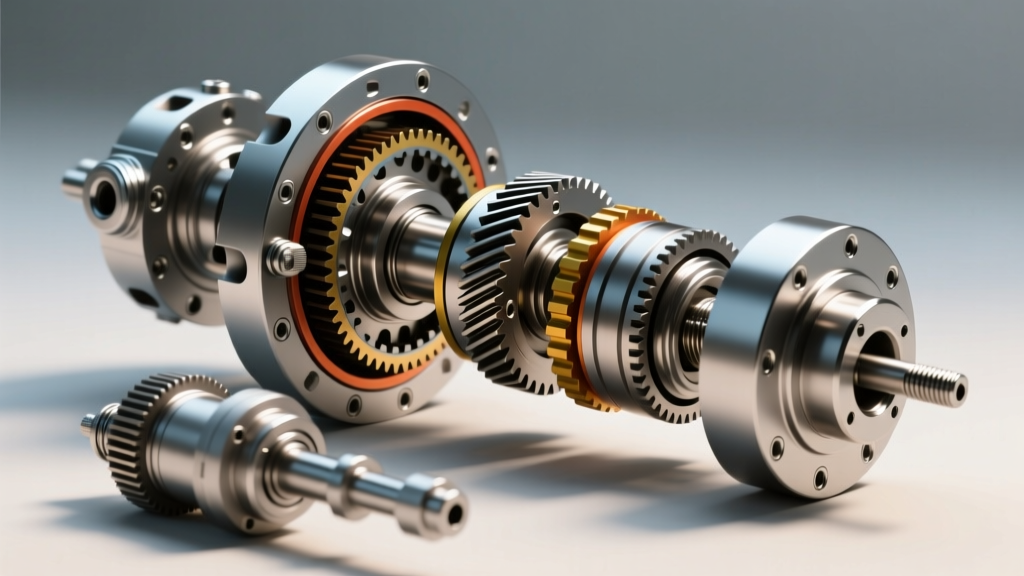
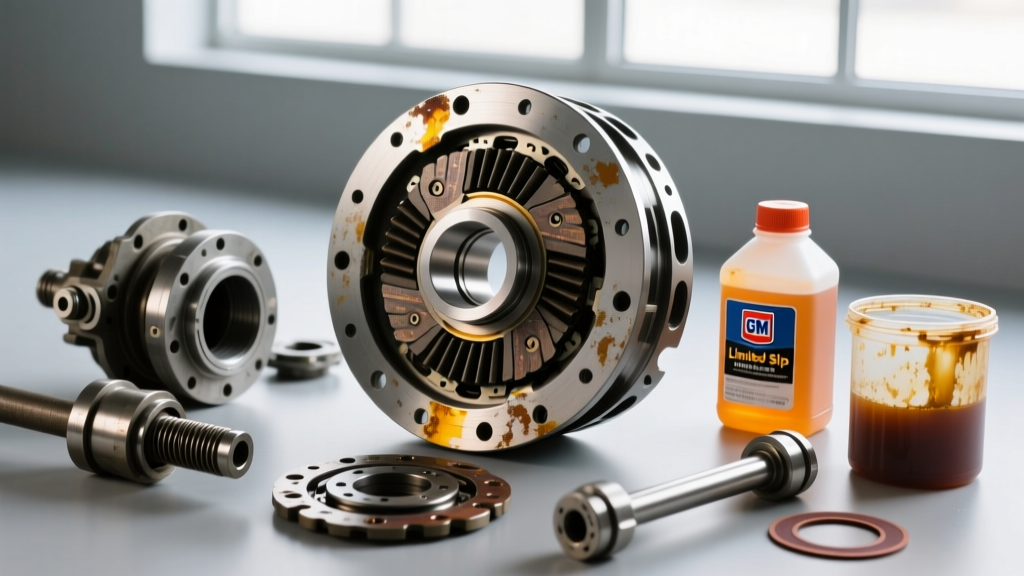
When maintaining the drivetrain of an off-road truck or SUV, enthusiasts often conflate limited-slip differentials (LSD) with a true differential lock. This distinction is critical when performing a differential fluid change. While clutch-type LSDs require specialized friction modifiers to prevent chatter, mechanical locking differentials—such as the Jeep Dana 44 Tru-Lok, Toyota C220A E-Locker, or aftermarket ARB Air Lockers—utilize dog clutches or sliding collars to achieve 100% torque biasing.
Because a differential lock relies on positive mechanical engagement rather than clutch pack friction, adding a limited-slip friction modifier to your gear oil is not only unnecessary, but it can also coat the dog clutches and solenoid valves, potentially leading to sluggish engagement or solenoid clogging over time. In this comprehensive 2026 guide, we break down the exact fluid specifications, service intervals, and step-by-step procedures for servicing axles equipped with locking differentials.
Service Intervals and Fluid Specifications
Modern synthetic gear oils have extended service life, but severe off-road use, water crossings, and high-load towing drastically accelerate additive depletion. According to Dana Aftermarket technical guidelines, hypoid gear sets generate extreme sliding friction that shears the polymer chains in gear oil, reducing viscosity and compromising the protective boundary layer.
| Differential Type | Normal Service Interval | Severe / Off-Road Interval | Fluid Requirement (API GL-5) | Friction Modifier Needed? |
|---|---|---|---|---|
| Open Differential | 60,000 - 100,000 miles | 30,000 miles | 75W-90 or 75W-85 Synthetic | No |
| Clutch-Type LSD | 50,000 miles | 25,000 miles | 75W-90 Synthetic + Modifier | Yes |
| True Differential Lock (E-Locker/Air) | 60,000 miles | 15,000 - 20,000 miles | 75W-90 or 75W-140 Synthetic | No |
Note: If your vehicle is submerged in water during off-road trails, the differential breathers can ingest moisture. Water contamination turns gear oil into a milky emulsion, destroying its load-bearing capabilities. Always change the fluid immediately after deep water crossings.
Tools and Materials Required
Before crawling under the vehicle, gather the following tools and materials. Pricing reflects average 2026 retail costs for high-quality components.
- Gear Oil: 2.5 to 3.5 quarts of API GL-5 75W-90 Synthetic (e.g., Amsoil Severe Gear or Mobil 1 Synthetic Gear Lube). Cost: $18-$25/qt. Refer to Amsoil's technical database for specific viscosity recommendations based on your axle.
- RTV Silicone: Permatex 'The Right Stuff' Grey (Part #22058) or Toyota Genuine Gear Oil Gasket Maker. Cost: $25-$30. Avoid cheap silicones that swell and leak under thermal cycling.
- Hand Tools: 3/8-inch drive ratchet, 10mm or 13mm hex sockets (depending on cover bolts), torque wrench, and a gasket scraper or plastic razor blade.
- Fluid Transfer Pump: Essential for pumping heavy 75W-90 oil into the fill hole.
- Clean-up: Brake cleaner, lint-free shop towels, and a catch pan (minimum 4-quart capacity).
Step 1: Draining and Inspecting the Housing
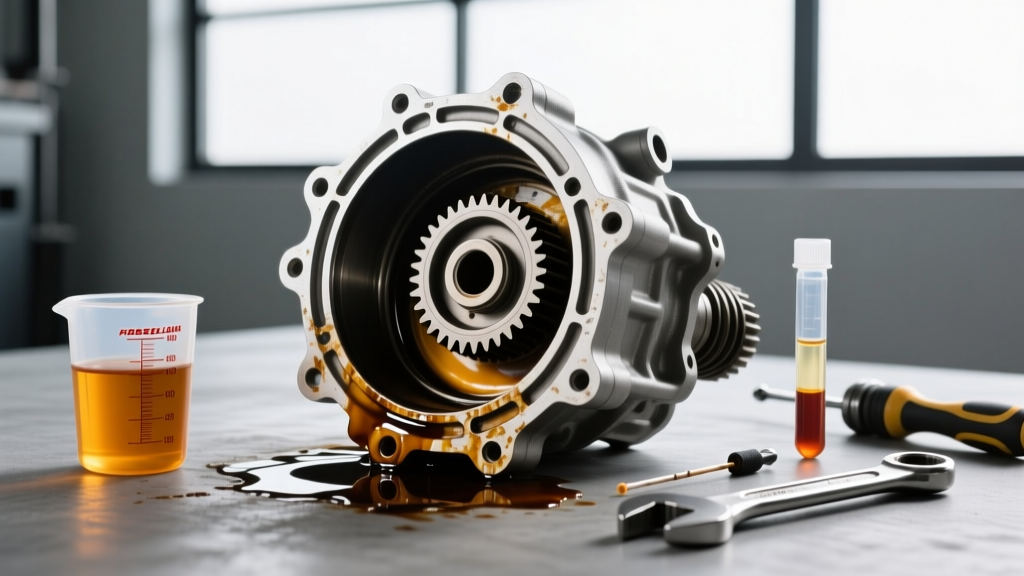
Unlike manual transmissions, most solid rear axles (like the Dana 44 or Ford 9.75) do not feature a dedicated drain plug; the fluid is drained by removing the differential cover. Some independent front suspension (IFS) setups and Toyota solid axles feature dedicated drain and fill plugs.
- Warm the Axle: Drive the vehicle for 10-15 minutes to warm the gear oil. Warm fluid flows faster and suspends metallic particulates, ensuring a more complete drain.
- Remove the Cover or Drain Plug: Place your catch pan directly beneath the housing. If removing a cover, leave the top two bolts loosely threaded to act as a hinge, allowing you to pry the bottom edge and direct the fluid into the pan.
- Inspect the Magnet and Fluid: Most differential covers feature an internal magnet. A fine, glitter-like grey paste on the magnet is normal wear from the hypoid ring and pinion gears. However, if you find large metal shards, chunks of steel, or brass-colored flakes (indicating carrier or pinion bearing failure), a full differential rebuild is required.
Step 2: Cleaning and Sealing the Mating Surfaces
The most common cause of post-service differential leaks is improper surface preparation. Do not rush this step.
- Scrape the Old Gasket: Use a plastic gasket scraper or a dull putty knife to remove the old RTV or cork gasket from both the axle housing and the differential cover. Avoid using sharp steel blades or abrasive Roloc discs, as scoring the aluminum or cast-iron mating surface creates permanent leak paths.
- Degrease: Spray both mating surfaces generously with brake cleaner and wipe with lint-free towels until no residue transfers to the cloth.
- Apply RTV Silicone: Apply a continuous 3mm to 5mm bead of high-temp RTV silicone to the differential cover. Ensure you circle every bolt hole completely to prevent oil from weeping through the threads. Pro Tip: 'The Right Stuff' Grey has a 5-minute working time before it begins to skin over, so have your bolts ready.
Step 3: Reinstallation and Torque Specifications
Proper torque sequencing is vital to prevent warping the differential cover, which leads to seepage and potential gear misalignment under heavy loads.
- Dana 44 / AdvanTEK Axles: Torque cover bolts to 25 - 35 lb-ft in a crisscross star pattern.
- Ford 8.8 / 9.75 Axles: Torque cover bolts to 28 - 38 lb-ft.
- Toyota C220A / Solid Axles with Plugs: Torque drain and fill plugs to 36 lb-ft (49 Nm). Always use new crush washers on the fill/drain plugs.
Allow the RTV to cure for at least 2 hours (or per the manufacturer's specific instructions) before adding fluid. Premature filling can cause the solvent carriers in the silicone to wash out, compromising the seal.
Step 4: Filling and Testing the Differential Lock
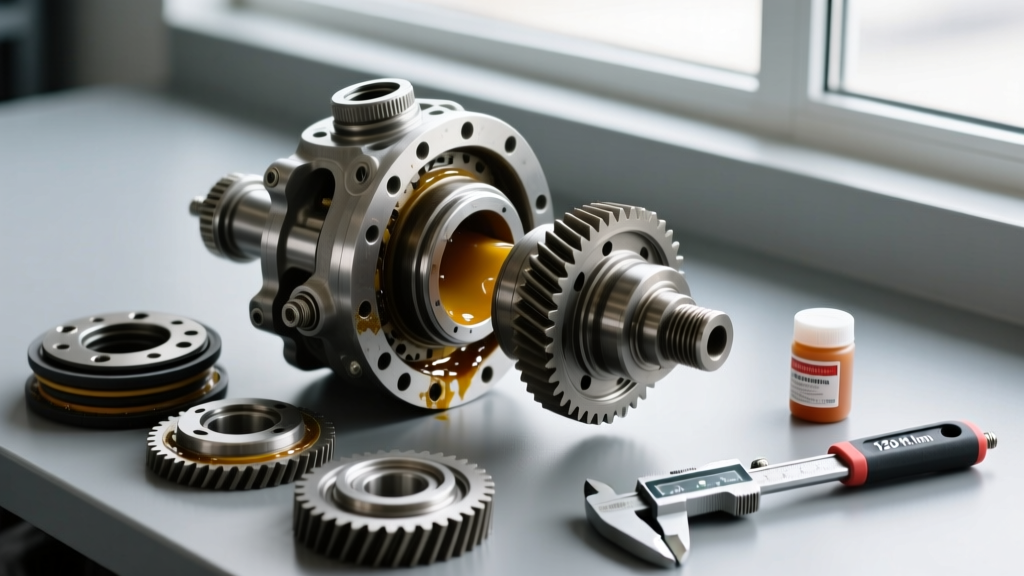
- Fill to the Brim: Insert your fluid transfer pump hose into the fill hole. Pump the 75W-90 GL-5 gear oil until it begins to trickle out of the bottom edge of the fill hole. This indicates the fluid level is perfectly aligned with the internal ring gear's pitch line.
- Reinstall the Fill Plug: Wipe the threads clean, apply a small dab of RTV or thread sealant if required, and torque to spec.
- Test the Differential Lock: Safely elevate the rear axle on jack stands (with the front wheels chocked and the transfer case in neutral if equipped). Start the engine, shift into low gear, and manually engage the differential lock via the dashboard switch or air compressor. You should hear a distinct mechanical 'clunk' as the dog clutches engage, and both wheels should spin at the exact same RPM. Disengage the locker and verify smooth, independent wheel rotation.
Expert Troubleshooting: If your differential lock fails to engage immediately after a fluid change, do not panic. Factory E-Lockers often require the wheels to rotate slightly to align the dog teeth before the solenoid can push the collar into place. Slowly creep the vehicle forward a few inches while actuating the switch. If using an ARB Air Locker, check that the bulkhead air fitting on the axle housing wasn't accidentally bumped or cross-threaded during the cleaning process.
Summary of Best Practices
Maintaining a differential lock system requires strict adherence to GL-5 specifications without the interference of friction modifiers. By following these precise torque specs, utilizing high-quality RTV sealants, and adhering to severe-duty service intervals, you ensure that your locking differential engages reliably when traction is at a premium. For further reading on hypoid gear metallurgy and lubrication science, consult the Permatex technical data sheets for proper sealing compound selection.