Decoding the Harley Twin Cam Clutch Diagram for Hydraulic Systems
When searching for a reliable harley twin cam clutch diagram, riders and technicians are usually trying to solve one of three problems: a spongy lever feel, clutch drag at stoplights, or mysterious fluid loss inside the primary case. Introduced in 2007 for the Twin Cam 96 and 103 engines, Harley-Davidson's transition from cable-actuated to hydraulic clutch systems fundamentally changed the maintenance landscape for Big Twin motorcycles. As of 2026, the Twin Cam platform (produced from 1999 to 2017) has fully transitioned into legacy status. While the Milwaukee-Eight has taken over the showroom floor, millions of Twin Cams are still on the road, making hydraulic clutch diagnosis a critical skill for independent shops and DIY owners.
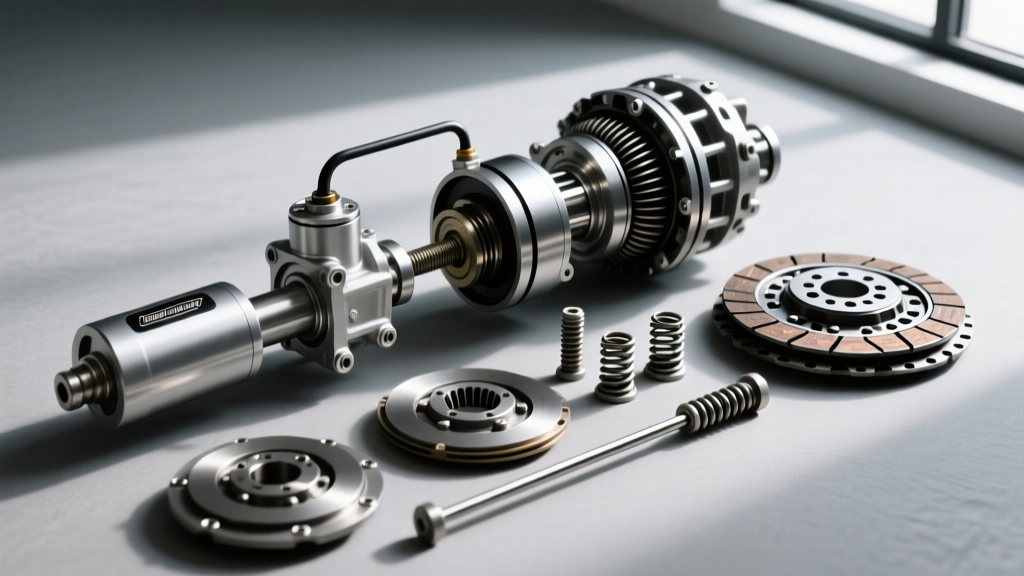
A standard hydraulic layout consists of four primary zones: the handlebar master cylinder, the hydraulic transfer line, the primary-mounted slave cylinder, and the internal pushrod release mechanism. Understanding how hydraulic pressure translates into mechanical clamping force against the diaphragm spring is the first step in accurate troubleshooting.
The Hydraulic Routing Anatomy
- Master Cylinder (Left Perch): Typically features a 10mm or 11mm bore. When the lever is pulled, it displaces DOT 4 fluid through a 3/16-inch internal diameter line.
- Hydraulic Line: OEM lines are reinforced rubber, which can expand under heat and age, contributing to a 'spongy' feel. Braided stainless steel lines are the standard 2026 preventive upgrade.
- Slave Cylinder: Mounted directly to the outer primary cover. It houses a piston that pushes against the clutch release pushrod.
- Internal Release Mechanism: The pushrod transfers through the primary case to actuate the release bearing, which presses against the diaphragm spring fingers to disengage the clutch pack.
Hydraulic Clutch Symptom Diagnostic Matrix
Before tearing into the primary case, use this diagnostic framework to isolate the failure point. Hydraulic issues are often misdiagnosed as warped clutch plates when the root cause is actually fluid dynamics or seal degradation.
| Symptom | Probable Root Cause | Diagnostic Test & Preventive Fix |
|---|---|---|
| Spongy or Soft Lever Feel | Air in the line, degraded rubber hose, or worn master cylinder cup seal. | Perform a vacuum bleed. If sponginess persists, swap the OEM rubber line for a braided stainless line (approx. $120-$150). |
| Clutch Drag (Creeping at stops) | Mushroomed pushrod tip, warped friction plates, or insufficient slave stroke. | Remove primary cover and measure pushrod length. Replace OEM pushrod (Part #38085-07) if worn. Check fluid level. |
| Fluid Loss Inside Primary | Failed slave cylinder piston O-ring or degraded internal seal. | Inspect the slave cylinder weep hole. Rebuild slave using OEM kit (Part #38091-07A, ~$45) or upgrade to an aftermarket billet unit. |
| Lever Pulls to the Grip (No Resistance) | Catastrophic line failure, empty master reservoir, or broken release bearing. | Check banjo bolt torque (17-22 ft-lbs). Inspect master cylinder sight glass. Bleed system and verify mechanical linkage. |
The Twin Cam Pushrod Phenomenon: 'Mushrooming' Explained
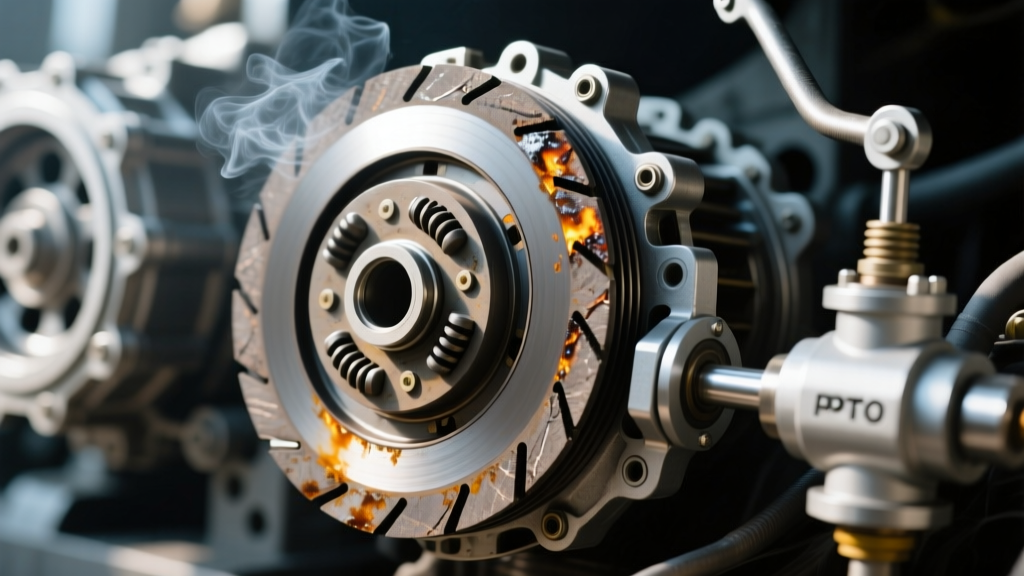
One of the most notorious failure modes specific to the Twin Cam hydraulic clutch system is pushrod 'mushrooming.' The OEM clutch release pushrod (Part #38085-07) is made of hardened steel, but over tens of thousands of miles, the constant friction against the inner race of the clutch release bearing causes the tip of the rod to deform and flare outward.
When the tip mushrooms, it effectively shortens the overall length of the pushrod. Because the hydraulic slave cylinder has a fixed stroke limit, a shortened pushrod means the slave piston bottoms out in its bore before it can fully actuate the diaphragm spring. The result? The clutch never fully disengages, leading to difficult gear changes, clunking into first gear, and forward creep at red lights. During any preventive maintenance primary fluid change, it is mandatory to pull the pushrod and roll it on a flat piece of glass to check for runout and tip deformation. A replacement pushrod costs less than $25 and saves hours of misdiagnosis.
Master vs. Slave Bore: Understanding Hydraulic Ratio
If your Twin Cam has an aftermarket setup or you are diagnosing a harsh lever pull, you must understand the hydraulic ratio. The ratio is determined by dividing the area of the slave cylinder piston by the area of the master cylinder piston. A higher ratio results in an easier lever pull but requires more hand travel (lever distance). If a previous owner swapped the master cylinder for a larger bore (e.g., moving from 10mm to 11/16-inch) without changing the slave, the lever will feel incredibly stiff, and the clutch may not fully disengage because the slave piston isn't receiving enough fluid volume to complete its stroke.
Preventive Maintenance: Fluid Selection and Bleeding Protocol
Using the wrong fluid is a common killer of Harley hydraulic clutches. While older Harley brake systems famously used DOT 5 (silicone-based), the hydraulic clutch systems introduced on the 2007+ Twin Cams were designed for DOT 4 (glycol-based) fluid. Mixing DOT 4 with DOT 5 or using mineral oil (which some European motorcycles use) will cause the EPDM rubber seals inside the slave cylinder to swell, bind, and ultimately fail, leaving you stranded in traffic.
Step-by-Step Vacuum Bleeding Procedure
Because the Harley slave cylinder is mounted vertically and the line routes down and then back up to the handlebars, air bubbles easily become trapped in the banjo fittings. Traditional 'pump and hold' bleeding rarely works perfectly on this layout.
- Prep: Wrap the master cylinder and primary cover in shop towels. DOT 4 fluid will strip paint and damage powder-coated primary covers on contact.
- Extract: Use a syringe to remove old, moisture-contaminated fluid from the master cylinder reservoir.
- Fill: Fill with fresh, sealed DOT 4 fluid (e.g., Motul RBF 600 or OEM Harley-Davidson DOT 4).
- Vacuum Pull: Attach a vacuum bleeder (like a Mityvac) to the slave cylinder bleeder valve. Crack the valve and pull a vacuum. Watch for bubbles in the vacuum canister.
- The Banjo Trick: If the lever still feels spongy, crack the banjo bolt at the master cylinder while gently squeezing the lever to force trapped air out of the top fitting. Caution: Fluid will escape; have rags ready.
- Torque: Tighten the slave bleeder valve and ensure banjo bolts are torqued to 17-22 ft-lbs using new crush washers.
2026 Upgrade Paths: OEM vs. Aftermarket Slave Cylinders
When the OEM slave cylinder fails, owners must decide between a standard rebuild and a complete aftermarket upgrade. Companies like Barnett Clutches and Performance Machine offer billet slave cylinders that improve heat dissipation and seal longevity.
| Component Option | Estimated Cost (2026) | Material & Design | Best Use Case |
|---|---|---|---|
| OEM Rebuild Kit (38091-07A) | $40 - $55 | Stock aluminum bore, standard EPDM seals. | Budget repairs, low-mileage weekend riders, stock clutch springs. |
| Barnett Stealth Slave | $180 - $220 | Billet aluminum, hard-anodized bore, Viton seals. | High-mileage touring, heavy traffic commuting, upgraded clutch packs. |
| Complete Braided Line Kit | $110 - $140 | Stainless steel braid, Teflon inner core. | Eliminating lever sponginess, improving hydraulic response time. |
Final Torque Specifications & Primary Reassembly
When reinstalling the slave cylinder onto the outer primary cover, surface preparation is just as critical as torque. Clean the mating surface with brake cleaner to ensure no oil residue compromises the slave O-ring seal. The slave cylinder mounting bolts should be torqued to 84-108 in-lbs (7-9 ft-lbs). Do not overtighten, as the primary cover is cast aluminum and the threads strip easily.
For the primary cover itself, follow a crisscross torque pattern, bringing the bolts up gradually to a final torque of 84-108 in-lbs. Always use a fresh primary gasket and verify the primary chain tensioner is aligned before sealing the system. For comprehensive service manual schematics and factory diagrams, technicians can reference the official Harley-Davidson Service Portal or consult parts fiches via J&P Cycles.
Expert Tip: Never adjust the clutch cable (if equipped with a hybrid setup) or the internal pushrod adjuster without first ensuring the hydraulic system is 100% bled and the slave cylinder is fully retracted. Adjusting the pushrod while the slave is extended due to trapped air will result in a clutch that slips under heavy throttle once the fluid heats up and expands.
By treating the hydraulic clutch as a sealed, pressurized system rather than a simple mechanical linkage, Twin Cam owners can easily achieve 100,000+ miles of smooth, predictable gear changes. Regular fluid flushes every two years, combined with pushrod inspections during primary services, will keep your Big Twin shifting flawlessly for years to come.