The Unique Mechanics of the Suicide Clutch Setup
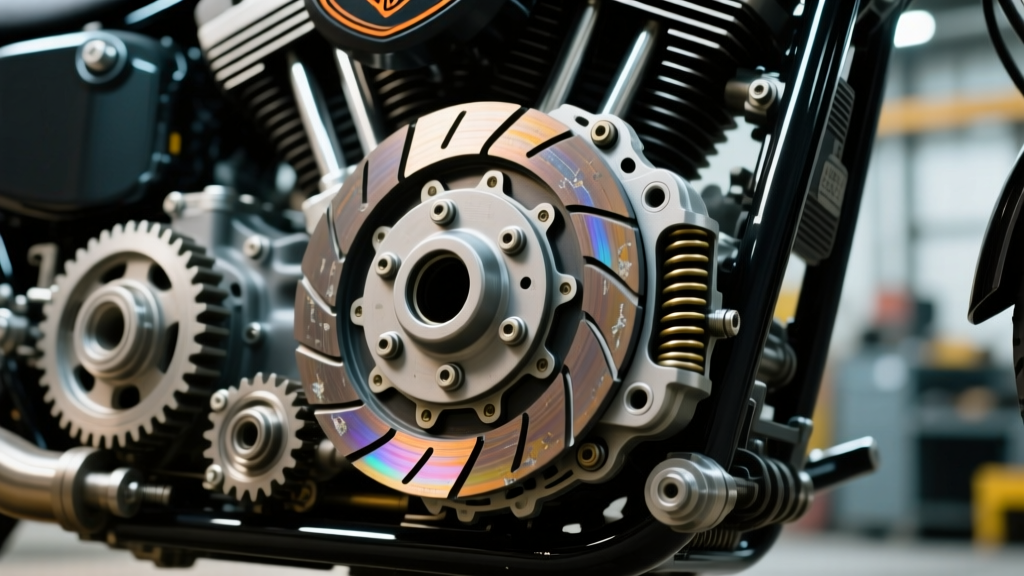
The 'suicide clutch'—a left-foot-operated clutch pedal lacking a return spring or locking detent—is a hallmark of vintage motorcycle styling. Found on classic Harley-Davidson Knuckleheads, Panheads, Shovelheads, and modern custom choppers or bobbers, this setup demands constant rider engagement. When stopped, the rider must physically hold the pedal down to disengage the clutch; releasing the pedal engages the drivetrain. While visually striking and historically authentic, a suicide clutch Harley Davidson setup introduces unique mechanical vulnerabilities. When slipping occurs, it transitions from a minor annoyance to a severe safety hazard. Unlike a hand-clutch setup where you can effortlessly pull the lever to the grip to modulate a slipping friction pack, a slipping foot clutch forces the rider to constantly pump or modulate pedal pressure with their left leg. This leads to rapid muscle fatigue, overheated primary fluid, and severely glazed friction plates.
Diagnosing a slip in a foot-clutch linkage requires understanding the 'over-center' geometry of the pedal mechanism and how it interacts with the Harley Big Twin clutch release system. This preventive maintenance guide details how to isolate slipping symptoms, measure internal wear, and apply exact torque specifications to keep your custom or vintage drivetrain fully engaged.
Identifying Slipping Symptoms on a Foot Clutch
Clutch slip in a suicide setup often masquerades as linkage misadjustment. Because the foot pedal relies on a series of Heim joints, clevises, and pivot brackets to transfer mechanical force to the clutch release arm, any slop in this system alters the clamping force. Here are the primary symptoms that indicate your friction pack is slipping or your linkage is failing to apply full pressure.
The 'Over-Center' Pedal Creep and RPM Flare
The most obvious symptom of a slipping clutch is RPM flare without a corresponding increase in road speed, typically occurring in 3rd or 4th gear under heavy throttle load. However, on a suicide clutch, you will also notice 'pedal creep.' If the friction plates are worn thin, the clutch release bearing sits closer to the transmission mainshaft. To compensate, the linkage must be adjusted tighter. This tighter adjustment pulls the pedal closer to the frame, altering the over-center pivot point. If the pedal does not travel past its mechanical centerline when fully released, engine vibration can cause the pedal to flutter, momentarily pulling the throwout bearing and causing micro-slips.
Primary Chaincase Overheating and Odor
A slipping friction pack generates immense kinetic heat. In a hand-clutch setup, a rider might notice a burning smell. In a foot-clutch setup, because the rider's left leg is positioned directly above the primary chaincase, you will feel the heat radiating through your boot before you smell the burning friction material. If your primary fluid (whether 20W-50 synthetic or ATF) smells acrid or turns a dark, muddy brown with a greenish tint (indicating Kevlar dust), your clutch pack is actively slipping and glazing.
Expert Diagnostic Tip: Never attempt to 'ride out' a slipping suicide clutch in stop-and-go traffic. The lack of a hand lever means you cannot instantly dump the clutch to clear an intersection. If the clutch slips during a launch, you are stranded in the path of cross-traffic. Treat any slip as an immediate grounding issue.
Step-by-Step Diagnostic Protocol
Before tearing into the primary chaincase, you must eliminate external linkage variables. Follow this diagnostic sequence to isolate the root cause of the slip.
1. Linkage and Heim Joint Inspection
Inspect the 1/4-inch or 5/16-inch Heim joints (rod ends) connecting the foot pedal to the clutch actuation shaft. Grab the linkage and attempt to wiggle it. Any radial play in the rod ends translates directly to lost clamping force. If the linkage is binding or the Heim joints are seized with rust and road grime, the clutch springs cannot pull the pressure plate fully flush against the friction pack. Replace seized rod ends with high-misalignment Teflon-lined joints to ensure smooth, friction-free pedal return.
2. Pressure Plate and Throwout Bearing Adjustment
Remove the derby cover (torque spec: 84-108 in-lbs in a crisscross pattern upon reassembly). Locate the central clutch adjuster screw. Turn the adjuster inward until you feel firm resistance against the throwout bearing, then back it out exactly 1/2 to 3/4 of a turn. Lock the jam nut securely. If the adjuster is set too tight, it pre-loads the release fingers, preventing the clutch springs from applying their full clamping force, resulting in an immediate slip under load.
3. Clutch Pack Measurement and Spring Inspection
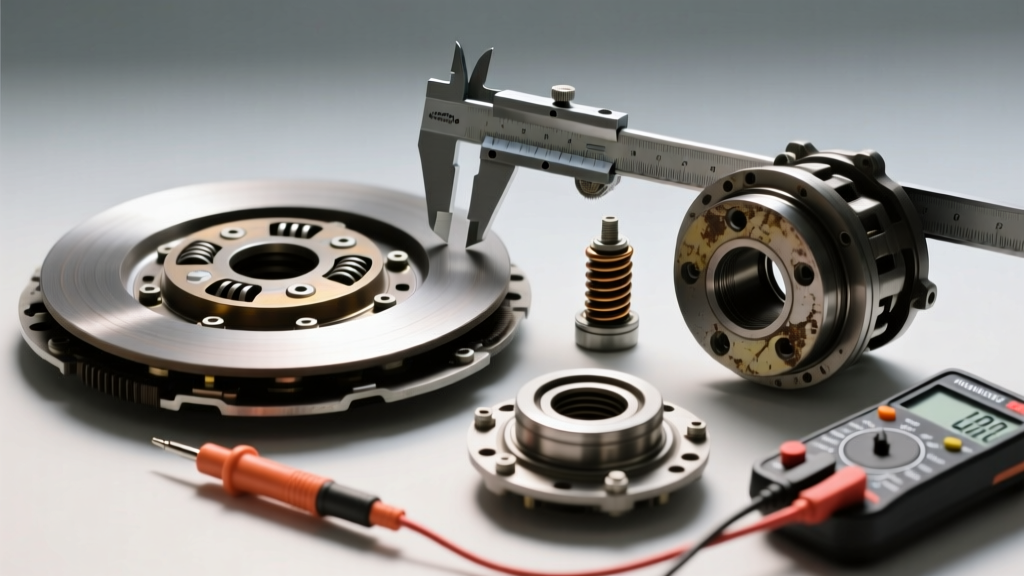
If the linkage and adjuster are correct, the slip is internal. Drain the primary fluid and remove the clutch spring retainer. Measure the free length of the clutch springs. Standard Harley Big Twin clutch springs should measure approximately 2.125 inches. If they have sagged below 1.990 inches, they lack the hydraulic pressure to hold the plates together under high torque.
| Component | Factory / Performance Spec | Action Limit / Torque |
|---|---|---|
| Clutch Spring Free Length | 2.125" (Standard) | Replace if under 1.990" |
| Mainshaft Clutch Hub Nut | 70-80 ft-lbs (Right-Hand Thread) | Must use Red Loctite 271 |
| Primary Chain Deflection | 5/8" - 7/8" (Cold, Bottom Run) | Adjust via tensioner shoe |
| Derby Cover Fasteners | 84-108 in-lbs | Crisscross sequence |
| Foot Pedal Freeplay | 1/8" - 1/4" at the toe pad | Adjust linkage clevis |
Preventive Maintenance and Fluid Selection
Preventing clutch slip in a suicide setup heavily relies on primary fluid management and chain tension. The primary chain drives the clutch hub; if the chain is excessively loose (exceeding 1 inch of deflection), the violent whipping of the chain under hard acceleration can cause harmonic vibrations that momentarily break the seal between the friction and steel plates, inducing micro-slips that glaze the clutch over time.
Fluid selection is highly debated in the custom Harley community. While Harley-Davidson recommends their Formula+ or standard 20W-50 synthetic motorcycle oil, many builders of high-torque suicide clutch setups opt for Type F Automatic Transmission Fluid (ATF). Type F ATF contains high-friction modifiers that promote aggressive clutch bite and resist slipping under heavy loads, though it may increase primary chain noise. Regardless of your choice, the primary fluid must be drained and replaced every 5,000 miles. The clutch operates in an oil-bath environment; as the fluid shears down and loses its viscosity, its ability to carry heat away from the friction plates diminishes, accelerating wear and slip.
Rebuilding with Aftermarket Upgrades
When diagnosis confirms that the friction plates are glazed or the steels are warped (check with a machinist straight-edge; replace if warped more than 0.005 inches), a rebuild is mandatory. For high-torque custom applications, OEM paper-based friction plates are often insufficient. Upgrading to a Kevlar-based friction pack is the industry standard for preventing future slip.
A highly regarded option is the Barnett Clutches Kevlar friction pack (Part # 301-30-1005 for standard Big Twins). Kevlar offers a higher coefficient of friction and superior heat resistance compared to organic materials. However, Kevlar requires a strict break-in procedure and must be soaked in your chosen primary fluid for a minimum of 4 hours (preferably overnight) before installation. Installing dry Kevlar plates will result in immediate glazing and catastrophic slip upon the first launch.
Pair the Kevlar pack with heavy-duty clutch springs (such as those available through J&P Cycles) to increase clamping pressure by 15-20%. When reinstalling the clutch hub onto the transmission mainshaft, ensure the splines are clean and lightly oiled, and always apply Red Loctite 271 to the mainshaft nut threads before torquing to 70-80 ft-lbs. A loose hub will destroy the mainshaft splines, turning a simple clutch slip issue into a $2,000 transmission rebuild.
Final Linkage Geometry Check
Once the primary is sealed and filled, re-adjust the foot linkage. The pedal must have 1/8 to 1/4 inch of freeplay at the toe pad before it begins to push the throwout bearing. This freeplay is non-negotiable; it ensures that when your foot is off the pedal, the clutch springs are allowed to clamp the pack with 100% of their designed force, completely eliminating the risk of slip and ensuring your custom Harley remains safe and road-worthy.