When diagnosing mobile air conditioning failures, technicians often mistakenly condemn the entire compressor assembly when the root cause is isolated to the electromagnetic clutch. While transmission clutches handle mechanical torque multiplication, the automotive AC compressor clutch is an electrically actuated friction device designed to engage and disengage the compressor's internal swashplate or scroll mechanism. Performing a systematic auto AC clutch repair requires a rigorous diagnostic approach to differentiate between mechanical wear, electrical degradation, and system-pressure interlocks.
This technical deep-dive provides a comprehensive clutch system inspection checklist tailored for modern R134a and R1234yf platforms. By following these phased diagnostic steps, you can accurately isolate faults, measure critical tolerances, and avoid unnecessary component replacement.
The Anatomy of the Electromagnetic AC Clutch
Before executing the inspection checklist, it is vital to understand the three primary components of the assembly:
- The Electromagnetic Coil: A copper-wound stator that generates a magnetic field when energized by the vehicle's 12V or 24V system.
- The Pulley (Rotor): Driven continuously by the serpentine belt via a sealed bearing. It houses the coil and provides the friction surface.
- The Friction Plate (Armature/Hub): Splined or keyed to the compressor's main shaft. When the coil is energized, the magnetic field pulls the friction plate against the spinning pulley, locking them together and turning the compressor shaft.
According to the Mobile Air Climate Systems Association (MACS), over 40% of premature compressor failures are traced back to improper clutch air gap calibration or ignored electrical voltage drops, leading to severe friction plate slippage and thermal destruction.
Phase 1: Mechanical Inspection & Air Gap Calibration
The most critical mechanical measurement in any auto AC clutch repair is the air gap—the precise distance between the friction plate and the pulley face when the clutch is disengaged. If the gap is too wide, the magnetic field cannot fully pull the plate, resulting in continuous slipping, extreme heat, and eventual coil burnout. If the gap is too tight, the plate will drag against the pulley when disengaged, causing parasitic engine drag and premature bearing failure.
Measuring and Adjusting the Air Gap
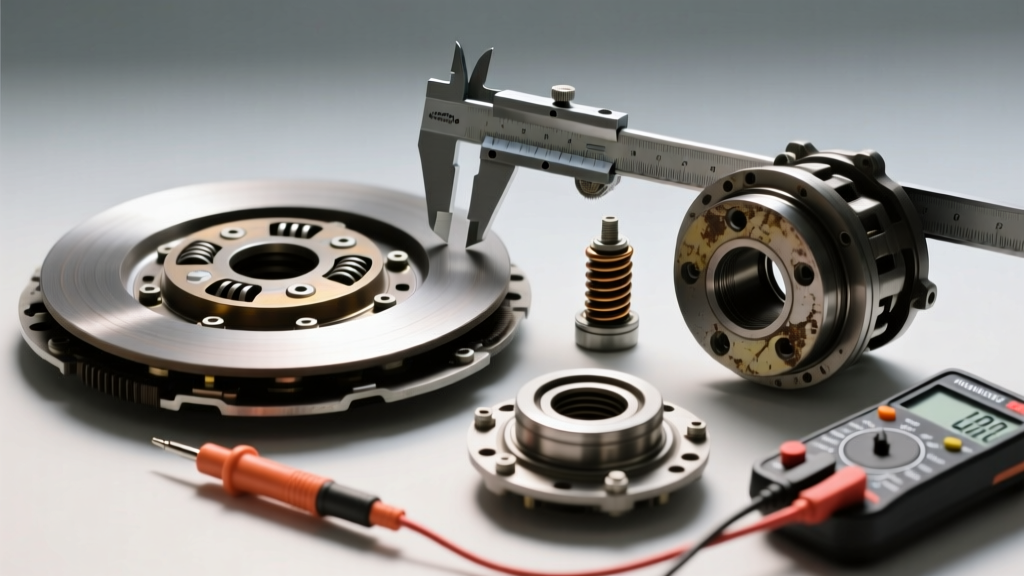
Using a metric feeler gauge, measure the gap at three equidistant points around the circumference of the clutch face. Most modern Denso and Sanden compressors require an air gap between 0.40mm and 0.60mm (0.015 to 0.023 inches). Older Harrison/A6 models may specify up to 0.80mm.
Pro-Tip: Never use a standard automotive spark plug gap tool for this measurement. The tapered edges of wire feeler gauges will yield false readings. Use precision flat-blade metric feeler gauges.
Adjustment Procedure:
- Remove the center hub retaining bolt (typically an M8x1.25 or M10x1.25 thread). Torque specification for reassembly is usually 11 to 15 lb-ft (15 to 20 Nm). Over-torquing will distort the friction plate.
- Pull the friction plate using a dedicated 3-jaw puller or specific threaded puller tool. Do not pry with a screwdriver, as this will bend the plate.
- Remove or add precision shimming washers (available in 0.1mm, 0.2mm, and 0.5mm thicknesses) located on the compressor shaft beneath the friction plate.
- Reinstall the plate, torque to spec, and re-measure the gap.
Phase 2: Electrical Circuit & Coil Diagnostics
If the air gap is within specification but the clutch fails to engage, the inspection must shift to the electromagnetic coil and its control circuit. The coil is essentially an inductor; its resistance dictates the current draw and the strength of the magnetic field.
Coil Resistance Benchmarks
Disconnect the clutch connector and measure the resistance across the coil terminals using a digital multimeter (DMM). The ambient temperature heavily influences copper resistance, so baseline your readings against the manufacturer's temperature-compensated charts. Below is a general reference matrix for standard 12V systems:
| Compressor Type / Era | Expected Resistance (at 20°C / 68°F) | Current Draw (Approx.) | Failure State Indicator |
|---|---|---|---|
| Modern Denso 10S / 6SEU | 3.2Ω - 4.0Ω | 3.0 - 3.7 Amps | OL (Open) or < 1.0Ω (Short) |
| Sanden SD7V / PXE | 3.5Ω - 4.5Ω | 2.6 - 3.4 Amps | OL (Open) or < 1.5Ω (Short) |
| Heavy Duty 24V Systems | 14.0Ω - 18.0Ω | 1.3 - 1.7 Amps | OL (Open) or < 5.0Ω (Short) |
Voltage Drop & Flyback Diode Testing
A coil may test fine on the bench but fail under load due to circuit resistance. With the engine running and the HVAC commanded to MAX A/C, back-probe the clutch connector. You must read within 0.5V of alternator output (typically 13.5V to 14.2V). If you read 10V at the coil, the magnetic field is weakened by roughly 30%, causing slip.
Furthermore, many modern clutch circuits incorporate a flyback diode or suppression resistor wired in parallel with the coil to prevent voltage spikes from damaging the PCM driver transistor. If your multimeter reads a short circuit (near 0.0Ω) across the coil pins, verify if a suppression diode has failed before condemning the clutch coil itself.
Phase 3: System Pressure Interlocks & PCM Logic
The clutch system inspection checklist must account for the fact that the PCM or HVAC module will intentionally disable the clutch to protect the compressor from catastrophic mechanical failure. If the electrical and mechanical checks pass, the issue lies in the refrigerant circuit.
Pressure Transducer vs. Binary Switches
Legacy R134a systems often use a simple binary or trinary pressure switch. If the low-side pressure drops below the cut-off threshold (typically 25 to 30 PSI for R134a), the switch opens, breaking the ground or power circuit to the clutch relay. This indicates a severe leak or restriction.
Conversely, modern R1234yf systems utilize a solid-state pressure transducer. This sensor sends a variable voltage signal (usually 0.5V to 4.5V) to the PCM, representing a continuous pressure curve from 0 to over 400 PSI. According to EPA Section 609 guidelines, diagnosing these systems requires a high-impedance DMM or a bi-directional scan tool to view the live data PID for 'AC Refrigerant Pressure'. If the scan tool reads 150 PSI but your manifold gauges read 45 PSI, the transducer is faulty, and the PCM is inhibiting the clutch based on false data.
Phase 4: Pulley Bearing & Thermal Overload Verification
A failing pulley bearing will generate immense friction heat, which transfers directly into the electromagnetic coil, melting the internal winding insulation and causing a short. During your visual inspection, remove the serpentine belt and spin the AC pulley by hand.
- Radial/Axial Play: Grab the pulley at the 12 and 6 o'clock positions and attempt to rock it. Any perceptible clicking or grinding indicates bearing cage failure.
- Acoustic Signature: Spin the pulley rapidly. It should spin freely for several revolutions with a smooth, quiet 'whoosh'. A metallic scraping or rumbling noise mandates immediate pulley or compressor replacement.
Additionally, inspect the wiring harness for a thermal overload protector. Some manufacturers wire a bi-metallic thermal fuse directly into the clutch harness near the compressor. If the clutch previously slipped and generated excessive heat, this one-time-use fuse may have blown, permanently disabling the clutch circuit until the harness pigtail is replaced.
Auto AC Clutch Repair Cost & Component Matrix
Understanding the financial and labor implications of your diagnostic findings helps in advising the customer accurately. Replacing a clutch assembly is significantly cheaper than a full compressor swap, provided the compressor's internal shaft seal and swashplate are healthy.
| Repair Scenario | Required Parts | Est. Parts Cost (USD) | Est. Labor Time | System Evacuation Required? |
|---|---|---|---|---|
| Air Gap Adjustment Only | Shim washers | $5 - $15 | 0.5 - 1.0 Hr | No |
| Clutch Coil & Pulley Kit | Coil, Pulley, Bearing, Snap rings | $80 - $180 | 1.5 - 2.5 Hrs | No (Usually) |
| Complete Clutch Assembly | Friction plate, Coil, Pulley, Hub | $150 - $350 | 1.5 - 2.5 Hrs | No |
| Full Compressor Replacement | Compressor, O-rings, Receiver/Drier | $300 - $850+ | 2.0 - 4.0 Hrs | Yes (Mandatory) |
For deeper technical specifications regarding compressor internal tolerances and OEM replacement guidelines, technicians should consult the Denso Aftermarket AC Compressor Technical Portal, which provides model-specific torque values and oil capacity charts for modern variable-displacement units.
Summary of the Diagnostic Workflow
Successful auto AC clutch repair hinges on isolating the variable that is preventing engagement. By systematically verifying the mechanical air gap, validating the coil's electromagnetic integrity, confirming adequate voltage delivery, and ruling out PCM pressure interlocks, you eliminate guesswork. Always remember that the clutch is merely the messenger; if a new clutch burns out within weeks of installation, the underlying system pressure anomaly or voltage drop was never truly resolved.