The Critical Role of the Starter Sprague in Harley Big Twins
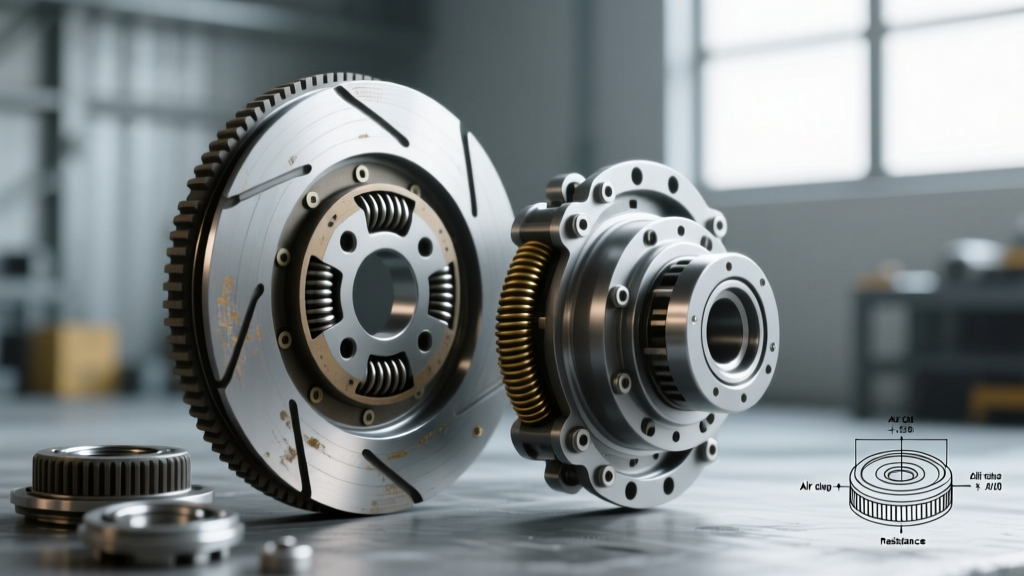
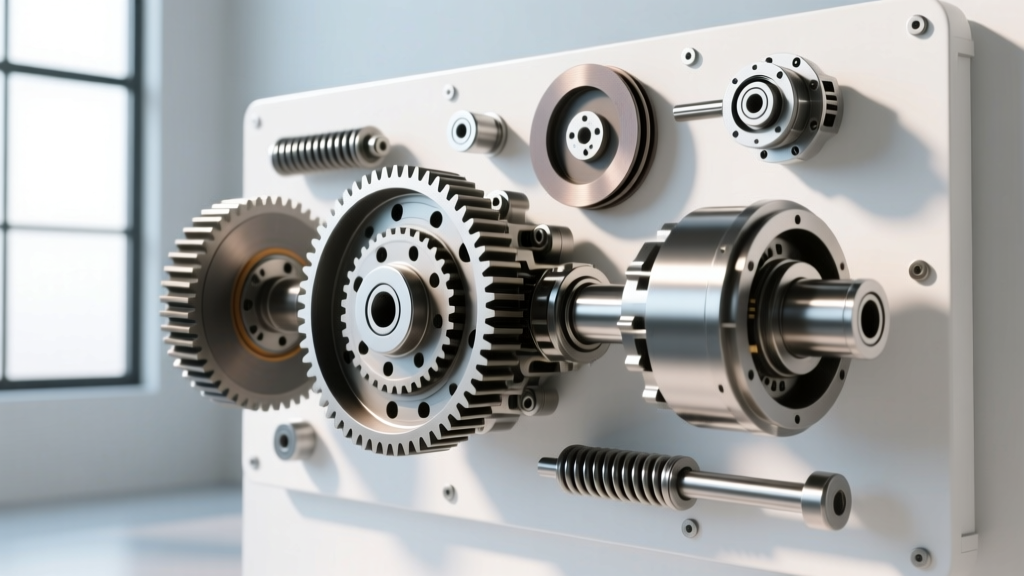
Harley-Davidson’s primary chaincase houses a deceptively simple but highly stressed component: the starter clutch, frequently referred to as the sprague assembly or overrunning clutch. When you press the starter button on a Twin Cam or Milwaukee-Eight V-Twin, the starter motor turns the jackshaft, which engages the starter clutch to rotate the engine crankshaft via the primary chain. Once the engine fires and its RPM exceeds the starter motor's speed, the sprague mechanism instantly disengages, preventing the engine from over-revving and destroying the starter motor.
Despite its robust design, the starter clutch is a frequent point of failure in Harley drivetrains, often misdiagnosed as a bad starter motor or a weak battery. As we move through 2026, the aftermarket has introduced several reinforced alternatives to the OEM design, making a thorough root cause analysis essential before spending money on replacement parts. In this guide, we break down the exact failure modes, provide a diagnostic matrix, and compare the best OEM and aftermarket buyer options available today.
Root Cause Analysis: 4 Primary Failure Modes
Understanding why a starter clutch fails is the first step in preventing a repeat failure after replacement. The sprague is essentially a one-way roller bearing that relies on precise clearances and friction to lock up. Here are the most common failure modes we see in the shop.
1. Sprague Slip and Roller Glazing
Symptom: A loud, metallic grinding or 'freewheeling' whir when the starter button is pressed, even with a fully charged battery and healthy starter motor.
Root Cause: This is almost always caused by degraded primary fluid or the use of incorrect oil. Harley's primary chaincase requires fluid with specific friction modifiers to allow the wet clutch to engage while providing enough 'bite' for the sprague rollers to lock against the inner and outer races. Using standard automotive motor oil or a fluid with excessive friction modifiers (often found in some synthetic blends not rated for wet clutches) causes the rollers to glaze and slip. Overheating from stop-and-go traffic can also bake the fluid, leaving a varnish-like residue on the sprague races.
2. Inner Hub Shaft Galling and Wear
Symptom: The starter clutch binds, causing a hard 'clunk' upon engagement, or the engine struggles to turn over despite good electrical connections.
Root Cause: The starter clutch rides on the transmission mainshaft or a dedicated jackshaft sleeve, depending on the specific Softail, Dyna, or Touring model year. If the primary fluid level drops below the required 32-38 oz capacity, the lower portion of the shaft operates in a boundary-lubrication state. This leads to microscopic galling on the shaft surface. Installing a brand-new sprague on a scored shaft will result in premature failure, often within the first 500 miles.
3. Primary Chain Whip and Shock Loading
Symptom: Intermittent engagement, broken sprague cage springs, or shattered roller retainers.
Root Cause: A loose primary chain is the enemy of the starter clutch. If the chain deflection exceeds the factory specification of 3/8-inch to 1/2-inch (measured cold with the engine off), the chain 'whips' violently during cranking. This shock loading transfers directly through the sprocket to the starter clutch housing, physically deforming the delicate sprague cage and snapping the retention springs. According to master technicians at J&P Cycles, failing to check primary chain tension is the number one cause of catastrophic sprague cage destruction.
4. Heat Damage from Stator Proximity
Symptom: Discolored (blued) metal on the starter clutch housing and melted internal grease.
Root Cause: The starter clutch is mounted directly to the rotor, which sits adjacent to the stator. If the voltage regulator fails or the stator shorts out, it can generate extreme localized heat. This heat transfers through the rotor into the starter clutch, melting the internal lubricant and causing the sprague to seize solidly to the shaft.
Diagnostic Symptom Matrix
Before tearing into the primary chaincase, use this diagnostic matrix to isolate the starter clutch from other electrical and mechanical gremlins.
| Symptom | Electrical Test Result | Mechanical Inspection | Probable Culprit |
|---|---|---|---|
| Loud grinding / freewheeling whir | Battery > 12.6V, Starter draws normal amps | Sprague slips when turned by hand | Glazed Sprague Rollers |
| Single loud 'Clunk', no rotation | High amp draw, voltage drops below 9V | Sprague binds on shaft, chain tension correct | Scored Jackshaft / Galling |
| Intermittent engagement, rattling | Normal electrical readings | Broken cage springs, chain deflection > 5/8" | Chain Whip Shock Damage |
| Starter motor spins, no engine turnover | Starter bench tests perfectly | Woodruff key sheared on rotor/crank | Rotor Key Failure (Not Clutch) |
The 'By-Hand' Sprague Test
With the primary cover removed and the spark plugs taken out to relieve compression, grab the starter clutch gear. Rotate it clockwise (the direction of engine rotation). It should lock up instantly and smoothly, turning the entire engine over. Rotate it counter-clockwise; it should freewheel with a smooth, light clicking sound. Any 'crunchy' feeling, delayed lockup, or binding indicates the sprague is compromised and must be replaced.
2026 Buyer's Guide: OEM vs. Aftermarket Starter Clutches
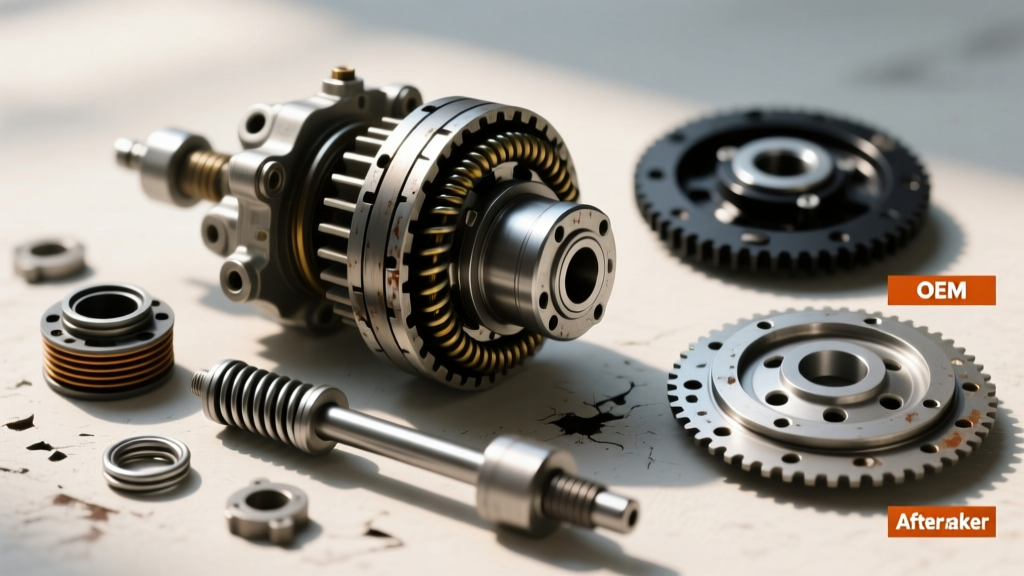
When it is time to replace the unit, you have several options. While OEM parts are reliable, the aftermarket has developed heavy-duty spragues designed to handle the increased torque of modern big-bore kits and high-compression builds. Below is a comparison of the top choices available in 2026.
| Brand / Manufacturer | Part Number / Type | Avg. Price (2026) | Best Application | E-E-A-T Verdict |
|---|---|---|---|---|
| Harley-Davidson OEM | 31558-06C (Twin Cam) | $145 - $165 | Stock 88" / 96" / 103" engines | The benchmark for reliability on unmodified engines. Exact factory clearances. |
| Ultima Heavy Duty | Ultima Sprague Assembly | $85 - $110 | Budget rebuilds, mild performance | Excellent value. Features a slightly reinforced cage, but quality control can vary. |
| Barnett Clutches | Barnett Pro-Series Sprague | $130 - $150 | High-mileage touring, heavy loads | Barnett uses premium bearing steel. Highly recommended for baggers. |
| Compu-Fire | High-Torque Starter Clutch | $180 - $210 | 110"+ Big Bore, High Compression | Engineered for Compu-Fire high-torque starters. Overkill for stock, essential for monsters. |
Expert Tip: Never buy a used starter clutch from a salvage yard. The internal sprague races wear microscopically over time, and there is no way to visually verify the remaining lockup life without a specialized torque-breakaway tester.
Precision Installation: Torque Specs and Clearances
Replacing the Harley starter clutch is not just about unbolting and rebolting. Improper torque sequences and ignored clearances will destroy a $200 sprague in a matter of weeks. Follow these exact specifications for Twin Cam and early Milwaukee-Eight platforms:
- Primary Fluid Drain & Fill: Drain completely. Refill with exactly 32 oz to 38 oz (model dependent) of Harley Formula+ or a dedicated V-Twin primary fluid (e.g., AMSOIL V-Twin Primary Fluid). Do not use Syn3 or 20W-50 engine oil in the primary if you are running an OEM sprague.
- Rotor to Crankshaft Bolt: 135 ft-lbs. Must use Red Loctite 271. Ensure the Woodruff key is perfectly seated and undamaged.
- Starter Clutch to Rotor Bolts: 120 to 150 in-lbs (NOT ft-lbs). Use Blue Loctite 243. Torque in a star pattern.
- Stator Mounting Bolts: 120 to 150 in-lbs. Apply a small dab of Blue Loctite to prevent vibration backing-out.
- Primary Chain Tension: Adjust the primary chain tensioner shoe until the tightest spot of the chain exhibits exactly 3/8-inch to 1/2-inch of vertical deflection. Lock the adjuster nut and torque the tensioner stud to 120 in-lbs.
Final Break-In Procedure
After installation, do not immediately fire the engine. Put the motorcycle in gear (with the rear wheel elevated on a lift) and gently rotate the rear wheel by hand to cycle the primary chain and distribute the fresh fluid into the sprague rollers. Once the engine is fired, let it idle for 10 minutes to bring the primary fluid up to operating temperature, then re-check the chain tension while the fluid is hot. The chain will expand; ensure it does not become overly tight, which can side-load the starter clutch and cause premature bearing wear.
By diagnosing the root cause of your starter clutch failure and selecting the correct replacement for your specific engine configuration, you can ensure reliable starts for tens of thousands of miles. Whether you stick with the OEM 31558-06C or upgrade to a Barnett Pro-Series unit, respecting the torque specs and fluid requirements is the ultimate key to drivetrain longevity.