The Anatomy of Intermittent Harley Clutch Failures
Diagnosing intermittent clutch problems on Harley-Davidson motorcycles requires a methodical approach that separates symptom from root cause. Unlike hydraulic systems found on modern sportbikes, the vast majority of Harley-Davidson models—from the legacy Twin Cam platforms to the current Milwaukee-Eight 117 and 121 engines—rely on a mechanical, cable-actuated wet clutch system. While robust, this design is inherently susceptible to environmental wear, thermal expansion, and mechanical binding.
When a rider experiences intermittent clutch slip (RPM flares under load) or intermittent drag (difficulty finding neutral, creeping at stops), the immediate assumption is often warped steel plates, a worn friction pack, or a failing primary chain tensioner. However, as of the 2026 riding season, service data indicates that a significant percentage of these "ghost" issues stem from the clutch cable assembly itself. Internal fraying, sheath degradation, and improper routing can cause erratic cable tension, mimicking severe internal transmission failures. Understanding when to adjust, when to diagnose, and the exact protocol for changing clutch cable on Harley motorcycles is essential for accurate drivetrain troubleshooting.
Symptom Matrix: Is It the Cable, the Plates, or the Primary?
Before tearing into the primary chaincase, cross-reference your motorcycle's specific behavior against this diagnostic matrix. Intermittent issues are notoriously difficult to pin down because they often change with engine temperature or ambient weather.
| Symptom Profile | Primary Suspect | Secondary Suspect | Diagnostic Test |
|---|---|---|---|
| Intermittent drag (hard to shift when cold, normal when hot) | Primary fluid viscosity / Overfilling | Warped steel friction plates | Check fluid level at operating temp; inspect plates for bluing. |
| Erratic lever feel (clumping, sudden release, inconsistent resistance) | Internal cable fraying / Sheath binding | Clutch release bearing wear | Disconnect cable at lever; pull by hand to feel for internal snags. |
| Intermittent slip under heavy load or high heat | Worn friction discs / Weak diaphragm spring | Cable adjusted too tight (no free play) | Measure free play; inspect friction material and spring tension. |
| Chatter or grab during initial engagement from a stop | Contaminated primary fluid / Glazed plates | Loose primary chain or failing compensator | Drain fluid and inspect for metallic debris or clutch material. |
Measuring Free Play: The First Step in Diagnosis
The most common cause of intermittent clutch slip is a lack of proper free play. As the engine and primary case heat up, thermal expansion alters the distance between the transmission shaft and the clutch release mechanism. If the cable is adjusted too tightly when cold, thermal expansion will pull the release bearing against the diaphragm spring, slightly disengaging the clutch pack and causing severe slip under acceleration.
Harley-Davidson factory service manuals mandate a strict free play specification: 1/16" to 1/8" (1.6mm to 3.2mm) measured at the lever pivot point. To measure this accurately:
- Ensure the engine is at normal operating temperature.
- Stand the motorcycle upright on a lift or have a helper support it (do not measure while on the kickstand, as the bike's lean angle can slightly alter primary fluid distribution and internal drag).
- Pull the clutch lever gently until you feel the exact point of resistance (the release bearing contacting the spring).
- Measure the distance the lever moved before resistance was met.
When Adjustments Fail: Spotting Internal Cable Fraying
If you have verified the free play, yet the bike still suffers from intermittent grab or erratic lever pull, the cable is likely failing internally. Harley clutch cables are subjected to immense tensile stress and tight routing radii, particularly around the frame neck and voltage regulator area on Softail and Dyna models.
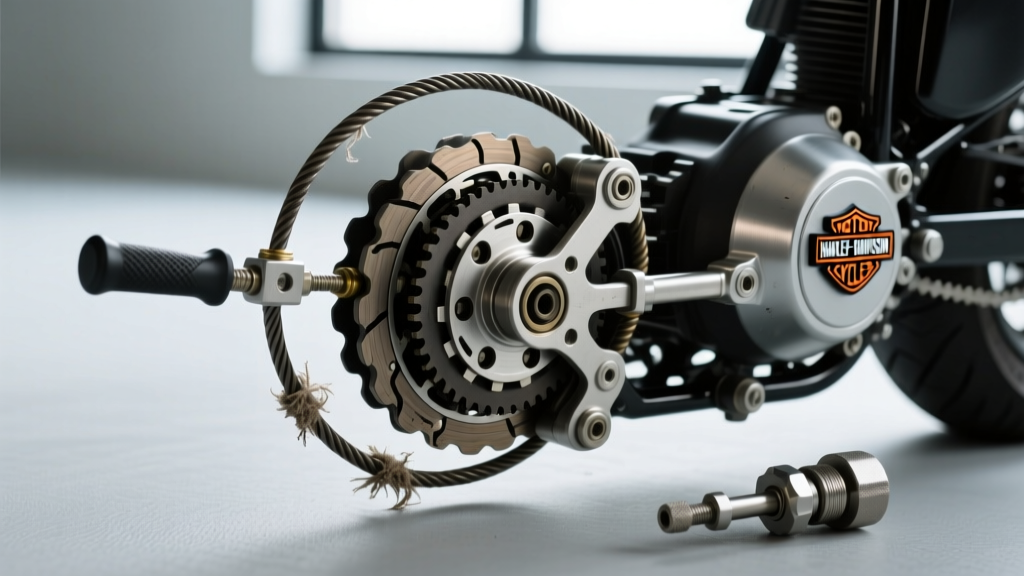
Over time, the inner steel wire begins to fray inside the Teflon-lined sheath. This creates microscopic "birdcages" that catch and release as the lever is pulled. This results in an intermittent grab that feels exactly like a warped clutch plate. If you disconnect the cable from the handlebar lever and pull the inner wire by hand, any sensation of "grittiness," uneven resistance, or sudden snapping means the cable must be replaced immediately before it strands you on the highway.
The Ultimate Guide to Changing Clutch Cable on Harley Models
When diagnosis points to a failing cable, the repair requires partial disassembly of the primary drive. The process of changing clutch cable on Harley motorcycles is straightforward but demands strict adherence to torque specifications and fluid management protocols.
Required Tools and OEM Part References
Do not compromise on cable quality. Cheap aftermarket cables often lack the proper Teflon lining, leading to premature fraying and heavy lever pull. We recommend sourcing from established manufacturers.
- Cable Assembly: Barnett Platinum Series or Drag Specialties OEM-replacement cables. (Ensure you select the correct length for your specific handlebar setup; stock length is usually 34" to 36" depending on the model year).
- Primary Fluid: 1 Quart of Harley-Davidson Formula+ or AMSOIL V-Twin Synthetic Primary Fluid.
- Gaskets: New Derby cover O-ring and primary drain plug crush washer.
- Tools: Torque wrench (inch-pounds and foot-pounds), 5/32" Allen socket (for Derby cover and spring bolts), T-40 Torx (for drain plug), and needle-nose pliers.
Step-by-Step Cable R&R and Primary Fluid Service
Follow this sequence to safely relieve tension and swap the cable without damaging the clutch release mechanism.
- Drain the Primary: Place a catch pan beneath the primary chaincase. Remove the T-40 drain plug and allow the fluid to drain completely. Replace the crush washer and reinstall the plug, torquing to 14-21 ft-lbs.
- Remove the Derby Cover: Use a 5/32" Allen socket to remove the primary inspection cover bolts. Carefully peel back the cover and discard the old O-ring.
- Relieve Clutch Spring Tension: To safely detach the cable from the internal release lever, you must relieve the pressure of the clutch pack. Using your 5/32" Allen, evenly loosen the diaphragm or coil spring bolts in a crisscross pattern. Do not remove them completely. Loosen them just enough (about 3-4 turns) until the release bearing assembly is loose and free of tension.
- Detach the Old Cable: Locate where the cable end seats in the clutch release lever (often a ball-and-ramp or direct-pull pivot). Use needle-nose pliers or a specialized cable removal tool to unseat the cable end from the lever. Feed the cable out through the primary housing.
- Route the New Cable: Feed the new cable through the frame guides, ensuring it does not pinch against the steering stem or voltage regulator. Apply a small dab of white lithium grease to the cable end pivot before seating it into the internal release lever.
- Retorque the Clutch Springs: Tighten the clutch spring bolts evenly in a star pattern. For most Milwaukee-Eight and late Twin Cam diaphragm springs, the final torque spec is 38-42 in-lbs. (Note: If you are running an aftermarket heavy-duty clutch spring, consult the manufacturer, as some require up to 70-90 in-lbs).
- Reinstall the Derby Cover: Clean the mating surfaces, install the new O-ring, and torque the Derby cover bolts to 60-84 in-lbs.
Bleeding the System and Final Verification
Harley wet clutches do not require hydraulic bleeding, but they do require a specific fluid settling procedure. Pour your chosen primary fluid into the chaincase. For most Big Twin models, the capacity is approximately 32 oz (1 quart), but never fill by volume alone.
Expert Diagnostic Tip: The correct primary fluid level is achieved when the oil just touches the bottom edge of the clutch basket or diaphragm spring while the motorcycle is standing perfectly upright. Overfilling by even 4 ounces will cause the clutch plates to drag through the fluid, resulting in the exact intermittent drag symptoms you were trying to cure.
After filling, reinstall the primary fill plug. Pump the clutch lever 20 to 30 times to seat the new cable into the release mechanism and distribute the fluid. Finally, adjust the inline barrel adjuster and the handlebar lever adjuster to achieve the mandatory 1/16" to 1/8" free play. Take the motorcycle for a 15-minute test ride to bring the primary fluid to operating temperature, re-check the free play, and verify that neutral drops smoothly at a standstill. By mastering the diagnosis of internal cable degradation and the precise mechanical steps of changing clutch cable on Harley models, you eliminate the most common source of intermittent drivetrain frustration.
References and Further Reading
- J&P Cycles - Harley-Davidson Drivetrain & Cable Technical Fitment Guides.
- Barnett Tool & Engineering - Clutch Cable Tensile Strength and Routing Specifications.
- AMSOIL V-Twin - Primary Chaincase Lubricant Viscosity and Thermal Expansion Data.