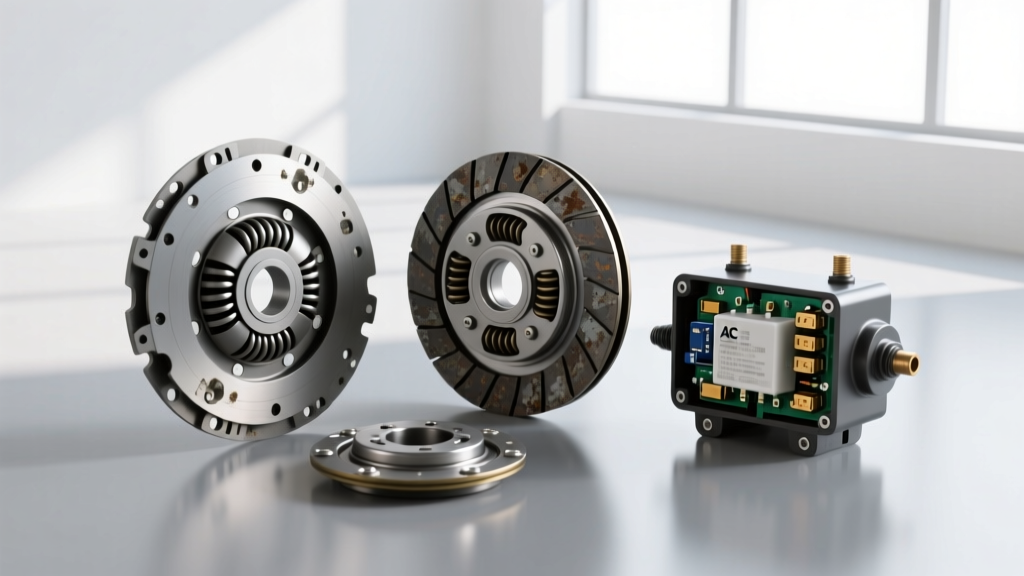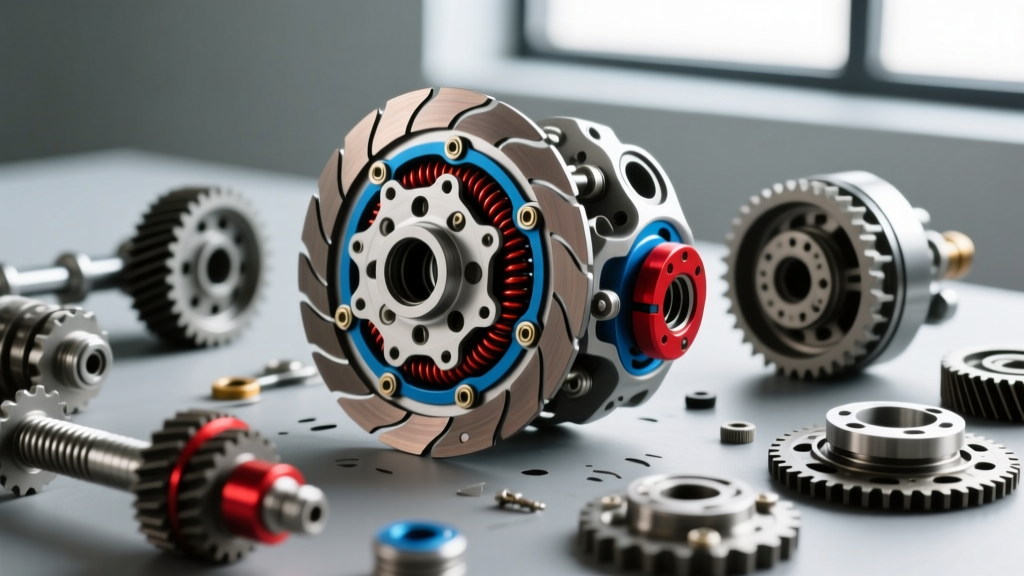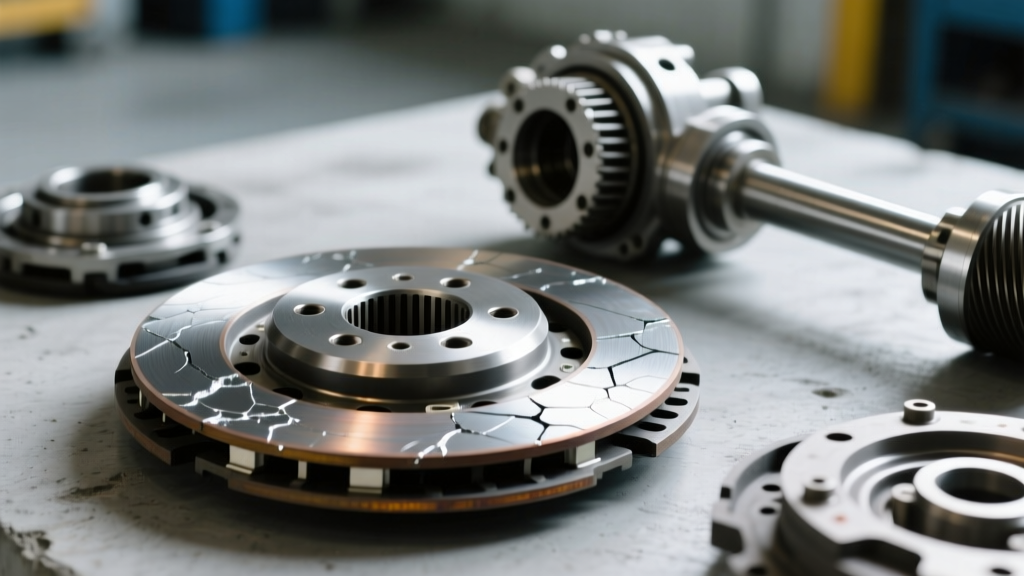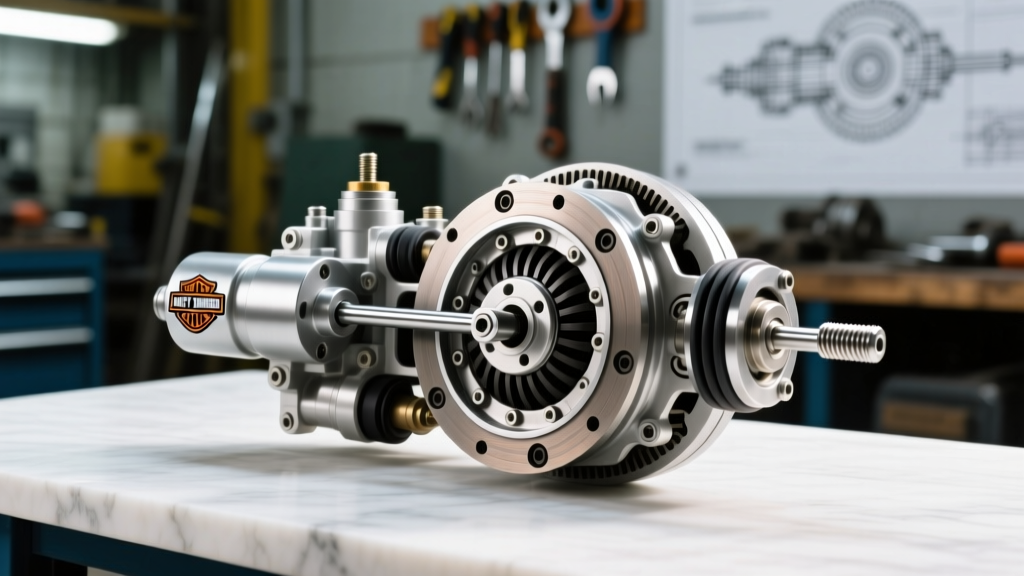
The High-Stakes Reality of Harley Clutch Slippage
As of 2026, with the Milwaukee-Eight 121 and 131 cubic-inch engines producing well over 130 lb-ft of torque at the crank, clutch pack stress on Harley-Davidson touring and cruiser models is at an all-time high. While the transition from cable-actuated to hydraulic clutches significantly reduced lever pull effort, it introduced a new layer of diagnostic complexity. When a hydraulic system falls out of specification, the result is often catastrophic clutch slippage. Understanding the precise mechanics of adjusting Harley hydraulic clutch components is no longer just a matter of comfort; it is a critical preventive maintenance requirement to save your friction plates from turning into expensive, burnt-out dust.
Recognizing Clutch Slipping Symptoms on a Big Twin
Before tearing into the primary chaincase, you must accurately diagnose whether the slipping is caused by hydraulic misadjustment, fluid degradation, or physical wear to the clutch pack. A slipping clutch rarely fails overnight; it provides distinct warning signs that escalate under load.
- RPM Flare Without Acceleration: The most classic symptom. When rolling on the throttle in 4th or 5th gear at highway speeds (65-75 MPH), the tachometer climbs rapidly, but road speed remains stagnant or increases sluggishly.
- The 'Burning' Odor: A distinct, acrid smell resembling burnt toast or hot brakes. This indicates the Kevlar or paper-based friction plates are glazing and overheating due to incomplete engagement.
- Sluggish Takeoff from a Stop: The engine wants to pull forward, but the bike feels like it is dragging an anchor. The lever may feel unusually stiff or, conversely, entirely devoid of resistance.
- Loss of Engine Braking: When downshifting to decelerate, the rear wheel fails to transfer the engine's compression braking force, indicating the clutch is failing to lock the transmission input shaft to the engine.
Diagnostic Matrix: Hydraulics vs. Mechanical Wear
Use the following diagnostic table to isolate the root cause of your slipping symptoms before ordering replacement parts from the Harley-Davidson Official Maintenance Portal.
| Symptom Profile | Probable Root Cause | Diagnostic Action |
|---|---|---|
| Slipping worsens as engine reaches operating temp (200°F+) | Pushrod air-gap eliminated by thermal fluid expansion | Check primary pushrod adjustment and slave cylinder return |
| Slipping is constant, regardless of temperature; lever feels spongy | Air in hydraulic lines or degraded DOT 5 fluid | Bleed slave cylinder; inspect master cylinder seals |
| Slipping under heavy load only; lever feel is normal and firm | Worn friction plates or weakened diaphragm spring | Measure clutch pack thickness and inspect steel plates for bluing |
| Clutch drags (fails to disengage) AND slips intermittently | Notched clutch hub or warped steel plates | Inspect inner hub and outer basket for grooving |
The Critical Failure Mode: Missing the 'Air Gap'
The most common mistake riders make when adjusting a Harley hydraulic clutch is eliminating the internal air gap. Unlike a cable system where you can visually verify free-play at the lever, a hydraulic system relies on a microscopic gap between the clutch release bearing and the diaphragm spring inside the primary.
If the internal pushrod is adjusted too tightly, the slave cylinder piston cannot fully retract into its bore. As the engine heats up, the DOT 5 silicone brake fluid expands. With nowhere for the expanding fluid to go, it pushes the slave cylinder piston outward, which pushes the pushrod, which pulls the diaphragm spring, and partially disengages the clutch. This thermal-induced slippage will glaze a brand-new clutch pack in less than 50 miles. Proper adjustment ensures the fluid has room to expand without applying pressure to the clutch pack.
Step-by-Step Preventive Adjustment Procedure
Perform this procedure every 10,000 miles or whenever the primary fluid is changed. You will need a 1/2-inch wrench, a 5/32-inch Allen key, and a clean shop towel.
Phase 1: The Lever and Master Cylinder
- Locate the adjustment screw at the handlebar lever perch.
- Adjust the pushrod at the master cylinder to achieve exactly 1/16-inch to 1/8-inch of free-play at the tip of the lever. This ensures the master cylinder piston fully uncovers the fluid return port, allowing expanded fluid to return to the reservoir rather than pressurizing the line.
- Verify the fluid level in the master cylinder. Use only OEM-specified DOT 5 Silicone Brake Fluid (Part No. 99953-99). Never mix DOT 4 and DOT 5; doing so will destroy the rubber seals in the slave cylinder.
Phase 2: The Primary Pushrod (The Air Gap)
- Remove the derby cover (clutch inspection cover) from the primary chaincase. Clean the area thoroughly to prevent debris from entering the primary oil.
- Locate the clutch adjuster screw in the center of the pressure plate and the surrounding locknut.
- Loosen the locknut using a 1/2-inch wrench.
- Using a 5/32-inch Allen key, turn the adjuster screw IN (clockwise) until you feel it gently bottom out against the release bearing. Do not force it; stop the moment you feel resistance.
- From the bottomed-out position, turn the adjuster screw OUT (counter-clockwise) exactly 1/2 to 3/4 of a turn. This creates the vital 1/16-inch air gap.
- Hold the Allen key perfectly still and tighten the locknut to 84-108 in-lbs (7-9 ft-lbs).
Phase 3: Bleeding the Slave Cylinder
If the lever feels spongy after adjustment, air is trapped in the slave cylinder. As detailed in RevZilla's Common Tread technical archives, gravity bleeding a Harley hydraulic clutch is highly effective due to the downward routing of the line.
- Attach a clear vinyl tube to the bleeder valve on the slave cylinder (located behind the primary cover).
- Route the tube upward into a catch bottle to trap rising air bubbles.
- Open the bleeder valve (3/8-inch wrench) and slowly squeeze the clutch lever. Close the valve before releasing the lever.
- Repeat until the fluid runs completely clear and bubble-free. Top off the master cylinder frequently to prevent drawing air into the system.
OEM Specifications and Preventive Maintenance Data
Adhering to exact torque specifications and fluid capacities prevents case distortion and hydraulic failure. Reference this chart during your 2026 service interval.
| Component / Specification | OEM Value / Part Number | Service Interval |
|---|---|---|
| Primary Chaincase Fluid Capacity | 32 oz (Quarts) - Formula+ or Syn3 20W-50 | 10,000 Miles |
| Hydraulic Clutch Fluid | DOT 5 Silicone (P/N: 99953-99) | Every 2 Years |
| Derby Cover Torque | 84-108 in-lbs (7-9 ft-lbs) | Every Removal |
| Primary Drain Plug Torque | 14-21 ft-lbs | Every Removal |
| Slave Cylinder Assembly (Twin Cam/M8) | P/N: 36805-11A | Replace if weeping fluid |
| Clutch Pack Minimum Thickness | 0.295 inches (Total friction pack) | Inspect at 25,000 Miles |
Conclusion: The Cost of Neglect
Ignoring the subtle symptoms of a slipping hydraulic clutch will inevitably lead to a complete friction pack failure. A replacement clutch kit for a Milwaukee-Eight engine, including steel plates, friction discs, and a heavy-duty diaphragm spring, routinely exceeds $350 in parts alone, not to mention the labor and primary gasket kits required for the teardown. By mastering the precise pushrod adjustment and maintaining the correct fluid levels, you ensure that your hydraulic actuator serves its purpose: delivering smooth, effortless lever engagement while allowing the clutch pack to clamp with the thousands of pounds of force required to handle modern cruiser torque outputs.