Understanding Motorcycle Clutch Drag and Release Failures
Experiencing a motorcycle that creeps forward at a stoplight, refuses to slot into first gear smoothly, or leaves the rear wheel spinning while on a center stand? You are likely dealing with clutch drag. While many riders immediately blame warped plates or weak springs, the root cause frequently lies within the motorcycle clutch basket and the release mechanism. When the clutch lever is pulled, the pressure plate must lift uniformly to separate the friction and steel plates. If the plates are wedged into grooves or the release mechanism lacks sufficient travel, the pack fails to disengage fully, resulting in dangerous drag and accelerated transmission wear.
This comprehensive, step-by-step guide will walk you through diagnosing release system failures, inspecting the outer clutch hub (basket) for notching, and executing a precision reassembly using factory torque specifications and measurement limits.
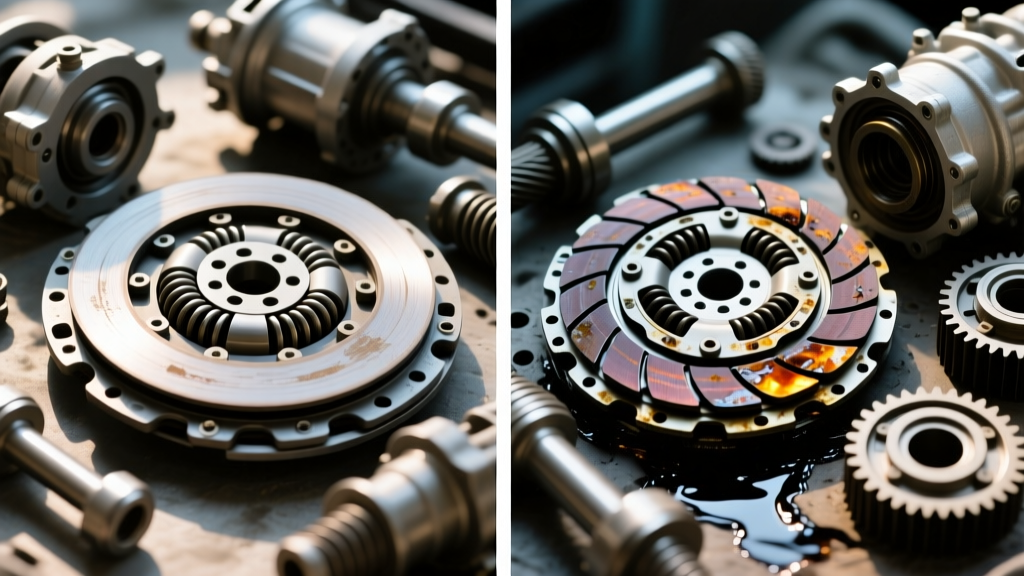
Symptoms of Clutch Basket Notching vs. Release Issues
Before tearing down the right-side crankcase cover, it is critical to differentiate between a mechanical release failure and physical basket damage. Both present similarly but require entirely different fixes.
- Notched Basket Symptoms: Hard shifting into first gear from a stop (the infamous 'clunk'), rear wheel rotation on a center stand even with the lever pulled to the bar, and a 'grabby' or abrupt engagement point at the lever.
- Release Mechanism Symptoms: Inconsistent lever feel, a spongy hydraulic lever that bottoms out, or a cable that requires constant adjustment. If the pushrod does not travel far enough, the pressure plate never lifts sufficiently to overcome minor basket grooves.
Essential Tools and Specifications
Working on a motorcycle wet clutch requires specialized holding tools and precision measuring equipment. Guessing torque specs on the clutch boss nut can lead to catastrophic primary drive failure.
| Tool / Equipment | Specification / Example | Purpose |
|---|---|---|
| Clutch Holding Tool | Motion Pro 08-0428 or OEM equivalent | Secures the clutch boss to prevent engine rotation during nut removal. |
| Torque Wrench (3/8" Drive) | 10-100 Nm range | Precise tightening of the center boss nut and spring bolts. |
| Feeler Gauge Set | Metric (0.05mm - 1.0mm) | Measuring steel plate warpage and basket notch depth. |
| Digital Calipers | 0-150mm range | Checking friction plate thickness and clutch spring free length. |
| Surface Plate / Glass | Tempered glass or machined aluminum | Providing a perfectly flat reference surface for warpage checks. |
Step 1: Isolating the Release Mechanism
According to Cycle World's Ask Kevin, the clutch release system acts as a mechanical multiplier. If the input travel is deficient, the output travel at the pressure plate will be inadequate, causing drag regardless of basket condition.
Cable-Actuated Systems
For cable-driven setups (common on Honda, Suzuki, and Kawasaki models), verify the free play at the lever perch. The industry standard is 2mm to 3mm of free play. If there is zero free play, the release bearing is constantly pre-loaded against the pressure plate, causing slip. Conversely, excessive free play prevents the pushrod from traveling far enough to fully disengage the clutch, causing drag. Adjust the barrel adjuster at the lever and the lower cable adjuster near the crankcase to achieve the correct slack.
Hydraulic-Actuated Systems
Motorcycles equipped with hydraulic clutches (e.g., Ducati Panigale V4, KTM Duke 390, or modern BMW S1000RR) rely on a master cylinder and a slave cylinder. If the system has air or degraded fluid (DOT 4 or DOT 5.1), the lever will feel spongy and fail to push the slave piston to its full stroke.
Pro-Tip: Inspect the slave cylinder pushrod tip. Over time, the spherical end of the pushrod can wear a divot into the aluminum pressure plate or lift pin. If the pushrod is worn down by even 1.5mm, you will lose critical release travel, mimicking severe clutch basket drag.
Step 2: Basket Disassembly and Teardown
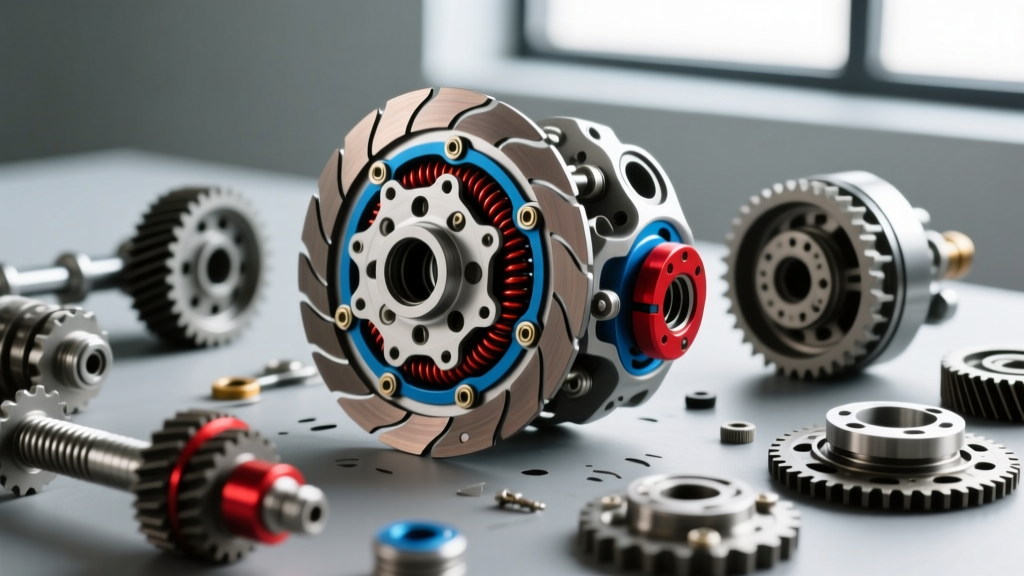
Once the release mechanism is verified, drain the engine oil and remove the right-side clutch cover. You will be greeted by the clutch assembly, consisting of the outer basket (driven by the primary gear), the inner boss (splined to the transmission input shaft), the friction/steel plate pack, the pressure plate, and the clutch springs.
- Secure the Basket: Install your clutch holding tool. Engage the tool's teeth into the friction plate splines and the basket teeth to lock the assembly together.
- Remove the Boss Nut: Using a breaker bar or a low-torque impact wrench, remove the center clutch boss nut. Warning: Some older models utilize left-hand threads, but 95% of modern Japanese and European motorcycles use standard right-hand threads.
- Extract the Components: Remove the pressure plate, springs, and the entire plate pack. Keep the plates in order if you plan to reuse them, though replacement is highly recommended if the basket is notched.
- Remove the Outer Basket: Slide the outer motorcycle clutch basket off the main shaft. Inspect the primary drive gear teeth and the needle bearing or bushing on the shaft for scoring or bluing.
Step 3: Tang Inspection and Measurement
The friction plates feature tabs coated in friction material (or bare metal on the inner diameter) that slide into the splines of the outer basket. The steel plates have outer tabs that slide into the inner boss. Because the steel plates are harder than the cast or forged aluminum of the basket, years of engagement shock will hammer notches into the aluminum tangs.
Run your fingernail across the basket's inner splines. If your nail catches in a groove, the friction plate tabs are getting wedged. When you pull the clutch lever, the pressure plate lifts, but the tabs remain stuck in the notches, keeping the plates in partial contact. This is the exact mechanism of clutch drag.
Measurement Limits
- Minor Grooving: Less than 0.1mm (0.004"). Can often be smoothed with a fine flat bastard file, though this is a temporary fix that slightly widens the spline gap.
- Severe Notching: Greater than 0.2mm (0.008"). The basket must be replaced. Filing deep notches removes too much material, leading to excessive rotational play, clutch chatter, and accelerated wear on the new friction plates.
Step 4: Steel Plate and Spring Diagnostics
While the basket is out, you must verify the condition of the clutch pack. Drag is rarely caused by the basket alone; it is a synergistic failure.
- Steel Plate Warpage: Lay each steel plate on your glass surface plate. Attempt to slide a 0.3mm feeler gauge under the plate. If it passes through, the plate is warped and will cause drag by rubbing against adjacent friction plates even when the pressure plate is lifted. Replace any warped plates.
- Steel Plate Thickness: Measure with calipers. Standard thickness is usually 2.0mm or 1.6mm depending on the model. The service limit is typically 0.2mm below spec (e.g., 1.8mm). Worn plates reduce the overall stack height, causing the release mechanism to run out of travel before the plates separate.
- Clutch Spring Free Length: Measure the springs uncompressed. For example, a Yamaha MT-07 (CP2 engine) spring free length standard is 46.5mm, with a service limit of 42.5mm. Weak springs fail to clamp the pack tightly, leading to slip, but uneven spring tension can cause the pressure plate to lift at an angle, contributing to drag.
Step 5: Reassembly and Torque Sequencing
Reassembly requires strict adherence to torque specifications and proper lubrication. As highlighted in RevZilla's Common Tread maintenance archives, dry-installing friction plates will lead to immediate burnout upon first startup.
- Soak the Plates: Submerge all new friction plates in the exact engine oil you intend to run (e.g., Motul 7100 10W-40 or Yamalube 10W-40) for a minimum of two hours prior to installation.
- Stagger the Pack: Install the plates alternating friction and steel. Ensure the last plate installed is a friction plate.
- Install Pressure Plate and Springs: Seat the pressure plate evenly. Install the clutch spring bolts and tighten them in a crisscross (star) pattern to ensure the plate seats flat. Torque these bolts to spec—typically 10 Nm (7.2 lb-ft) for most 600cc-1000cc Japanese inline-fours. Do not overtighten, as these bolts thread directly into soft aluminum.
- Torque the Boss Nut: Reinstall the clutch holding tool. Torque the center boss nut to factory specifications. For a Honda CBR600RR, this is 80 Nm (59 lb-ft). For a Yamaha MT-07, it is 70 Nm (52 lb-ft). Always use a new crush washer or apply a medium-strength thread locker (Loctite 243) if specified by the OEM.
Cost Analysis: Replacement vs. Repair
Deciding whether to replace the motorcycle clutch basket depends on your budget, riding style, and the severity of the notching. Below is a comparative breakdown of common solutions.
| Solution | Estimated Cost (USD) | Longevity & Performance |
|---|---|---|
| Filing OEM Basket Notches | $0 (Labor only) | Temporary fix (3,000 - 5,000 miles). May introduce clutch chatter due to widened spline tolerances. |
| OEM Replacement Basket | $120 - $250 | Restores factory feel. Cast aluminum will eventually notch again under heavy track use. |
| Aftermarket Billet Basket (e.g., Hinson, Wiseco) | $350 - $650 | CNC machined from aerospace-grade aluminum. Highly resistant to notching. Ideal for track and aggressive street riding. |
| Full Clutch Kit (EBC/Vesrah Plates + Springs) | $110 - $180 | Essential companion to a new basket. Reusing old, compressed plates in a new basket will ruin the new splines prematurely. |
Final Verification and Break-In
After reinstalling the clutch cover and refilling the engine with fresh oil, start the motorcycle and let it idle. Pull the clutch lever in and shift into first gear. The engagement should be crisp, and the motorcycle should not creep forward. Put the bike on a rear stand, start it, pull the clutch, and shift into gear. The rear wheel should remain stationary or spin very slowly (due to oil viscous drag), but you should be able to stop it easily with a light tap on the rear brake or tire.
If the wheel continues to spin aggressively, you must re-verify your release mechanism travel and cable/hydraulic adjustment. Proper diagnosis of the motorcycle clutch basket and release system ensures not only a smoother ride but protects your transmission's shift forks and dog gears from the immense stress of forced, dragging shifts. For specialized tooling and holding fixtures, consult manufacturers like Motion Pro to ensure you are applying torque safely without damaging the primary drive gears.