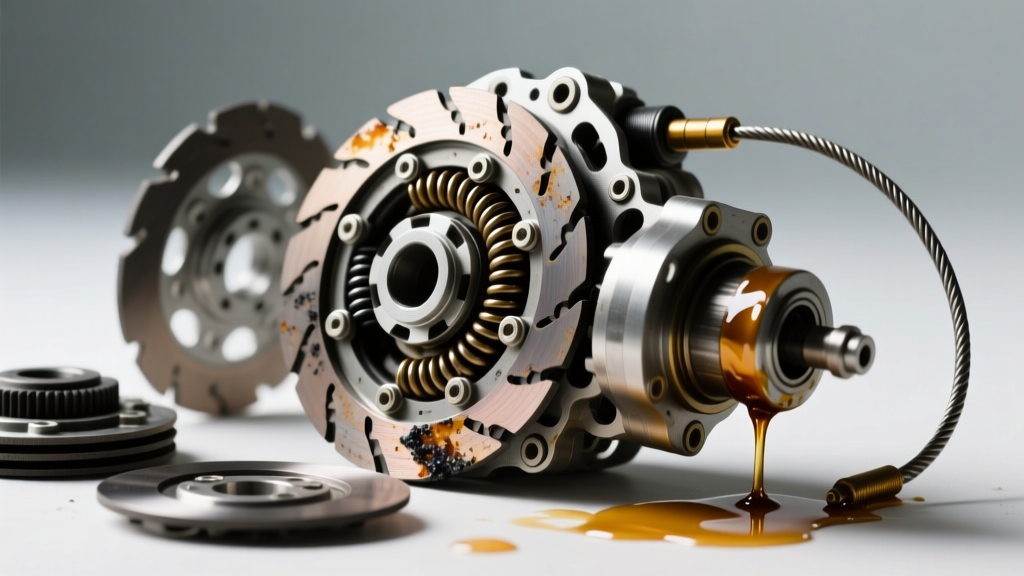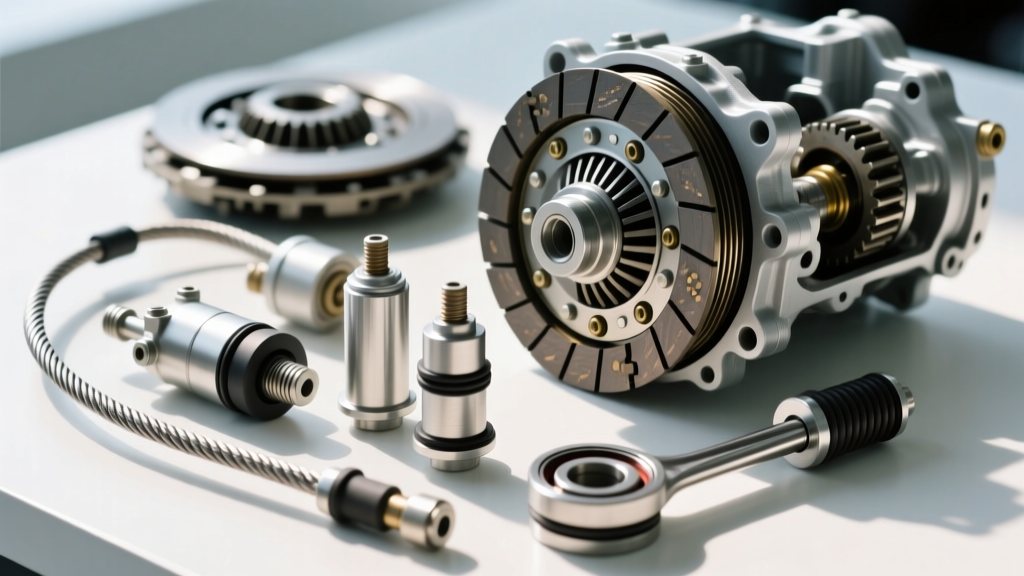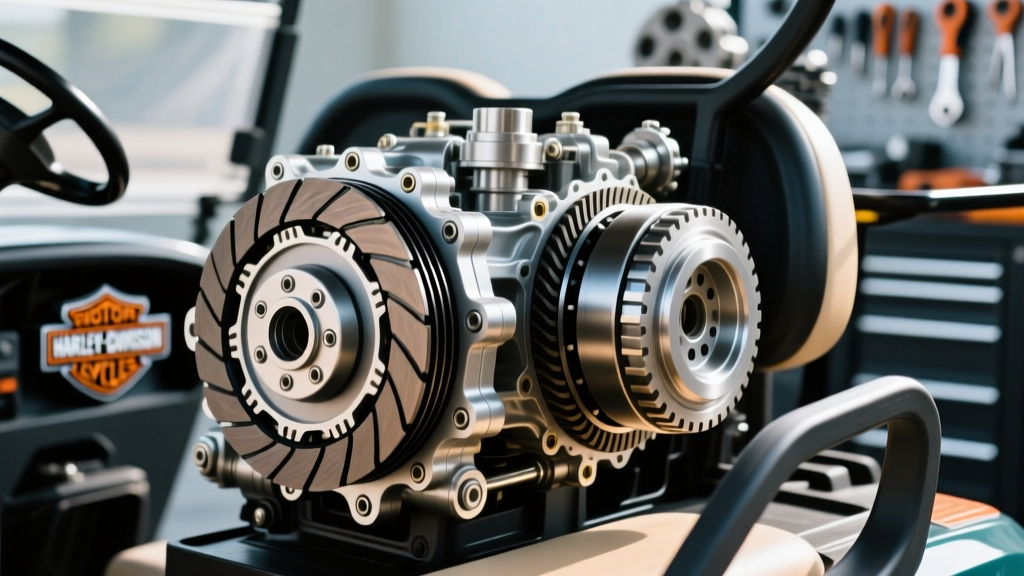
Restoring or maintaining a vintage Harley-Davidson golf cart—specifically the DE, DF, and early AMF-era models produced from the 1960s through 1982—requires a deep understanding of their unique Continuously Variable Transmission (CVT) systems. Unlike modern electronic fuel-injected carts, these vintage machines rely on a purely mechanical primary drive clutch and secondary driven clutch. One of the most common and frustrating issues owners face is clutch drag and release failure. When the Harley Davidson golf cart clutch drags, the cart creeps forward at idle, stalls when coming to a stop, or refuses to disengage fully, making shifting into neutral nearly impossible.
In this comprehensive 2026 diagnostic guide, we will walk through the exact mechanical reasons behind CVT clutch drag, provide precise measurement specifications, and deliver a step-by-step teardown and repair procedure to restore crisp, reliable clutch release.
Understanding the Harley-Davidson CVT Drag Phenomenon
Before grabbing your impact wrench, it is critical to understand how the vintage Harley CVT operates. The primary clutch (mounted to the engine crankshaft) utilizes centrifugal weights and a ramp mechanism to force the movable sheave inward, pinching the drive belt. The secondary clutch (mounted to the transaxle input shaft) uses a large torsion spring and a helical cam to maintain belt tension and shift the ratio based on torque demand.
Clutch drag occurs when the primary clutch fails to fully retract at idle RPM, or when the secondary clutch binds and refuses to open, keeping the belt under tension. This results in the belt "grabbing" the sheaves even when the throttle is completely closed. For an in-depth look at vintage cart CVT theory and community-sourced teardowns, the Vintage Carts subforum on Buggies Gone Wild remains an invaluable archive of OEM Harley and AMF engineering schematics.
Tools and Materials Required
To properly diagnose and service the clutch release mechanism, you will need the following specific tools and chemicals:
- 3-Jaw CVT Clutch Puller: Specifically threaded for the Harley/AMF primary clutch (often M8x1.25 or a dedicated OEM puller tool).
- 1/2" Drive Impact Wrench & Sockets: For removing the primary retaining bolt (typically 19mm or 3/4").
- Digital Tachometer: Essential for verifying true engine idle speed.
- Digital Calipers: For measuring sheave wear and belt width.
- Scotch-Brite Pads & Acetone: For resurfacing the aluminum sheave faces.
- Molybdenum Disulfide (Moly) Paste: Specifically Moly-60 or equivalent. Never use standard lithium grease on CVT splines, as it attracts belt dust and creates a binding sludge.
- Feeler Gauges and Straight Edge: For belt alignment verification.
Step-by-Step Diagnosis and Repair Guide
Step 1: Rule Out Idle Speed and Throttle Cable Bind
The most frequent cause of perceived clutch drag is an incorrectly adjusted idle speed. The Harley-Davidson 2-stroke single-cylinder engines should idle between 1,400 and 1,500 RPM. If the idle is adjusted too high (e.g., 1,800 RPM), the centrifugal force generated by the primary clutch shoes will overcome the return springs, causing the sheave to close prematurely and drag the belt.
- Connect a digital tachometer to the spark plug wire.
- Start the cart and let it reach operating temperature.
- Check the throttle cable for free play. You should have exactly 1/8" to 1/4" of free play at the throttle grip or pedal. A tight cable will hold the carburetor slightly open, raising the RPM and causing drag.
- Adjust the idle screw on the carburetor until the engine settles at a steady 1,450 RPM. If the drag disappears, the clutch is mechanically sound.
Step 2: Primary Drive Clutch Teardown and Cleaning
If the idle speed is correct but the cart still creeps, the primary clutch is binding. Belt dust, rust, and degraded grease on the sliding sheave splines will prevent the movable face from retracting.
- Removal: Remove the primary retaining bolt using an impact wrench. Thread the clutch puller into the clutch hub and tighten it to extract the clutch from the tapered crankshaft. Never pry the clutch off with a screwdriver, as you will score the crankshaft taper.
- Disassembly: Mark the movable and fixed sheaves with a Sharpie to ensure they are reassembled in the exact same orientation. Remove the ramp, rollers, and shoes.
- Inspection: Inspect the centrifugal shoes for glazing or cracking. Check the ramp for deep grooves; if the ramp is scored deeper than 0.020", it must be replaced.
- Cleaning: Scrub the inner sheave faces and the splined hub with acetone. Use a Scotch-Brite pad to lightly scuff the belt-contact surfaces, removing any glazed belt residue.
- Lubrication: Apply a microscopically thin layer of Moly-60 paste to the splines and the ramp rollers. Wipe away any excess. Reassemble and torque the primary retaining bolt to 45-50 ft-lbs using blue Loctite 243.
Step 3: Secondary Driven Clutch Spring and Slider Check
Clutch drag is not always the fault of the primary clutch. If the secondary clutch's sliding sheave binds on its shaft, or if the torsion spring has fatigued and shifted out of its indexing hole, the belt will remain pinched at the rear, causing drag at the front.
- Remove the drive belt and the secondary clutch assembly from the transaxle input shaft.
- Inspect the helical cam and sliders (buttons). If the plastic sliders are worn flat or shattered, the movable sheave will twist and bind rather than slide linearly.
- Verify the torsion spring is seated correctly in the factory indexing holes. A spring that has slipped out of its hole will alter the clamping pressure and cause severe release issues.
- Clean the transaxle input shaft splines with a brass wire brush and apply a light coat of Moly paste before reinstalling.
Step 4: Belt Sizing and Alignment Verification
Using an incorrect drive belt is a massive culprit for release problems. If a belt is too narrow, it will ride too deep in the primary sheave at idle, making physical contact with the sheave faces even when the clutch is fully open. The OEM Harley belt (Part #42224-73) is largely obsolete, but high-quality 700-series aftermarket replacements from manufacturers like Comet or Dayco are available.
- Correct Belt Width: Should measure exactly 3/4" (19mm) across the top cord.
- Deflection Test: With the cart off, press down on the top span of the belt midway between the clutches. You should achieve exactly 1/2" to 3/4" of deflection with moderate thumb pressure.
- Alignment: Place a straight edge across the faces of both clutches. The misalignment should not exceed 1/16". If it does, you will need to shim the transaxle or adjust the engine mounting brackets.
Troubleshooting Matrix: Drag vs. Slipping vs. Chatter
Diagnosing CVT issues requires isolating the exact symptom. Use the matrix below to cross-reference your cart's behavior with the likely mechanical failure point.
| Symptom | Probable Cause | Measurement / Spec | Corrective Action |
|---|---|---|---|
| Creeping at idle (Drag) | Idle RPM too high / Throttle cable tight | Idle > 1,500 RPM | Adjust carburetor idle screw to 1,450 RPM; add cable free play. |
| Creeping at idle (Drag) | Primary splines bound with belt dust | Visual sludge buildup | Teardown, clean with acetone, relube with Moly-60 paste. |
| Belt screeching at takeoff | Glazed sheave faces / Worn belt | Belt width < 0.710" | Scuff sheaves with Scotch-Brite; replace drive belt. |
| Cart stalls when stopping | Secondary clutch binding on shaft | Sheave fails to open fully | Clean transaxle input splines; replace worn cam sliders. |
| Loss of top speed (Slipping) | Weak secondary torsion spring | Fails to pinch belt at high RPM | Replace secondary spring with OEM or heavy-duty equivalent. |
The Aftermarket Solution: Upgrading to a Comet TAV2
Because original Harley-Davidson and AMF golf cart clutch components are becoming increasingly difficult to source in 2026, many restorers opt to replace the entire OEM CVT system with an aftermarket Comet TAV2 (Torque-A-Verter) kit. The TAV2 is an asymmetrical CVT system that drastically improves low-end torque and eliminates the chronic drag issues inherent in the aging Harley symmetric clutches.
A complete Comet TAV2 kit (Part #218353A or similar 3/4" bore variants) typically costs between $130 and $160. It includes a new primary drive clutch, secondary driven pulley, matched drive belt, and mounting backplate. According to technical documentation from Comet Industries, the asymmetrical design forces the belt to ride completely outside the sheave faces at idle, guaranteeing 100% neutral release and zero drag, provided the engine idle is kept below 1,500 RPM. When installing a TAV2 on a vintage Harley cart, ensure you use the correct spacer sleeves to adapt the 3/4" or 1" clutch bore to your specific crankshaft taper and keyway.
Final Torque and Safety Checks
Before reinstalling the clutch covers and taking the cart to the fairway, perform a final safety sweep. Ensure the primary clutch bolt is torqued to spec (45-50 ft-lbs) and secured with threadlocker. A loose primary clutch will wobble, destroy the crankshaft bearings, and shear the crank key. Verify that the brake pedal linkage is fully disengaging the rear transaxle brake, as a dragging brake will mimic the symptoms of a dragging clutch by stalling the engine at idle. By following this methodical diagnostic path, your vintage Harley-Davidson golf cart will shift smoothly, idle cleanly, and remain a reliable piece of automotive history for years to come.