The Hidden Cost of Reduced Effort: Why Throw-Out Bearings Fail
Upgrading to a harley easy pull clutch lever is one of the most popular modifications for riders seeking to reduce hand fatigue in stop-and-go traffic or those running heavy aftermarket clutch springs. By altering the pivot geometry of the lever perch, these aftermarket levers increase mechanical advantage, significantly reducing the physical force required to actuate the clutch. However, this modification frequently introduces a severe, often overlooked mechanical conflict within the primary chaincase: premature throw-out bearing (officially termed the clutch release bearing) noise and catastrophic failure.
On Harley-Davidson Big Twin models, including the Twin Cam (2007–2017) and the Milwaukee-Eight (M8) platforms, the clutch release bearing is engineered for intermittent load. When an easy pull lever is installed without recalibrating the cable free play and actuation ratio, the bearing is subjected to continuous rotational friction against the diaphragm spring. This guide provides a model-specific diagnostic and repair framework for addressing throw-out bearing failure directly linked to reduced-effort lever modifications.
Identifying Throw-Out Bearing Noise on Harley Big Twins
Before tearing down the primary chaincase, it is critical to isolate the acoustic signature of a failing throw-out bearing from other primary drivetrain noises, such as a loose primary chain or a worn transmission input shaft bearing.
Acoustic Diagnostics: Grinding vs. Whining
- The Actuation Whine: If you hear a high-pitched whining or metallic squealing that only occurs when the clutch lever is pulled in (or partially pulled), the needle rollers inside the throw-out bearing are likely dry, scored, or suffering from cage deformation.
- The Constant Growl: If a low-frequency growl or grinding noise is present while the motorcycle is idling in neutral with the clutch lever released, but the noise changes pitch or disappears when you pull the lever in, the bearing is under constant pre-load. This is the hallmark symptom of zero free play caused by an improperly adjusted easy pull lever.
- The Heat Signature: After a 30-minute ride, carefully place your hand near the left-side primary chaincase cover. If the center area (directly behind the clutch release mechanism) is excessively hot compared to the rest of the engine case, the throw-out bearing is experiencing severe friction and thermal breakdown.
The "Easy Pull" Lever Conflict: Free Play vs. Constant Pressure
The fundamental issue arises from the physics of the easy pull lever. To reduce finger effort by 30% to 50%, the lever's pivot point is moved outward. This increases mechanical advantage but requires a longer cable pull distance to achieve the same clutch pack displacement. Furthermore, because the lever feels exceptionally light, riders subconsciously rest their fingers on the lever blade while riding. This resting weight—often just 3 to 5 pounds of finger pressure—is amplified by the lever's geometry, translating into 15 to 25 pounds of continuous tension on the clutch cable. This tension pulls the clutch release ramp forward, forcing the throw-out bearing against the spinning diaphragm spring at 3,000+ RPM.
| Lever Type | Mechanical Advantage | Cable Pull Ratio | Target Free Play | Bearing Dwell Risk |
|---|---|---|---|---|
| OEM Standard | 1.0x | 1:1 | 1/16" - 1/8" | Low |
| Extended Reach (OEM) | 0.8x | 1:1.2 | 1/16" - 1/8" | Medium |
| Aftermarket Easy Pull | 1.4x - 1.8x | 1:1.5+ | 1/8" Minimum | High (Requires strict discipline) |
Step-by-Step Repair Guide: M8 and Twin Cam 6-Speed
If acoustic diagnostics confirm throw-out bearing failure, the primary chaincase must be opened. The following procedure applies to Harley-Davidson 6-speed Cruise Drive transmissions equipped with either the standard diaphragm clutch (Twin Cam) or the Assist & Slipper (A&S) clutch (M8).
1. Primary Chaincase Access and Clutch Pack Disassembly
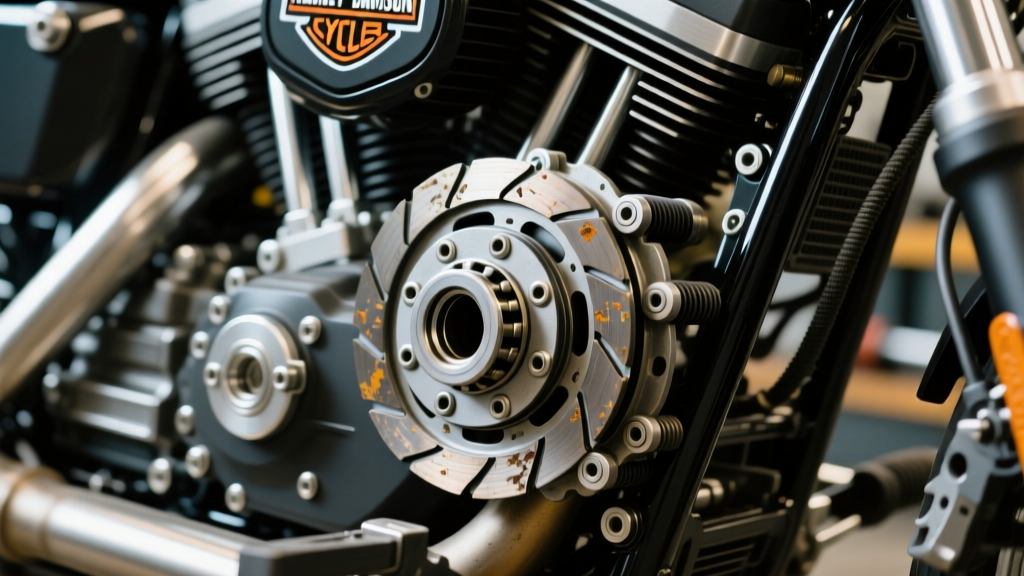
Drain the primary chaincase fluid (typically 1 quart of Harley-Davidson Formula+ or equivalent 20W-50 synthetic). Remove the derby cover and the primary chaincase cover bolts (T27 Torx). Carefully separate the cover, noting the O-ring or gasket condition. Once the clutch pack is exposed, use a clutch spring compressor or carefully loosen the clutch spring bolts in a crisscross pattern to relieve tension on the diaphragm spring. Remove the pressure plate and the diaphragm spring to expose the clutch hub and the throw-out bearing seated in the center.
2. Inspecting the Clutch Release Bearing (Throw-Out Bearing)
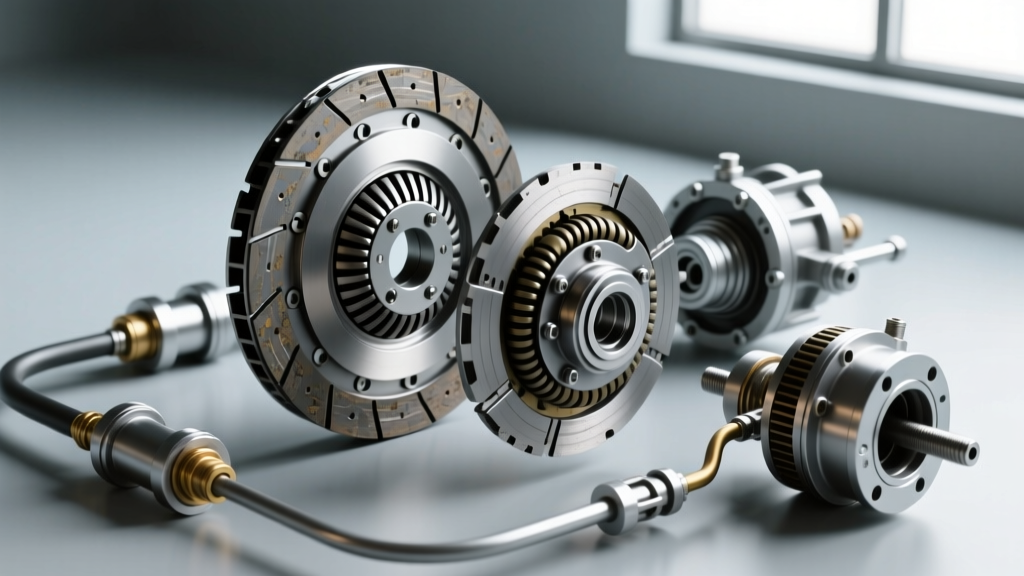
The throw-out bearing (Part # 37891-94A or updated variants) presses into the center of the clutch hub. Inspect the inner race where it contacts the clutch release pushrod or ramp mechanism. If you observe bluing (heat discoloration), deep grooving, or if the bearing feels gritty when rotated by hand, it must be replaced. On M8 A&S clutches, also inspect the wear pad on the diaphragm spring; continuous bearing contact will grind a concave depression into the spring, necessitating a full diaphragm spring replacement.
3. Reassembly and Torque Specifications
Press the new throw-out bearing into the clutch hub using a dedicated bearing installer tool to ensure it seats perfectly square. Reinstall the diaphragm spring and pressure plate. Torque the clutch spring bolts to 84-108 in-lbs (9.5-12.2 Nm) in a star pattern. Reinstall the primary chaincase cover using a new gasket or a high-quality RTV sealant (if applicable to your specific year's flange design), torquing the perimeter bolts to 84-108 in-lbs. Refill with the exact specified volume of primary fluid.
OEM vs. Aftermarket Release Bearing Part Numbers
When sourcing a replacement throw-out bearing, quality is non-negotiable. A cheap bearing will fail within 2,000 miles under the stress of an easy pull lever setup. Consult J&P Cycles Clutch Components or your local dealer for the following verified part numbers:
- OEM Standard Release Bearing: 37891-94A (Fits most 1994-2017 Big Twins).
- OEM Updated A&S Bearing: 37891-94D (Specific profile for 2017+ M8 Assist & Slipper clutches).
- Barnett Tool High-Capacity Bearing: Barnett offers heavy-duty clutch release bearings with upgraded needle rollers designed to handle the increased lateral load of modified lever geometries. Check Barnett Tool & Engineering for model-specific fitments.
Critical Cable Adjustment for Easy Pull Levers
Replacing the bearing is only half the repair. If the cable is not adjusted to accommodate the easy pull lever's geometry, the new bearing will fail identically. According to the Harley-Davidson Service Information System (SIS), proper adjustment requires a two-step process:
- Midpoint Cable Adjuster: Loosen the locknut on the cable midpoint adjuster (located on the lower frame downtube). Back the adjuster all the way off to create maximum slack in the system.
- Perch Adjuster: At the handlebar lever perch, adjust the threaded barrel until you achieve exactly 1/8-inch (3mm) of free play measured at the outer edge of the lever blade. With easy pull levers, err on the side of slightly more free play (up to 3/16-inch) to guarantee the throw-out bearing completely disengages from the diaphragm spring when your hand is off the lever.
- Final Lock: Once the perch free play is set, return to the midpoint adjuster and take up the slack until you feel slight resistance, then back it off one full turn before locking the nut. This prevents the cable housing from binding during suspension travel or handlebar articulation.
Expert Diagnostic Tip: If you are running an aftermarket hydraulic clutch actuator paired with an easy pull lever, the concept of 'free play' is managed by the master cylinder pushrod gap. Ensure there is a minimum 0.060-inch gap between the master cylinder piston and the pushrod when the lever is at rest. Without this gap, hydraulic fluid expansion from engine heat will cause the system to self-apply, riding the throw-out bearing continuously.
Preventing Premature Failure
The installation of a harley easy pull clutch lever does not inherently guarantee throw-out bearing failure, but it drastically reduces the margin for adjustment error. Riders must consciously train themselves to remove their fingers from the lever blade while the motorcycle is in motion. Additionally, during routine 5,000-mile service intervals, always verify the 1/8-inch free play at the lever perch. As the clutch friction plates wear down over time, the clutch pack stack height decreases, which naturally pulls the cable tighter and eliminates free play, silently transferring the load back onto the throw-out bearing. By maintaining strict adherence to free play specifications and utilizing high-capacity replacement bearings, you can enjoy the ergonomic benefits of reduced clutch effort without sacrificing the longevity of your primary drivetrain components.