The Engineering Behind Harley Davidson Clutch Pull and Cable Fatigue
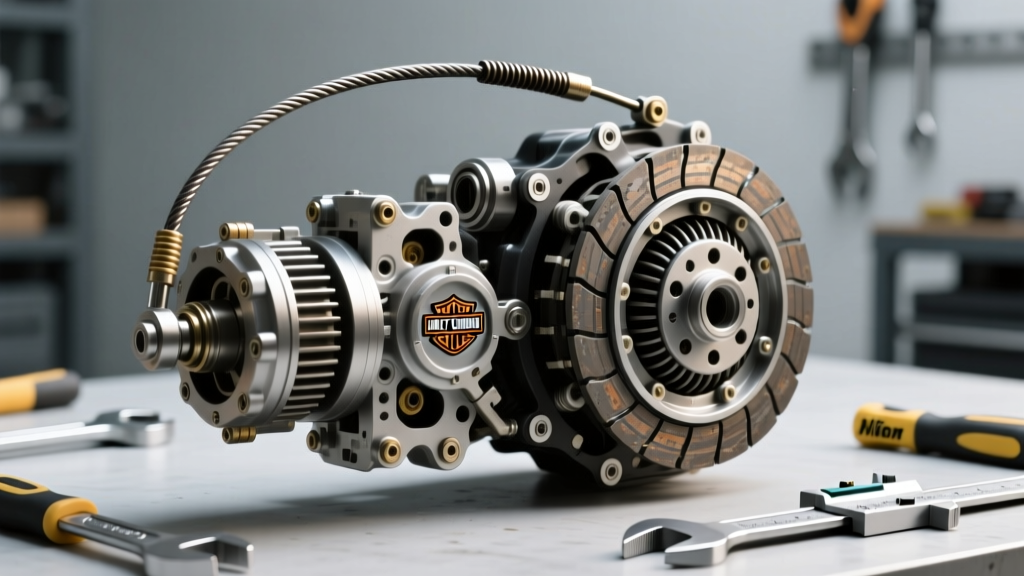
Harley-Davidson motorcycles, particularly those equipped with the Twin Cam 88, 96, 103, and 110 cubic-inch engines, are notorious for their heavy clutch lever pull. This mechanical resistance leads to severe rider fatigue in stop-and-go traffic and accelerates wear on the clutch cable inner wire and outer housing. When riders search for a Harley Davidson Easy Clutch solution, they are typically exploring two distinct mechanical paths: upgrading to a low-friction, high-leverage aftermarket cable or installing an internal clutch assist spring. However, these modifications are entirely ineffective if underlying clutch cable problems are not diagnosed correctly and the factory adjustment protocol is not followed to the letter.
This comprehensive cost and diagnostic guide breaks down the exact pricing, failure modes, and factory-specified adjustment procedures for your clutch system, ensuring you do not waste money on misdiagnosed transmission or primary drive repairs.
Diagnosing Cable Problems vs. Internal Clutch Failures
One of the most expensive mistakes a rider or novice mechanic can make is confusing a failing clutch cable with internal clutch pack wear or a warped clutch basket. Because both systems dictate how the engine transfers power to the transmission, their symptoms often overlap. Differentiating the two can save you anywhere from $400 to $1,200 in unnecessary teardown costs.
Symptoms of Clutch Cable Failure
- Notchiness at the Lever: A gritty, binding feeling when pulling the lever indicates the inner steel wire is fraying inside the housing, or the OEM nylon liner has collapsed.
- Failure to Fully Disengage: If the motorcycle creeps forward at a stoplight with the lever pulled to the grip, or if you experience gear clash when shifting into first from neutral, the cable has likely stretched beyond its adjustment threshold.
- Visible Fraying: Inspecting the cable end at the transmission actuator ramp often reveals "fish-hooks" (broken wire strands). If left unchecked, a snapped cable will leave you stranded and can damage the actuator mechanism.
Symptoms of Internal Clutch Wear
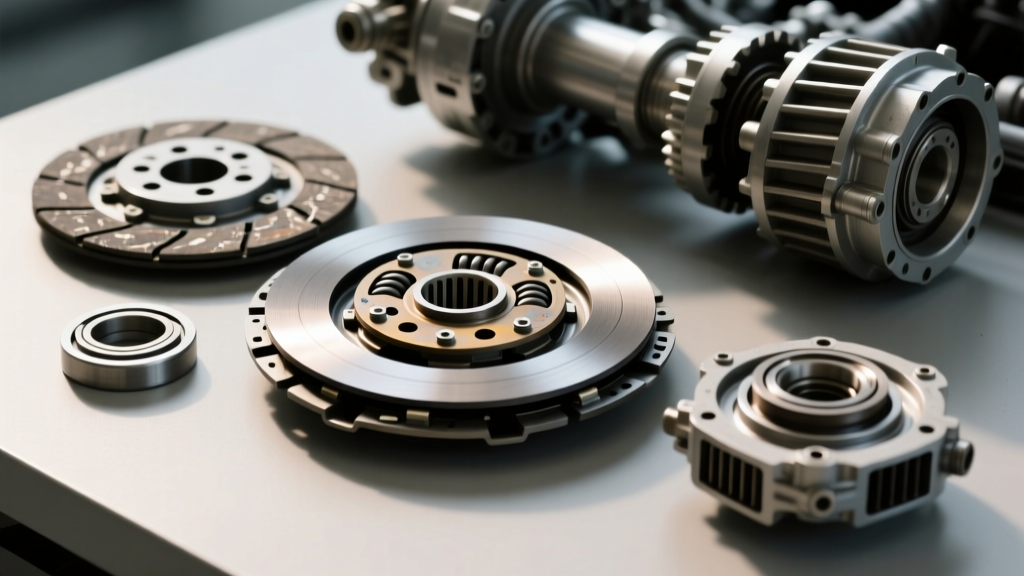
- Slipping Under Load: If the RPMs climb but the motorcycle does not accelerate proportionally during hard throttle application in higher gears, your friction plates are glazed or worn past the 0.115-inch minimum thickness specification.
- Rattling or Grinding: Metallic noises emanating from the primary chaincase usually point to a warped steel drive plate, a broken hub damper spring, or a failing primary chain tensioner, not a cable issue.
2026 Cost Analysis: OEM Cables, Easy Clutch Kits, and Labor
Understanding the financial landscape of clutch maintenance allows you to budget appropriately. Below is a detailed price breakdown for OEM replacements, premium aftermarket "Easy Pull" cables, and internal assist kits based on current 2026 market pricing.
| Component / Service | Part Number / Brand | Estimated Parts Cost | Estimated Labor Cost |
|---|---|---|---|
| OEM Harley-Davidson Cable | OEM (Varies by Year/Model) | $65 - $95 | $130 - $180 (1.2 hrs) |
| Barnett Platinum Easy-Pull Cable | Barnett (e.g., 101-30-10032) | $115 - $155 | $130 - $180 (1.2 hrs) |
| AIM Slick 500 Assist Spring | AIM Corp (500-001) | $85 - $110 | $200 - $280 (2.0 hrs) |
| Primary Fluid & Gasket Kit | AMSOIL V-Twin / OEM Gasket | $25 - $40 | Included w/ Spring Install |
| Roadside Towing (Cable Snap) | Local Provider | N/A | $250 - $450 (Flat Rate) |
Note: Dealership labor rates in 2026 average $140-$180 per hour, while independent V-Twin specialists typically charge $100-$135 per hour. DIY installation of a cable requires basic hand tools and a torque wrench, reducing the cost strictly to parts.
Precision Adjustment Protocol: The Three-Point Method
Installing a high-end Barnett Tool & Engineering low-friction cable will not yield an "easy clutch" feel if the free play is not set correctly. Too much free play results in incomplete disengagement and gear grinding; too little free play causes the clutch to slip continuously, generating immense heat that will warp the steel plates and boil the primary fluid.
To achieve the optimal mechanical advantage, you must follow the three-point adjustment sequence:
Step 1: The Transmission Actuator (Inside the Primary)
- Remove the derby cover (primary chain inspection cover). Torque spec for removal is typically 84-108 in-lbs (7-9 ft-lbs) on the fasteners.
- Locate the clutch actuator screw and locknut in the center of the pressure plate.
- Loosen the locknut (usually 1/4-inch or 5/16-inch).
- Turn the actuator screw clockwise (inward) until you feel slight mechanical resistance. Do not force it.
- Back the screw out (counter-clockwise) exactly 1/4 to 1/2 of a turn. This sets the internal hydraulic/mechanical baseline.
- Hold the screw in place with an Allen key and tighten the locknut to 80-100 in-lbs.
Step 2: The Mid-Cable Adjuster
- Locate the rubber bellows boot on the lower section of the clutch cable casing.
- Pull the boot back to expose the threaded adjuster and locknuts.
- Turn the adjuster to shorten the cable housing (turning it inward) until all slack is removed from the cable, then back it off slightly to introduce a baseline of slack.
Step 3: The Handlebar Lever Perch
- At the clutch lever, locate the fine-tuning adjuster barrel.
- Adjust the barrel until you achieve exactly 1/16-inch to 1/8-inch (1.6mm to 3.2mm) of free play measured at the outer edge of the lever grip.
- Test the lever feel. It should pull smoothly with a distinct "ramp" engagement point without binding.
The "Easy Clutch" Assist Spring Alternative
For riders who find that even a premium Teflon-lined cable does not sufficiently reduce lever effort, the AIM Corp Slick 500 or similar diaphragm assist springs are the ultimate solution. These kits replace the OEM clutch spring with a variable-rate spring that reduces lever effort by up to 50% while maintaining adequate clamping force to prevent slipping.
Cost vs. Benefit Analysis: While the assist spring itself only costs around $95, the installation requires draining the primary chaincase fluid (1 quart capacity, typically $15-$20 for quality synthetic V-Twin oil) and replacing the derby cover gasket (approx. $12). If you are not comfortable working inside the primary chaincase and risk contaminating the clutch pack with debris or over-tightening the actuator, the $200+ professional labor cost makes a premium aftermarket cable the more economical "Easy Clutch" choice.
Hidden Costs: Environmental Factors and Cable Corrosion
Many riders overlook the environmental toll on clutch cables. Moisture ingress through the lever perch or a cracked rubber bellows boot leads to galvanic corrosion between the high-carbon steel inner wire and the aluminum or steel outer housing. This corrosion creates microscopic pitting, drastically increasing the friction coefficient. Furthermore, routing the cable too close to the exhaust headers or cylinder heads can melt the inner nylon/Teflon liner, causing sudden and catastrophic binding. Always ensure your aftermarket cable features high-temperature shielding and is routed with a minimum 2-inch clearance from all exhaust components.
Final Verdict: Repair vs. Upgrade
If your OEM cable is exhibiting notchiness or requires constant adjustment at the lever perch, replacement is mandatory. Upgrading to an aftermarket "Easy Pull" cable with a PTFE (Teflon) inner liner is the most cost-effective first step, typically resolving 70% of heavy-pull complaints for under $150. Reserve the internal assist spring modifications for riders with hand-strength limitations or those running high-performance clutch packs with stiffer aftermarket pressure plate springs. By adhering to strict torque specifications and the three-point adjustment protocol, you ensure smooth power delivery and extend the lifespan of your entire drivetrain.
For further community troubleshooting and model-specific cable routing diagrams, enthusiasts frequently reference the archives on HDForums Twin Cam Section to verify year-specific actuator variations.