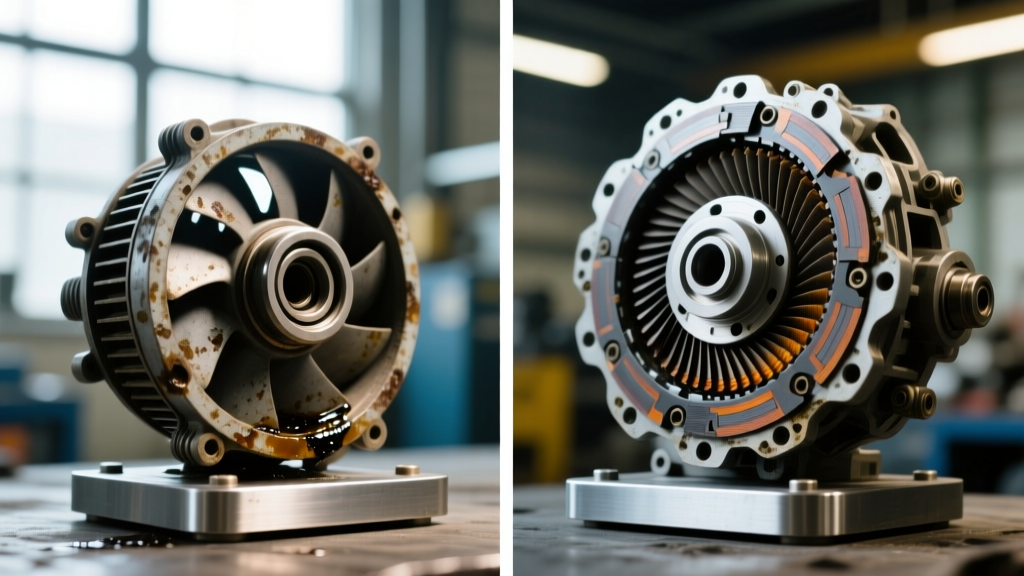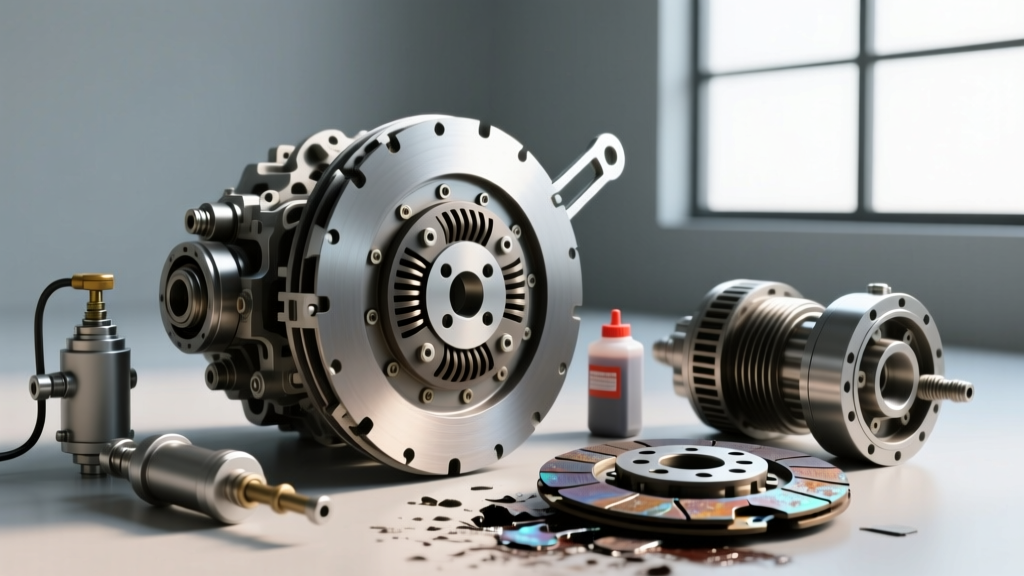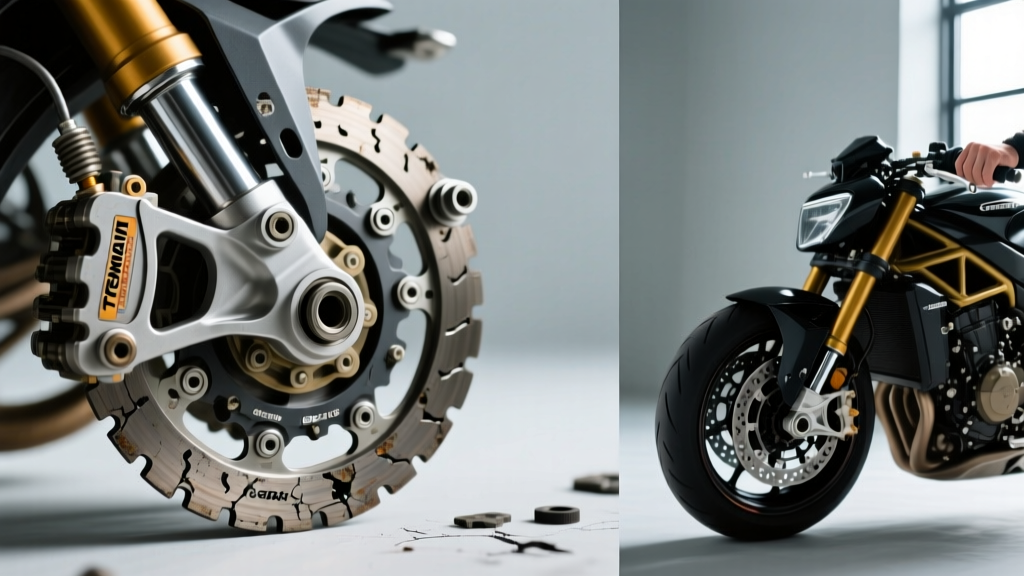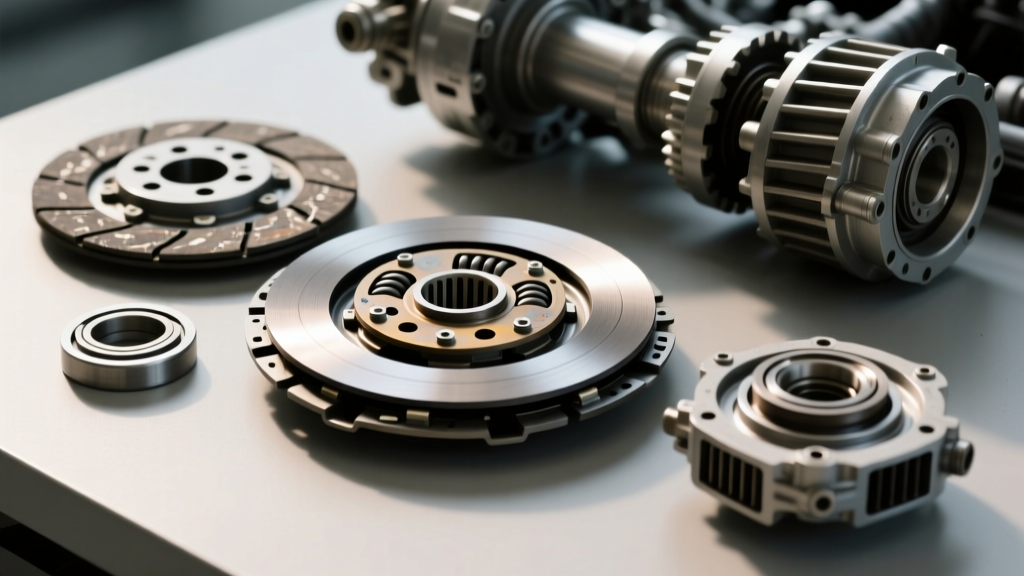
Understanding the Clutch Gear Assembly
When automotive technicians and performance enthusiasts use the term clutch gear, they are typically referring to the critical intersection where the clutch disc's splined hub mates with the transmission's input shaft gear, alongside the flywheel friction surface. In modern manual and automated-manual transmissions—such as the Tremec T56 Magnum or the ZF GS6-53BZ found in BMW applications—this assembly is subjected to immense torsional stress. Diagnosing faults in this zone requires a systematic, step-by-step approach that isolates the root cause based on three primary sensory inputs: pedal feel, auditory noise, and drivetrain vibration.
This 2026 diagnostic guide will walk you through the exact procedures used by master transmission builders to pinpoint clutch gear failures, dual-mass flywheel (DMF) degradation, and input shaft bearing wear before they result in catastrophic transmission case damage.
Phase 1: The 'Feel' Test (Pedal & Engagement Diagnostics)
The hydraulic or mechanical linkage connecting your pedal to the clutch release bearing provides immediate tactile feedback regarding the health of the clutch gear hub and pressure plate diaphragm.
Step 1: Measure Pedal Free-Play and Travel
- Depress the pedal by hand to measure free-play. You should feel 1 to 1.5 inches of light resistance before the hydraulic master cylinder begins to engage the release fork.
- Measure total travel. If the pedal feels 'spongy' or sinks to the floor, you likely have hydraulic aeration or a failing slave cylinder, not a mechanical clutch gear issue.
- If the pedal feels notchy or binds at a specific point in the travel arc, suspect a worn pilot bearing or a damaged clutch disc hub spline binding on the input shaft gear.
Step 2: Evaluate the Engagement Point
A healthy clutch gear assembly will engage smoothly between 1 and 2 inches off the floorboard. If the engagement point has suddenly moved to the very top of the pedal travel, the friction material is worn, or the clutch disc hub springs (torsional dampers) have collapsed, altering the physical stack height of the assembly.
Step 3: Isolate Clutch Chatter
Chatter is a violent shuddering felt upon initial engagement. To diagnose:
- Test: Start in 2nd gear on a slight incline and slowly release the pedal while applying light throttle.
- Diagnosis: If chatter occurs, it is rarely the input shaft gear itself. It is almost always caused by a contaminated friction disc (oil ingress from a failing rear main seal), hot spots on the flywheel, or a failed Dual-Mass Flywheel (DMF) internal damper. According to technical bulletins from the LuK REPXPERT portal, DMF internal spring failure accounts for over 60% of severe engagement chatter in modern diesel and high-torque gasoline applications.
Phase 2: The 'Noise' Audit (Isolating Clutch Gear vs. Bearings)
Auditory diagnostics require a quiet environment and a methodical process to separate clutch gear rattle from release bearing and pilot bearing failures.
Step 1: Neutral Idle Rattle (Clutch Gear Lash)
- Start the engine and leave the transmission in neutral with the clutch pedal released (engaged).
- Listen for a 'marbles in a can' rattling sound.
- Depress the clutch pedal fully to the floor.
- Result: If the noise disappears when the pedal is pressed, you are hearing clutch gear lash or input shaft bearing wear. The input shaft is spinning, and worn gear teeth or excessive endplay is causing the rattle. If the noise gets louder when the pedal is pressed, the issue is the clutch release (throw-out) bearing.
Step 2: RPM-Dependent Squeal (Pilot Bearing)
With the engine running and the transmission in gear, press the clutch pedal in slowly. If you hear a high-pitched squeal or grinding that correlates directly with engine RPM rather than vehicle speed, the pilot bearing (which supports the tip of the input shaft gear) is failing. This is critical; a seized pilot bearing can snap the input shaft gear or destroy the transmission's front bearing retainer.
Step 3: Clutch Gear Rattle on Deceleration
If you hear a distinct metallic clunk or rattle when lifting off the throttle at highway speeds (engine braking), the torsional dampers inside the clutch disc hub are likely broken. The hub springs are designed to absorb the torsional shock between the engine and the transmission; when they fail, the splined hub hammers against the input shaft gear splines during load reversals.
Phase 3: The 'Vibration' Analysis (Harmonics & Resonance)
Vibrations can originate from the engine, the drivetrain, or the clutch assembly. Isolating the clutch gear requires observing when the vibration occurs.
Step 1: Highway Speed vs. Engagement Vibration
- Vibration at 65-75 MPH (Clutch Depressed): If the vibration persists when the clutch is fully depressed (disconnecting the engine from the wheels), the issue is in the rear drivetrain (driveshaft, axles, tires), not the clutch.
- Vibration at 1,800-2,200 RPM (Clutch Engaged, Neutral): If the car shakes at a specific RPM while stationary in neutral, but smooths out when the clutch is pressed, you have a flywheel balance issue or a failing DMF.
Step 2: Flywheel Runout Verification
Excessive flywheel runout causes the clutch disc to wobble, leading to uneven wear and severe vibration. According to Tremec's official service guidelines, bellhousing concentricity and flywheel runout must be strictly verified during reassembly.
- Mount a dial indicator to the engine block.
- Place the indicator tip on the friction surface of the flywheel.
- Rotate the crankshaft 360 degrees.
- Specification: Maximum allowable runout is typically 0.005 inches (0.12 mm). Anything beyond this will cause premature clutch gear hub wear and severe pedal pulsation.
Diagnostic Matrix: Symptom to Solution
Use this quick-reference table to cross-check your findings before ordering parts or tearing down the transmission.
| Symptom Profile | Probable Component Failure | Verification Step | Est. Repair Cost (2026) |
|---|---|---|---|
| Noise vanishes when pedal is pressed | Input Shaft Bearing / Clutch Gear Lash | Check input shaft endplay (Spec: 0.004'-0.008') | $1,200 - $2,500 (Trans Rebuild) |
| Violent chatter on 2nd gear launch | Dual-Mass Flywheel (DMF) Spring Failure | Inspect for radial play and scorch marks | $800 - $1,400 (DMF + Clutch Kit) |
| High-pitch squeal on pedal depression | Pilot Bearing / Bushing Seizure | Remove trans, test bearing spin by hand | $150 - $300 (Bearing + Labor) |
| Clunk on throttle lift (deceleration) | Clutch Disc Hub Torsional Springs | Inspect disc hub for loose/broken springs | $400 - $900 (Clutch Kit Replacement) |
Advanced Teardown Metrics & Torque Specifications
If your step-by-step diagnosis points to a physical failure of the clutch gear assembly, precise reassembly is non-negotiable. Modern transmissions are highly sensitive to misalignment.
Bellhousing Concentricity
Before installing a new clutch and input shaft gear assembly, you must measure bellhousing runout. Mount a dial indicator on the crankshaft flange and trace the inside bore of the bellhousing. The Total Indicator Reading (TIR) must not exceed 0.005 inches. If it does, you must install offset dowel pins (available in 0.007, 0.014, and 0.021-inch offsets) to align the transmission perfectly with the crankshaft. Failure to do so will destroy the input shaft gear and front transmission bearing within 5,000 miles.
Critical Torque Specs (Common Applications)
- GM LS Flywheel to Crankshaft: 74 lb-ft + 90 degrees of rotation (Always use new TTY bolts).
- Clutch Cover to Flywheel (M8 Bolts): 25 to 35 lb-ft, tightened in a star pattern to prevent warping the pressure plate diaphragm.
- Tremec T56 Bellhousing to Block: 35 lb-ft.
Pro-Tip from the Bench: Never use an impact wrench to tighten the clutch cover bolts. The sudden shock loads can warp the pressure plate ring, leading to uneven clamping force, premature friction material wear, and eventual damage to the clutch gear splines due to harmonic flutter. Always use a calibrated torque wrench.
Summary
Diagnosing clutch gear and drivetrain engagement issues is a process of elimination. By systematically evaluating pedal feel, isolating auditory cues in neutral versus engaged states, and mapping vibrations to specific RPM ranges, you can accurately pinpoint whether the fault lies in the hydraulics, the release bearing, the flywheel, or the transmission's internal input shaft gear. Always consult manufacturer-specific service data, such as the Sachs ZF Aftermarket technical guides, to ensure your replacement components and torque specifications match the exact requirements of your vehicle's drivetrain.