The Financial Sting of a Botched Harley Clutch Replacement
There are few things more frustrating for a motorcycle owner than picking up their bike from the dealership or independent shop after a clutch replacement, only to experience immediate slippage, drag, or violent chatter. In 2026, with dealership labor rates averaging between $140 and $185 per hour, a post-repair clutch failure is not just a mechanical headache; it is a severe financial liability. Whether you are riding a Twin Cam 110 or a modern Milwaukee-Eight (M8) 117/121, the primary drivetrain requires surgical precision. When a technician skips the service manual or a DIYer guesses the friction plate order, the resulting damage can easily double your initial repair bill.
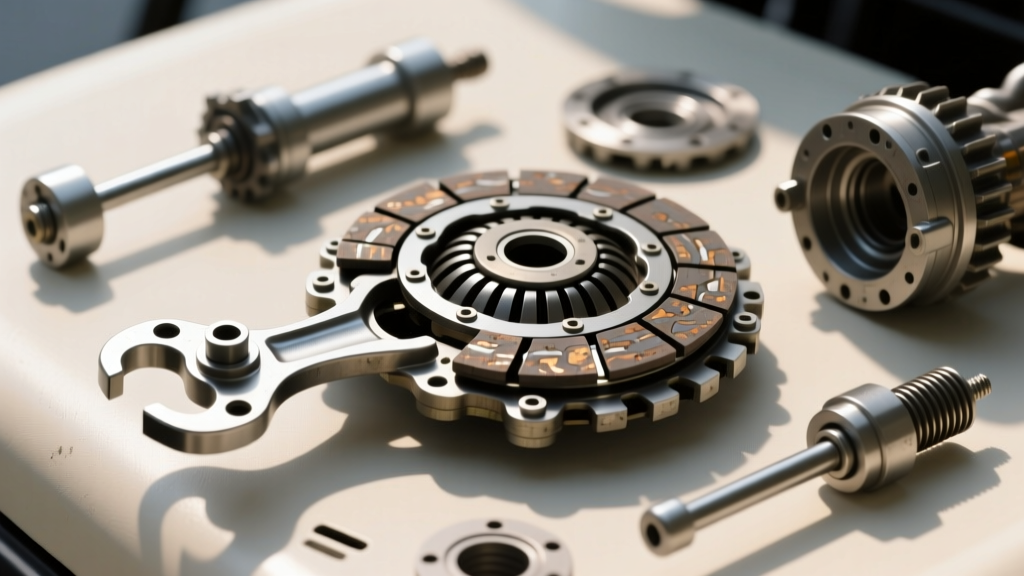
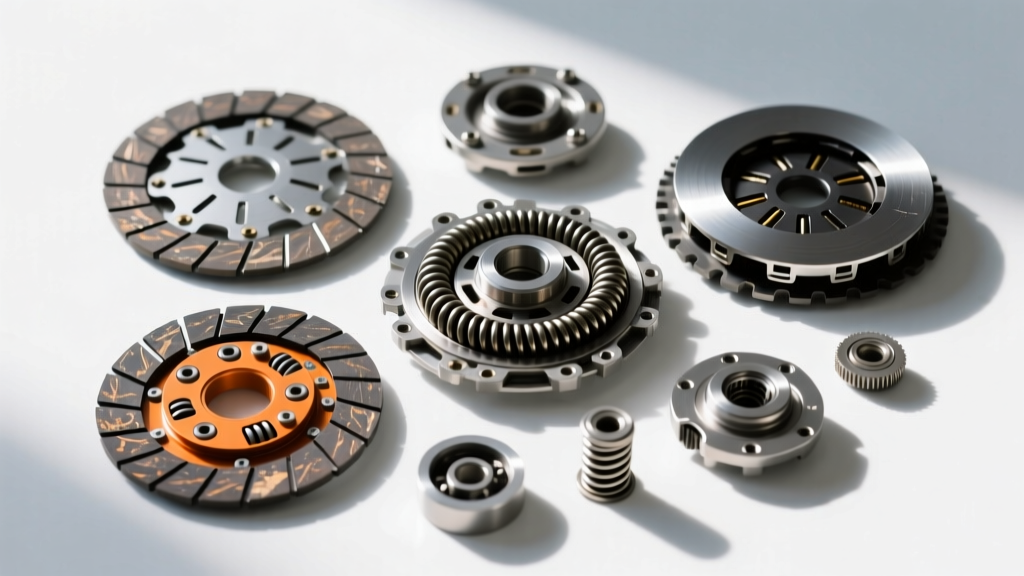
To diagnose and rectify these post-repair clutch problems, consulting an exploded Harley clutch assembly diagram is non-negotiable. It serves as the ultimate diagnostic roadmap to identify missing spacers, inverted diaphragm springs, and incorrect stack heights. Below, we break down the exact costs, failure modes, and mechanical tolerances required to fix a botched Harley-Davidson clutch job.
Diagnosing Post-Repair Slippage: The Stack Height Error
Clutch slippage under heavy acceleration or on steep inclines is the most common symptom of a poorly executed replacement. In a Harley Big Twin wet clutch, slippage is almost always traced back to incorrect stack height—the total thickness of the alternating steel and friction plates. If a mechanic fails to measure the stack height before installing the pressure plate, the clutch springs cannot apply adequate clamping force.
The Cost of Incorrect Stack Height
If your clutch is slipping, the friction plates are likely glazed or burnt, requiring a complete teardown. You cannot simply 'adjust' this away via the clutch cable.
- Labor (Teardown & Re-measurement): 2.5 hours @ $160/hr = $400
- OEM Replacement Friction Pack (e.g., Part #38147-09D): $285 - $320
- Aftermarket Upgrade (Barnett Carbon Kevlar): $240 - $275
- Primary Fluid (H-D Formula+ or SYN3 20W-50): $45
- Total Correction Cost: $730 - $840
According to Barnett Clutches Technical Resources, the friction pack must protrude above the clutch shell snap ring groove by a specific margin—typically between 0.090 and 0.110 inches for most Twin Cam and M8 applications. If the previous installer used thinner aftermarket steels without compensating with extra friction plates or a thicker spacer, the stack will sit too deep, resulting in zero clamping pressure and immediate slip.
Clutch Drag and Creep: Fluid Contamination & Warped Steels
If your Harley lurches forward when you pull the clutch lever in at a stoplight, or if you hear a loud 'clunk' and struggle to find neutral, you are experiencing clutch drag. Post-repair drag usually stems from two distinct errors: using the wrong primary fluid or failing to soak the friction plates prior to installation.
The Automotive Fluid Trap
A surprisingly common mistake made by generalist mechanics is topping off the primary chaincase with standard automotive engine oil or ATF. Automotive oils contain friction modifiers designed for fuel economy, which will cause a Harley wet clutch to slip. Conversely, oils lacking the proper wet-clutch anti-wear additives (like zinc and phosphorus tailored for shared sumps) will cause the steel plates to warp and the friction material to glaze due to localized overheating.
Flushing the primary and replacing warped steels requires draining the case, removing the clutch basket, and micrometer-measuring every steel plate. Any steel plate showing more than 0.005 inches of runout must be replaced. A set of OEM steel plates will cost roughly $140, but the labor to diagnose and swap them adds another $350 to your bill.
Violent Chatter: The Diaphragm Spring & Judder Spring Trap
Clutch chatter—a rhythmic, violent grabbing and releasing sensation when pulling away from a stop—is a hallmark of misaligned internal components. Modern Harley-Davidson clutches utilize a diaphragm spring and, in many models, a specific judder spring assembly designed to cushion initial engagement.
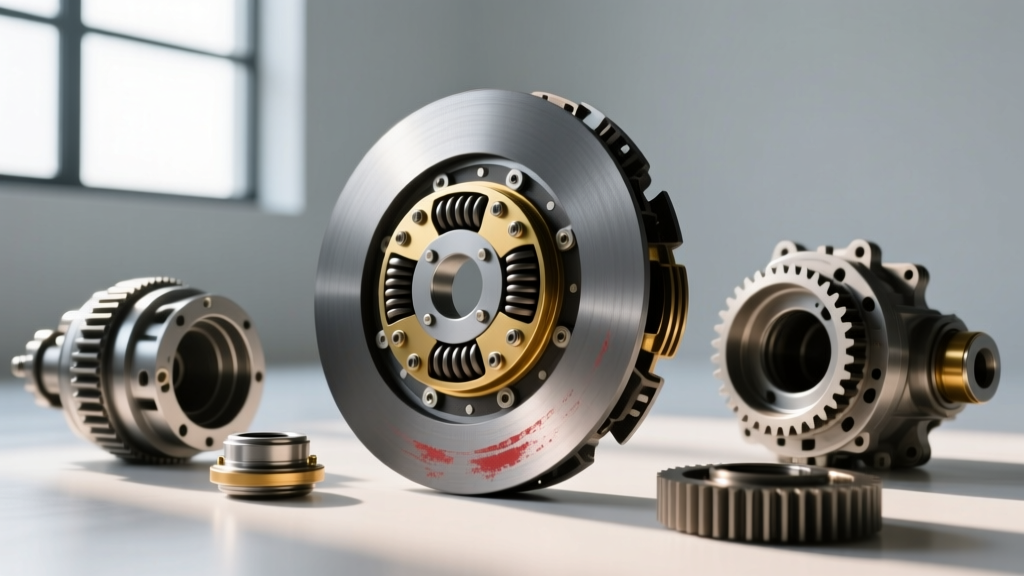
When referencing an exploded Harley clutch assembly diagram, you will notice the judder spring and its seating washer have a very specific orientation. If a technician installs the judder spring upside down, or if the diaphragm spring is seated backward (with the concave side facing the wrong direction), the clutch will grab aggressively. Furthermore, if the clutch hub nut was not torqued to specification, the entire inner hub can wobble on the mainshaft, exacerbating the chatter and eventually stripping the splines.
Expert Drivetrain Insight: Never confuse primary chain tension with clutch chatter. A primary chain adjusted too tightly (less than the required 3/8 to 1/2 inch of up-and-down slack on the bottom run) will bind the clutch basket, preventing it from sliding freely on the hub and mimicking the symptoms of severe clutch chatter.
2026 Cost Breakdown: Dealership vs. Independent vs. DIY Correction
When faced with a post-repair clutch failure, your choice of repair facility dictates the financial damage. Below is a comparative cost analysis for correcting a botched clutch replacement on a 2018-2026 Milwaukee-Eight Softail or Touring model.
| Repair Avenue | Labor Rate (Avg) | Diagnostic Fee | Parts Markup | Total Fix Cost (Est.) |
|---|---|---|---|---|
| OEM Dealership | $165 - $185/hr | $150 (Waived if repaired) | 15% - 20% | $850 - $1,100 |
| Independent Harley Specialist | $120 - $145/hr | $75 - $100 | 5% - 10% | $600 - $800 |
| DIY (Home Mechanic) | $0 | $0 | 0% (Retail) | $250 - $350 (Parts & Fluid) |
As noted by the technicians at Nightrider Primary Chain & Clutch Tech, DIYers who invest in a factory service manual and a primary locking tool can easily save over $500 on a re-correction, provided they have the patience to measure stack heights and verify clearances.
Critical Torque Specs & Assembly Clearances
To ensure your re-correction does not result in a third teardown, you must adhere to exact torque specifications. Relying on an impact gun without a torque wrench is the leading cause of post-repair compensator and hub failures. Always use a calibrated torque wrench and the appropriate thread locker.
Milwaukee-Eight (M8) & Late Twin Cam Torque Specifications
- Clutch Hub Nut: 70 - 80 ft-lbs (Use Red Loctite 271. Note: Verify thread direction; most M8 hubs are right-hand thread, while older Evo/Twin Cam models may vary).
- Compensator Sprocket Bolt: 150 - 160 ft-lbs (Requires a primary locking bar to hold the engine from turning).
- Primary Chaincase Cover Bolts: 84 - 108 in-lbs (Do not overtighten, or you will crack the cast aluminum cover or strip the crankcase threads).
- Diaphragm Spring Bolts: 84 - 108 in-lbs (Use Blue Loctite 243).
Final Inspection Checklist
Before buttoning up the primary cover, rotate the rear wheel by hand with the transmission in gear and the clutch lever pulled in. The clutch should disengage smoothly without any metallic scraping or dragging. Once the cover is sealed and filled with 1 quart of H-D Formula+ or an equivalent JASO MA2 certified 20W-50 synthetic, adjust the clutch cable to yield exactly 1/16 to 1/8 inch of free play at the lever perch.
Conclusion: The Diagram is Your Best Financial Defense
A post-repair clutch failure is rarely a mystery; it is almost always a failure of process. By cross-referencing an exploded Harley clutch assembly diagram, measuring your stack height with a caliper, and respecting the wet-clutch fluid requirements, you can diagnose and fix these issues efficiently. Whether you are paying a specialist $600 to correct a dealership's mistake or turning the wrenches yourself in the garage, precision is the only way to protect your drivetrain and your wallet in 2026.