For new manual transmission drivers, mastering the friction zone is a rite of passage. However, a common and highly destructive habit emerges when learners ask how to carry clutch load on steep inclines without using the brake pedal. 'Carrying the clutch'—the act of holding the vehicle's weight entirely on the clutch pedal's bite point—generates catastrophic heat and accelerates wear. According to Schaeffler LuK REPXPERT technical data, prolonged slipping can raise friction surface temperatures past 700°F (371°C) in seconds, instantly glazing organic facings and weakening diaphragm springs.
This beginner-friendly explainer will decode the mechanics of clutch engagement and disengagement, diagnose the symptoms of 'clutch carrying' abuse, and provide actionable, professional-grade troubleshooting steps to save your drivetrain.
The Anatomy of Clutch Engagement
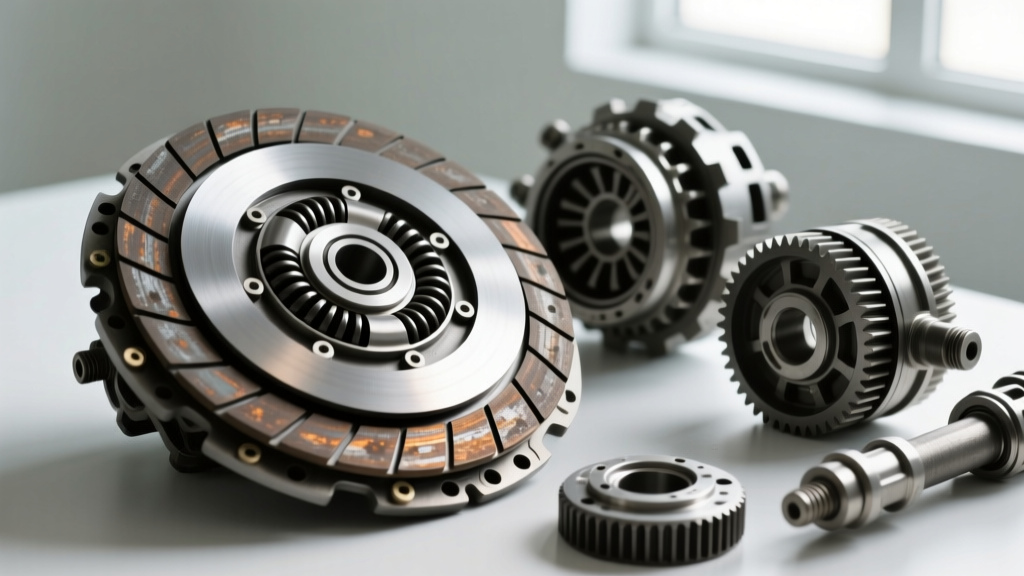
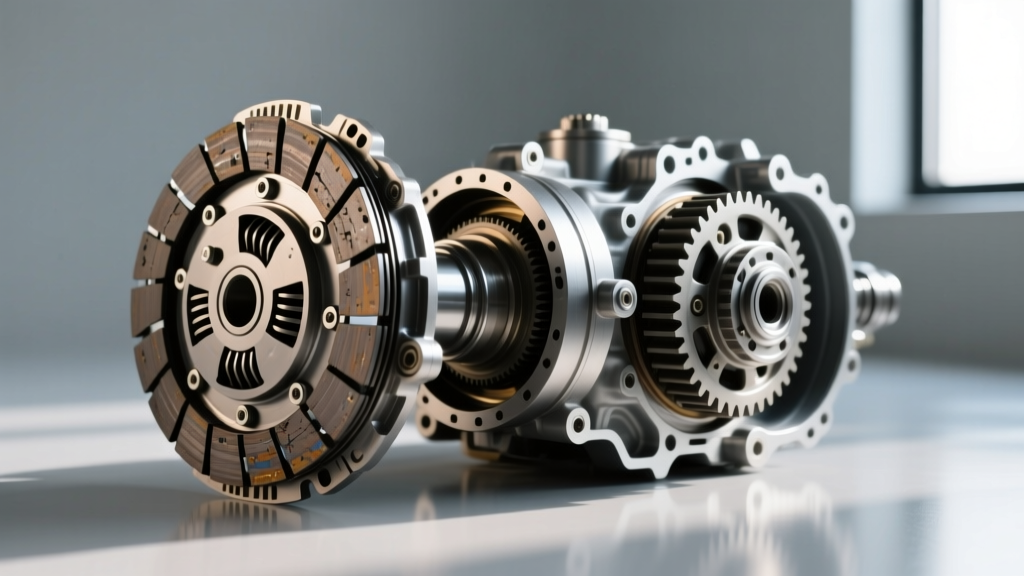
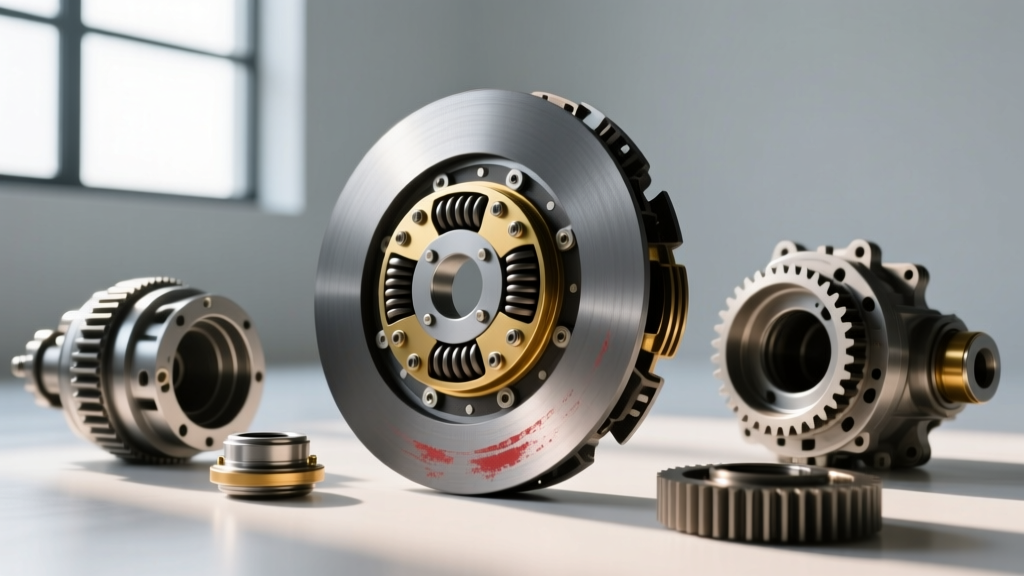
To understand why carrying the clutch causes engagement issues, you must visualize the components sandwiched between the engine and transmission:
- Flywheel (or Dual Mass Flywheel - DMF): Bolted to the crankshaft, providing the primary friction surface and rotational mass.
- Friction Disc: Features organic, Kevlar, or cerametallic facings. It is splined to the transmission input shaft.
- Pressure Plate: Uses a diaphragm spring to apply clamping force (often exceeding 2,500 lbs on performance vehicles) to lock the disc against the flywheel.
- Release (Throwout) Bearing: Pushes against the pressure plate fingers to disengage the clutch.
When you properly engage the clutch, the friction disc locks to the flywheel, transferring torque with near 100% efficiency. When you 'carry' the clutch on a hill, you are intentionally forcing the disc to slip against the spinning flywheel. This kinetic friction creates immense thermal energy.
Thermal Degradation: The 'Hill Hold' Damage Profile
Why is holding a car on a hill with the clutch so damaging? Standard organic friction materials begin to experience severe fade and resin burn-off at around 400°F (204°C). When you ride the bite point to prevent rolling backward, local hot spots on the flywheel can exceed 1,000°F (538°C).
This leads to three primary engagement failures:
- Glazing: The resins in the friction material melt and harden into a glass-like surface. The clutch will engage, but it will slip under heavy throttle.
- Diaphragm Spring Fatigue: Excessive heat transfers through the pressure plate, drawing the temper out of the spring steel. This reduces clamping force, leading to premature slipping even when the pedal is fully released.
- Flywheel Cracking: Extreme thermal shock can cause micro-fractures in cast-iron flywheels or destroy the internal dampening springs of a Dual Mass Flywheel (DMF), causing severe engagement chatter.
Diagnosing Engagement & Disengagement Symptoms
If you have been carrying the clutch, your vehicle will exhibit specific symptoms. Use the diagnostic matrix below to identify your failure point. Pricing reflects average 2026 market rates for parts and independent labor.
| Symptom | Probable Root Cause | Diagnostic Verification | Est. Repair Cost (2026) |
|---|---|---|---|
| Slipping in 3rd/4th gear under load | Glazed friction disc or weak pressure plate | Stall test: In 3rd gear at 2,000 RPM, floor the throttle. If RPMs rise without proportional vehicle speed increase, the clutch is slipping. | $900 - $1,600 |
| Violent shudder (chatter) upon initial engagement | Hot-spotted flywheel or oil contamination | Visual inspection of flywheel for bluish heat marks or rear main seal leaks. | $1,200 - $2,100 (includes flywheel) |
| Grinding when shifting into Reverse or 1st | Incomplete disengagement (drag) | Check hydraulic fluid level and inspect Concentric Slave Cylinder (CSC) for leaks. | $250 - $600 (Hydraulic flush/CSC) |
| Squealing noise only when pedal is depressed | Worn release bearing | Listen at the bellhousing while pressing the pedal past the free-play zone. | $800 - $1,400 (Requires transmission removal) |
Disengagement Issues: The Hydraulic Factor
While carrying the clutch primarily ruins engagement (slipping), beginners often confuse engagement issues with disengagement problems. If your car creeps forward when the pedal is fully depressed to the floor, or gears grind during shifts, the clutch is not fully disengaging.
Modern vehicles (like the Honda Civic Si or Subaru WRX) utilize hydraulic systems consisting of a Clutch Master Cylinder (CMC) at the pedal and a Concentric Slave Cylinder (CSC) inside the bellhousing. If the hydraulic fluid is old, or if air is trapped in the lines, the CSC cannot push the release bearing far enough to separate the friction disc from the flywheel.
Step-by-Step Hydraulic Bleeding Procedure
Before assuming your clutch disc is warped, rule out hydraulic disengagement failure:
- Locate the clutch fluid reservoir (often shared with the brake master cylinder) and top it off with fresh DOT 4 fluid.
- Locate the 10mm bleeder valve on the CSC or external slave cylinder.
- Attach a clear vinyl hose to the valve, routing the other end into a catch bottle.
- Have an assistant press the clutch pedal to the floor and hold it.
- Open the bleeder valve to release air and old fluid, then close it before the assistant releases the pedal.
- Repeat until no air bubbles are visible, then verify pedal free-play.
Expert Note: According to Exedy Technical Guidelines, proper pedal free-play is critical. Most manual transmissions require 15mm to 25mm of free-play at the pedal pad before the master cylinder pushrod engages. Without this gap, the release bearing constantly rides against the pressure plate fingers, causing premature bearing failure and disengagement drag.
The Correct Technique: How to Manage Incline Loads
To avoid the devastating effects of carrying the clutch, beginners must adopt proper load-management techniques. The friction zone should only be used for the 1 to 2 seconds required to transition from a stop to forward motion.
- The Handbrake Method: Engage the parking brake to hold the vehicle's weight. Apply throttle and slowly release the clutch until you feel the 'bite' (the rear of the car may squat slightly). Disengage the parking brake and smoothly roll off the clutch.
- The Heel-Toe / Brake-Overlap Method: Keep the clutch fully depressed and hold the vehicle with the foot brake. When it is time to move, swiftly pivot your right foot from the brake to the throttle while simultaneously lifting the left foot through the friction zone.
- Neutral Waiting: If stopped on a hill for more than three seconds, press the clutch fully in, shift to neutral, and use the brakes. This completely removes load from the release bearing and pressure plate.
When to Replace: Real-World Specs and Torque Data
If your diagnostic tests confirm that carrying the clutch has destroyed your friction materials, replacement is mandatory. When installing a new clutch kit (such as a LuK RepSet or Aisin OEM kit), precision is non-negotiable. As highlighted in SAE International Technical Papers regarding drivetrain NVH (Noise, Vibration, and Harshness), improper installation mimics the symptoms of a damaged clutch.
Critical Installation Specifications
- Flywheel Runout: Must be measured with a dial indicator. Maximum allowable Total Indicator Runout (TIR) is typically 0.005 inches (0.127mm). If a DMF exceeds this, it must be replaced, not resurfaced.
- Bellhousing Alignment: The transmission bellhousing dowel pins must be aligned within 0.005 TIR relative to the crankshaft centerline. Misalignment causes input shaft binding and severe disengagement issues.
- Pressure Plate Torque: M8 pressure plate bolts must be torqued in a strict crisscross star pattern. Standard spec for most Japanese and domestic applications is 18 lb-ft (25 Nm). Over-torquing can warp the pressure plate cover, leading to uneven clamping and engagement chatter.
- Input Shaft Lubrication: Apply a micro-thin layer of high-temp molybdenum grease to the input shaft splines. Never over-apply, as excess grease will sling onto the friction disc during operation, causing immediate slipping.
Pro Tip: Never use compressed air to blow out a bellhousing after removing an abused clutch. The dust from worn organic friction materials can contain hazardous particulates and metallic debris. Always use a dedicated brake-parts cleaner or a HEPA-filtered vacuum to clean the bellhousing and flywheel surface before installation.
Summary
Understanding how to carry clutch load safely is fundamentally about understanding what the clutch was designed to do: briefly modulate torque transfer, not act as a secondary brake system. By utilizing your parking brake on inclines, maintaining proper hydraulic free-play, and respecting the thermal limits of organic friction materials, you can easily extend the life of your clutch assembly past 100,000 miles. Treat the friction zone with respect, and your drivetrain will reward you with crisp, predictable engagement for years to come.