Decoding Harley-Davidson Clutch Failure Modes
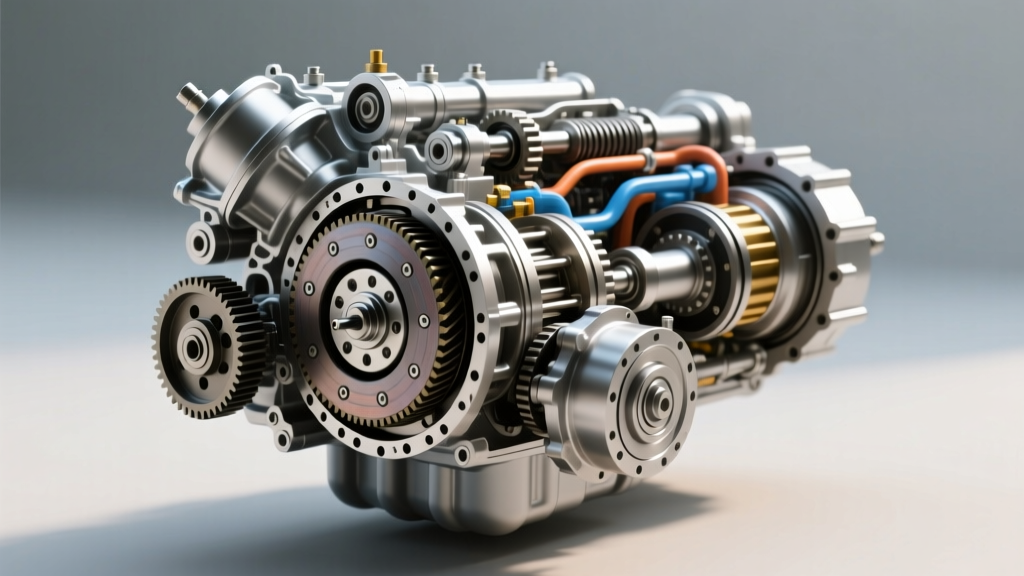
Executing a successful harley clutch repair requires more than just swapping friction plates; it demands a forensic understanding of the Big Twin wet multi-plate clutch system. Whether you are wrenching on a 103-cubic-inch Twin Cam (2007-2017) or the newer Assist & Slip (A&S) Milwaukee-Eight (M8) platform, the primary chaincase houses a complex interplay of hydraulic pressure, mechanical leverage, and friction material. When a rider complains of a slipping clutch under heavy throttle, a lever that feels 'notchy,' or an inability to find neutral at a stoplight, the root cause is rarely isolated to a single component. As an automotive and motorcycle transmission specialist, I have torn down hundreds of Harley primary drives. This guide breaks down the exact failure modes, root causes, and the best aftermarket versus OEM repair kits available on the market today.
Primary Failure Modes in Harley Big Twin Clutches
Before ordering parts, you must accurately identify the failure mode. Harley-Davidson clutches typically fail in one of three distinct ways, each pointing to a different root cause.
1. Diaphragm Spring Fatigue (Slipping Under Load)
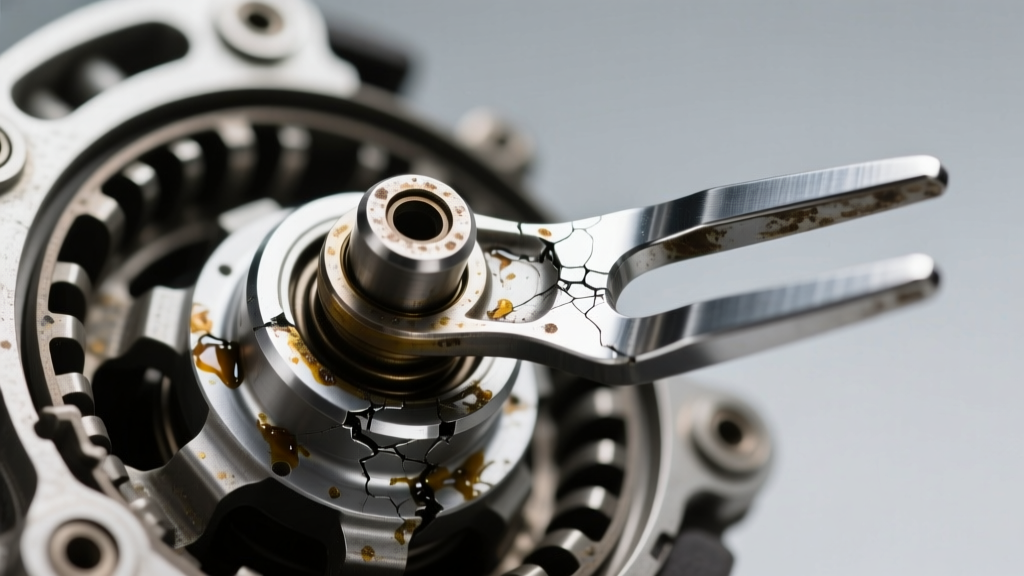
The diaphragm spring provides the clamping force that locks the friction and steel plates together. Over time, and exacerbated by excessive heat from stop-and-go traffic or aggressive riding, the spring steel loses its temper and fatigue sets in. Symptom: The motorcycle revs freely without a corresponding increase in road speed, especially in 5th or 6th gear under heavy throttle. If your clutch lever feels unusually light, the diaphragm spring has likely collapsed or developed stress fractures around the inner fingers.
2. Friction Plate Glazing and Steel Warpage (Dragging & Notchy Shifts)
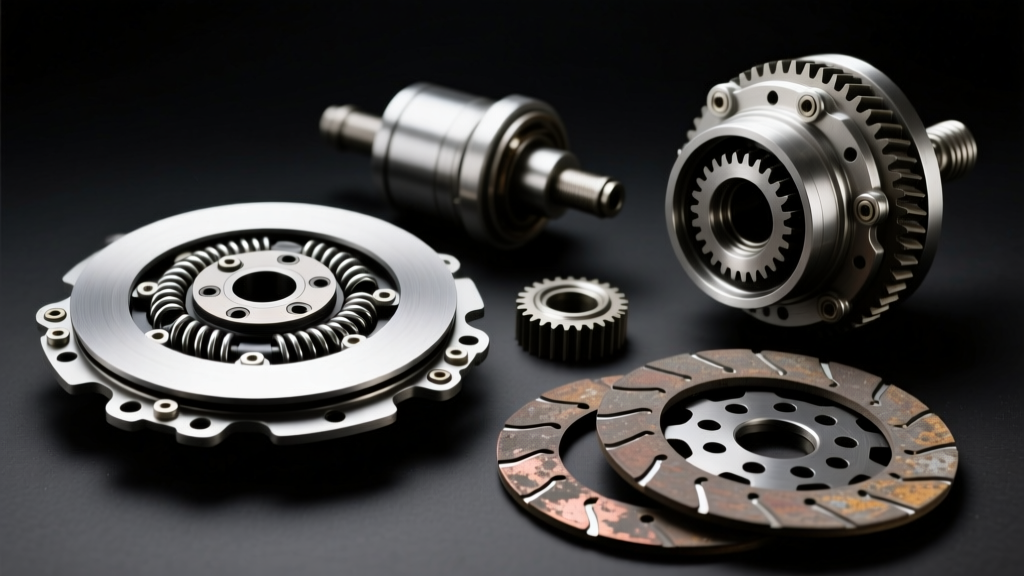
Harley clutches run in a shared oil bath with the primary chain and compensator. If the primary chaincase fluid is not changed at the recommended 5,000-mile intervals, the fluid loses its shear stability and friction modifiers. This leads to the friction material glazing (hardening) and the steel separator plates warping due to localized hot spots. Symptom: The clutch drags when pulled in, making it difficult to shift into neutral. You will also hear a loud 'clunk' when engaging first gear, and the bike may creep forward with the lever fully depressed.
3. Clutch Hub Basket Grooving (The Notchy Engagement)
The inner hub and outer basket (shell) feature splines where the steel and friction plates seat. Under heavy torque loads, the tabs of the plates hammer against these splines, eventually carving deep grooves (notches) into the cast aluminum or steel. Symptom: The clutch lever feels inconsistent, and the plates fail to separate cleanly when the lever is pulled, resulting in severe dragging and premature wear on the transmission shift forks.
Root Cause Analysis: Heat, Fluid, and the Compensator Illusion
A critical mistake many home mechanics make is misdiagnosing a failing compensator sprocket as a slipping clutch. The compensator is designed to absorb the violent torsional spikes of the V-Twin engine. When the compensator's internal spring pack fails or the cam ramps wear out, it creates a rattling noise at idle and a surging sensation under acceleration that perfectly mimics clutch slip. Always inspect the compensator for excessive lateral play (more than 1/8th of an inch) before condemning the clutch pack.
Furthermore, primary fluid selection is paramount. Using standard 20W-50 motor oil in the primary chaincase instead of a dedicated primary fluid (like Harley-Davidson Formula+ or AMSOIL V-Twin Primary Fluid) will accelerate friction plate wear. Dedicated primary fluids contain specific friction modifiers designed to keep the wet clutch plates gripping without glazing, while also protecting the primary chain from stretch.
'Over 60% of the Harley clutch repair jobs that land on my bench for 'slipping' are actually the result of riders using incorrect primary fluid or ignoring a failing compensator sprocket. Always diagnose the entire primary drive as a holistic system, not just a friction pack.' — Senior Drivetrain Specialist, AutoGearNexus
2026 Buyer’s Guide: Comparing Top Harley Clutch Repair Kits
When it is time to tear down the primary, choosing the right replacement kit dictates the longevity and feel of your motorcycle. Below is a comparison of the most trusted repair solutions for Twin Cam and Milwaukee-Eight platforms.
| Brand / Kit Type | Part Number (Ref) | Friction Material | Best Application | Est. Cost (USD) |
|---|---|---|---|---|
| OEM Harley-Davidson Standard | 37995-11A (TC) | Kevlar/Carbon Blend | Stock touring, daily commuting | $220 - $260 |
| Barnett Kevlar Clutch Kit | 303-30-10022 | High-Density Kevlar | Heavy touring, high-torque builds | $180 - $210 |
| Screamin' Eagle High-Performance | 38792-11B | Aggressive Carbon-Kevlar | Stage 2+ engine builds, drag racing | $280 - $320 |
| AIM Billet Clutch Hub & Pack | TCA-HUB-01 | Steel Hub + Kevlar Pack | Fixing notched baskets, track use | $450 - $550 |
Deep Dive: Barnett vs. OEM
For the vast majority of riders, the Barnett Kevlar Clutch Kit offers the best intersection of price, performance, and lever feel. Barnett utilizes a proprietary Kevlar weave that provides a more progressive engagement than the stock OEM plates, which can sometimes feel abrupt when cold. Additionally, Barnett includes heavy-duty clutch springs (for pre-2007 coil-spring models) or a reinforced diaphragm spring for newer models, ensuring clamping force does not degrade under the extreme heat of summer traffic. For Milwaukee-Eight owners, sticking to the OEM Harley-Davidson Assist & Slip (A&S) components is often recommended, as the mechanical ramp angles in the M8 hub are precisely calibrated to the factory diaphragm spring; mixing aftermarket springs can negate the 20% lever-effort reduction the A&S system provides.
Essential Torque Specifications & Assembly Clearances
A Harley clutch repair will fail prematurely if fasteners are not torqued to exact specifications. The primary drive is subjected to immense rotational mass and torsional vibration. Always use a calibrated torque wrench and fresh threadlocker where specified.
- Clutch Hub Nut (Mainshaft): 70-80 ft-lbs. (Right-hand thread). Use a primary locking tool to hold the hub. Do not use an impact wrench, as it can damage the mainshaft bearings.
- Compensator Sprocket Nut: 150-165 ft-lbs. (Left-hand thread). Must be installed with Loctite 271 (Red) or equivalent high-strength threadlocker. Clean threads with brake cleaner before application.
- Primary Chain Tensioner Mounting Bolts: 18-22 ft-lbs. Ensure the tensioner shoe is seated flat against the primary case floor before torquing.
- Derby Cover Screws: 84-108 in-lbs (inch-pounds, NOT foot-pounds). Use a star pattern to prevent warping the aluminum cover.
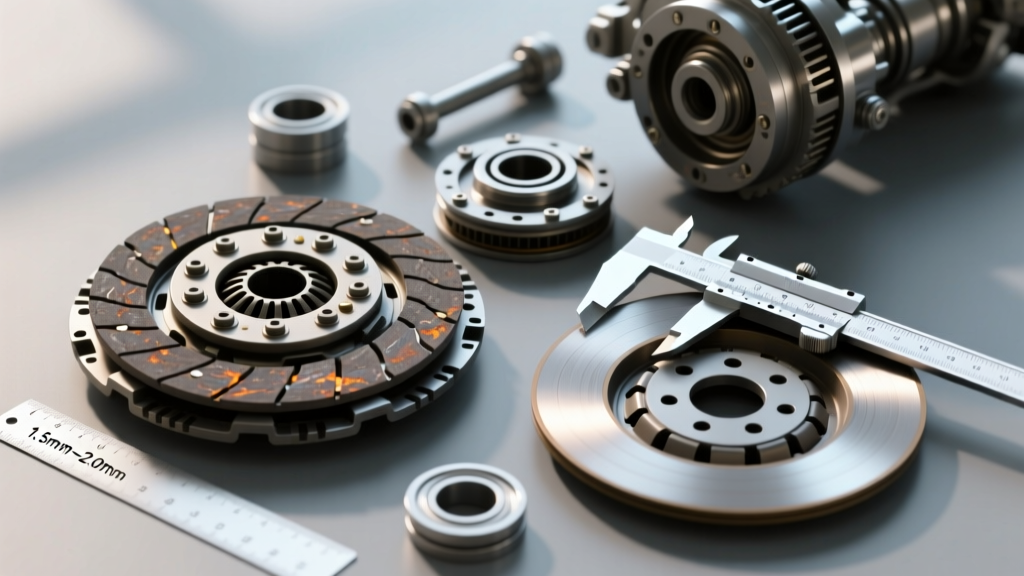
- Friction Plate Thickness Limit: New plates typically measure 0.146 inches. The absolute wear limit is 0.120 inches. If your stack measures below this, replacement is mandatory.
- Steel Plate Flatness: Lay each steel plate on a known flat surface (like a piece of plate glass). If a feeler gauge of 0.006 inches or larger can slide under any point on the plate, it is warped and must be discarded.
Mechanic’s Decision Matrix: Rebuild vs. Replace
Not every issue requires a complete harley clutch repair overhaul. Use this diagnostic matrix to determine your purchasing strategy:
Scenario A: Clutch Slipping, but Lever Feel is Normal
Diagnosis: Worn friction plates or degraded primary fluid. Action: Drain the primary. Inspect the steel plates for bluing (heat damage). If steels are flat and unblued, and the diaphragm spring fingers show no cracking, you only need to purchase a Friction Plate Only kit. Flush the primary case with fresh solvent and refill with 32-38 oz of dedicated primary fluid.
Scenario B: Clutch Dragging, Notchy Lever, Loud 'Clunk' into Gear
Diagnosis: Warped steels, grooved clutch basket, or collapsed diaphragm spring. Action: This requires a full kit. If you find deep grooves in the outer aluminum basket or inner steel hub, upgrading to an AIM Billet Clutch Hub is highly recommended. Cast OEM hubs will continue to notch over time, whereas billet CNC-machined hubs with hardened steel inserts eliminate basket grooving entirely, ensuring smooth plate separation for the life of the motorcycle.
Scenario C: Surging Under Load with Primary Rattle
Diagnosis: Failing compensator sprocket, not the clutch pack. Action: Do not buy a clutch kit. Purchase an upgraded compensator (such as the SE Compensator or an aftermarket dampener) and a new primary chain if stretch exceeds 1/16th of an inch over a 12-inch span.
Final Thoughts on Primary Drive Maintenance
Mastering the Harley-Davidson wet clutch system is about respecting the tolerances and understanding the shared-fluid environment. By accurately diagnosing the root cause of your drivetrain symptoms and selecting the appropriate repair kit—whether that means utilizing the heavy-duty grip of Barnett Kevlar or the precision engineering of an AIM billet hub—you can restore your Big Twin to factory-fresh shifting performance. Always prioritize exact torque specs, proper threadlocking compounds, and high-quality primary fluids to ensure your repair lasts for tens of thousands of miles.