Understanding Harley Davidson Clutch Drag and Release Failures
There is nothing more frustrating than pulling in your clutch lever at a stoplight, only to feel your motorcycle creep forward, or hearing that violent, transmission-shattering clunk when trying to engage first gear. Clutch drag and incomplete release are among the most common drivetrain complaints in the V-twin world. Whether you are riding a belt-driven Twin Cam 103 or a modern 2026 Milwaukee-Eight 114, a dragging clutch accelerates wear on your transmission shift forks and dog teeth.
This comprehensive Harley Davidson clutch repair guide focuses strictly on diagnosing and resolving clutch drag and release problems. We will bypass generic advice and dive straight into the mechanical realities of primary chaincase geometry, clutch hub notching, and precise hydraulic and cable actuation adjustments.
The Diagnostic Matrix: Identifying the Root Cause
Before you drain a single drop of primary fluid, you must isolate whether the issue is external (actuation) or internal (mechanical binding). Use the table below to map your specific symptoms to their most likely culprits.
| Symptom | Probable Cause | Verification Method |
|---|---|---|
| Bike creeps forward with lever pinned to grip | Insufficient free play / Cable stretch | Measure lever free play; should be 1/16" to 1/8" |
| Impossible to find neutral at a stop | Warped steel plates or swollen friction discs | Requires primary teardown and micrometer measurement |
| Harsh "clunk" into 1st gear, lever feels normal | Notched clutch inner hub or dry splines | Visual inspection of aluminum hub tangs with a straight edge |
| Lever pull is excessively stiff, poor release | Upgraded heavy-duty springs without proper ratio | Check for aftermarket spring installation (e.g., Screamin' Eagle) |
| Hydraulic lever feels spongy, drag persists | Air in hydraulic line or failing master cylinder | Bleed system; inspect for fluid weeping at the pushrod seal |
Phase 1: External Actuator & Cable Adjustment
Never open the primary chaincase until you have verified the external actuation system. The Harley-Davidson clutch release mechanism relies on a precise ramp-and-ball or hydraulic pushrod system to separate the plates. If the external free play is incorrect, the internal release bearing never fully engages the pressure plate.
For Cable-Actuated Models (Touring & Older Softails)
- Loosen the Locknuts: Locate the clutch cable adjuster (usually mid-cable or near the lower fairing). Loosen the locknuts and back the adjuster all the way off to create maximum slack.
- Adjust the Pushrod (Transmission Side): Remove the derby cover. Loosen the 11/16" locknut on the clutch release screw. Turn the Allen screw inward until you feel resistance against the release bearing, then back it out exactly 1/2 to 5/8 of a turn. Hold the Allen screw stationary and tighten the locknut to 120 in-lbs (10 ft-lbs).
- Set Lever Free Play: Return to the cable adjuster. Tighten it until you achieve exactly 1/16" to 1/8" of free play measured at the lever pivot. Too much free play causes drag; too little causes slipping and premature throwout bearing failure.
For Hydraulic-Actuated Models (Milwaukee-Eight Softails)
As of 2026, most M8 Softails utilize a hydraulic master cylinder. If you experience drag on a hydraulic system, the fluid may be degraded, or the master cylinder compensator port is blocked by debris, preventing fluid return.
- Check the fluid level using DOT 4 or DOT 5.1 (check your specific service manual; Harley transitioned many models to DOT 4, but verify to avoid seal degradation).
- Bleed the system using a vacuum bleeder at the transmission actuator nipple until zero air bubbles are present.
Phase 2: Primary Chaincase Teardown
If external adjustments fail to cure the drag, the issue is inside the primary. You will need to drain the primary chaincase. Harley-Davidson recommends Formula+ (OEM Part # 99820-00) or an equivalent dedicated primary fluid like AMSOIL V-Twin Primary Fluid. Do not use standard motor oil, as friction modifiers can cause the clutch to slip or grab unpredictably.
- Place a drain pan under the primary and remove the drain plug (5/16" Allen).
- Remove the derby cover screws (Torx or Allen depending on year) and pull the cover.
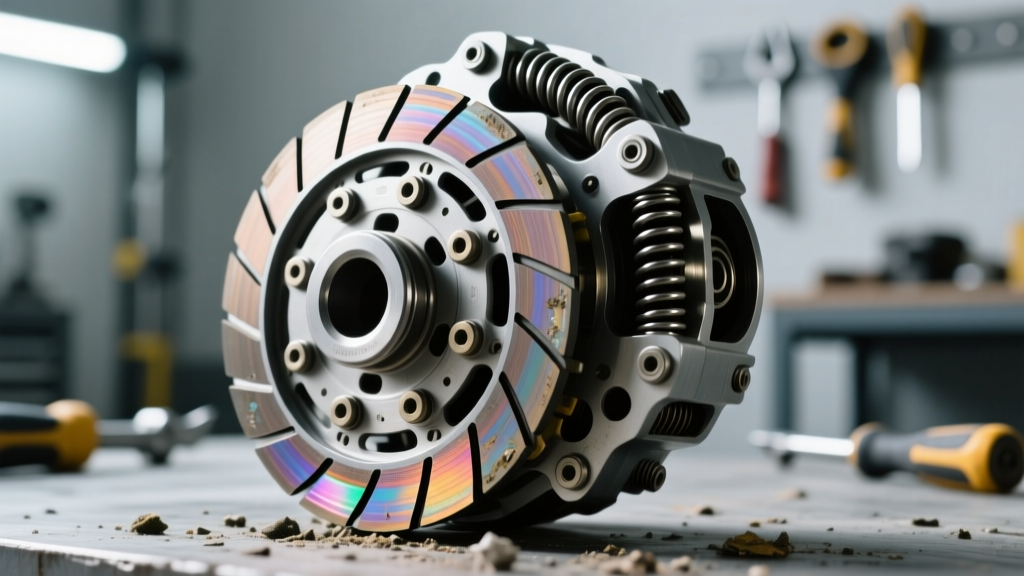
- Remove the clutch spring retainer bolts and the diaphragm or coil springs.
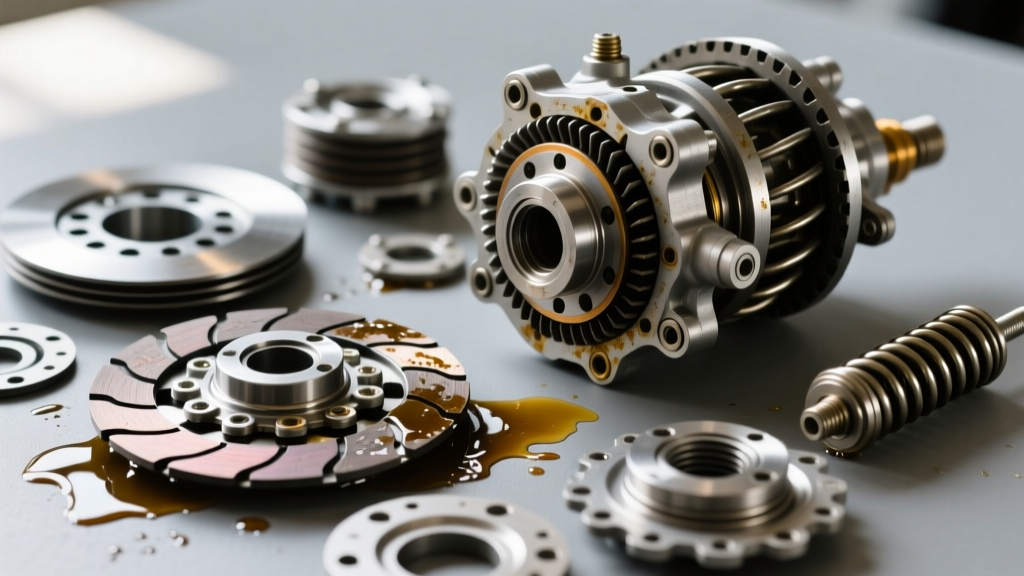
- Extract the pressure plate and carefully slide the friction and steel plates out as a single stack. Keep them in order if you plan to reuse them, though replacement is highly recommended if drag is present.
Phase 3: Inspecting for Mechanical Binding
This is where true expertise separates mechanics from parts-swappers. A dragging clutch on a heavy-torque V-twin is rarely just about worn plates; it is usually about mechanical binding.
The Notched Hub Phenomenon
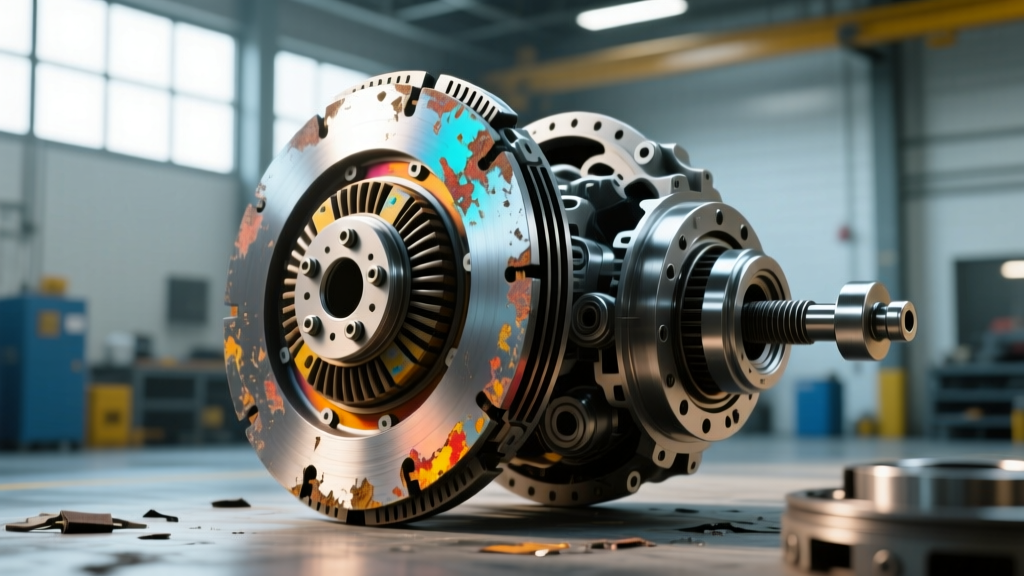
The inner clutch hub is made of aluminum, while the friction plates have steel tangs. Over tens of thousands of miles, the immense torque pulses of a Big Twin engine cause the steel tangs to hammer into the softer aluminum splines, creating deep "notches." When you pull the clutch lever, the friction plates cannot slide smoothly out of these notches, causing the clutch to remain partially engaged (drag).
Pro-Tip: Run a fingernail across the inner hub splines. If your nail catches in deep grooves, the hub is compromised. You can sometimes file minor burrs flat with a mill bastard file, but severe notching requires a complete clutch hub replacement to permanently cure the drag.
Measuring the Clutch Pack
Steel plates warp under extreme heat (like slipping the clutch in stop-and-go traffic), and friction plates swell when exposed to contaminated primary fluid. Use a machinist's straight edge and feeler gauges to check the steel plates, and a micrometer for the friction plates.
| Component | OEM Part Number (Ref) | New Specification | Service Wear Limit |
|---|---|---|---|
| Steel Separator Plate | 37959-90A | 0.078" - 0.082" | 0.006" max warp |
| Friction Plate (Late TC/M8) | 37900070 | 0.138" | 0.118" minimum thickness |
| Clutch Pack Total Width | N/A | Varies by model (approx 2.95") | Must compress smoothly without binding |
If you are replacing the pack, consider upgrading to Barnett Kevlar or Carbon Fiber friction plates. Kevlar offers superior heat resistance, reducing the swelling that leads to clutch drag in heavy touring applications.
Phase 4: Reassembly & Torque Specifications
Reinstalling the clutch pack requires meticulous attention to torque specs and threadlocker applications. The primary drive experiences high-frequency vibration; a loose clutch hub nut will destroy your mainshaft splines in a matter of miles.
| Fastener / Component | Torque Specification | Threadlocker / Notes |
|---|---|---|
| Clutch Hub Nut (Twin Cam) | 70 ft-lbs | Loctite 262 (Red) or 271 |
| Clutch Hub Nut (M8 107/114) | 80 ft-lbs | Loctite 262 (Red) or 271 |
| Spring Retainer Bolts | 84 - 108 in-lbs | Blue Loctite 243 |
| Derby Cover Screws | 84 - 108 in-lbs | None (Use new O-ring gasket) |
| Primary Chain Adjuster Lock Nut | 120 in-lbs (10 ft-lbs) | Blue Loctite 243 |
Phase 5: Primary Fluid & Final Bleed
Once the clutch pack is reassembled and the derby cover is secured, refill the primary chaincase. For most Softail and Touring models, the capacity is exactly 32 ounces (1 quart). Fill until the fluid level reaches the bottom of the clutch diaphragm spring retainer while the bike is upright and level. Do not overfill; excess fluid causes aeration, which leads to a spongy lever feel and incomplete clutch release.
The "Rev and Settle" Neutral Trick
After completing your Harley Davidson clutch repair, start the motorcycle with the rear wheel elevated on a lift. Pull the clutch lever in and wait 10 seconds for the primary fluid to fully coat the new friction surfaces. Engage first gear. If the rear wheel spins aggressively and cannot be stopped by the rear brake, your cable is still too tight or your hydraulic system has air.
To find neutral easily after a fresh rebuild, pull the clutch lever in, rev the engine to about 2,500 RPM, and gently tap the shifter up. The centrifugal force and fluid dynamics will often align the transmission dogs perfectly into the neutral detent.
Summary
Clutch drag is rarely a mystery; it is a sequence of mechanical tolerances failing to align. By systematically verifying your external actuation free play, inspecting the inner hub for torque-induced notching, and strictly adhering to factory torque specifications and fluid capacities, you can restore your Harley-Davidson's shifting to factory-crisp precision. Whether you are maintaining a legacy Twin Cam or a modern Milwaukee-Eight, respecting the primary chaincase environment is the key to a long-lasting, drag-free drivetrain.