Understanding Dry Clutch Bikes: A Beginner's Diagnostic Guide
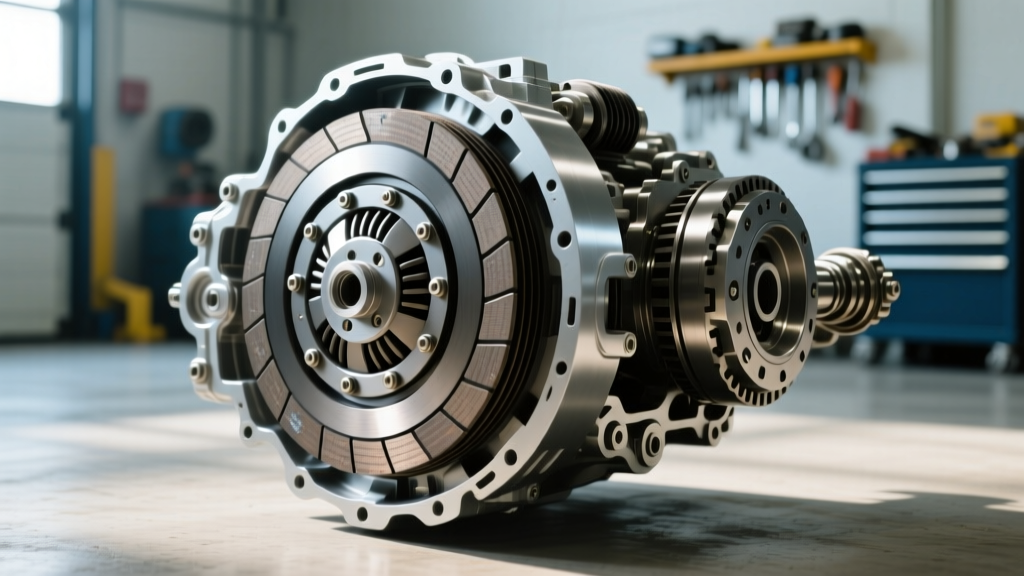
When most riders think of motorcycle or ATV transmissions, they picture a wet clutch system bathed in engine oil. However, dry clutch bikes operate in a completely different environment. Running entirely in the air without oil lubrication, dry clutches are iconic on certain European motorcycles and older utility ATVs. While they offer distinct advantages—like zero parasitic drag on the engine oil and purer power delivery—they also present unique diagnostic challenges.
As of 2026, the aftermarket support for dry clutches has evolved significantly, with advanced Kevlar friction materials and CNC-machined billet baskets becoming the standard for high-mileage rebuilds. Whether you are wrenching on a classic Ducati Monster, a Moto Guzzi V7, a BMW R1200GS, or a vintage Honda dry-centrifugal ATV, understanding the specific failure modes of air-cooled friction surfaces is critical. This guide will walk you through the symptoms, exact diagnostic steps, and real-world repair data for dry clutch systems.
Wet vs. Dry: Why the Diagnostics Differ
In a wet clutch, the oil acts as a coolant and a lubricant, carrying away friction material debris and dampening noise. A dry clutch lacks this fluid buffer. Consequently, friction dust accumulates inside the bell housing, and the metal-on-metal interactions are much more audible. Furthermore, because there is no oil to absorb heat, dry clutches are highly susceptible to thermal warping if the rider frequently 'slips' the lever in stop-and-go traffic. Diagnosing a dry clutch requires paying attention to acoustic cues and physical dust buildup that simply do not exist in wet systems.
Core Symptoms of Dry Clutch Failure
1. The 'Marbles in a Can' Rattle (Normal vs. Abnormal)
If you own a Ducati with an exposed dry clutch cover, you are likely familiar with the loud, metallic rattling at idle. Beginners often panic, thinking the engine is destroying itself. Some rattle is normal due to the clearance between the friction plate tangs and the clutch basket fingers. However, if the rattle changes pitch under load, or is accompanied by a harsh 'clunk' when shifting into first gear, you are experiencing hub tang notching. The aluminum basket fingers have worn grooves, causing the plates to hang up rather than slide smoothly.
2. Slipping Under Heavy Load
When you roll on the throttle in 4th or 5th gear and the RPMs surge without a corresponding increase in road speed, your clutch is slipping. In dry clutch bikes, this is usually caused by one of three things:
- Worn Friction Plates: The material has degraded past the service limit.
- Spring Fatigue: The coil or diaphragm springs have lost their clamping force due to heat cycling.
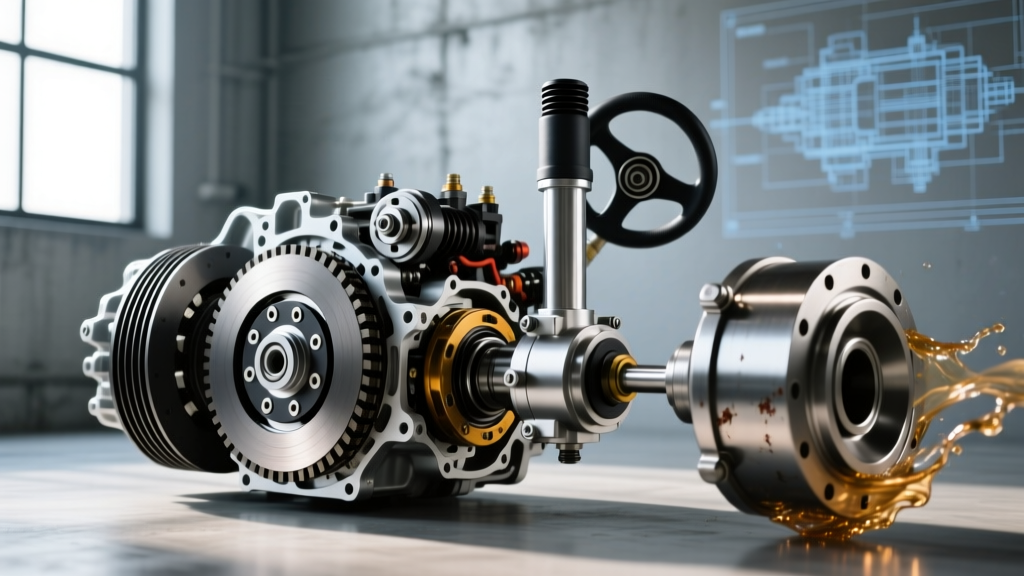
- Catastrophic Oil Contamination: This is the most expensive edge case. If the gearbox input shaft seal (e.g., a standard 25x42x7 SKF seal) fails, gear oil will spray directly onto the dry friction plates, instantly ruining the clutch pack.
3. Harsh Engagement and Low-Speed Chatter
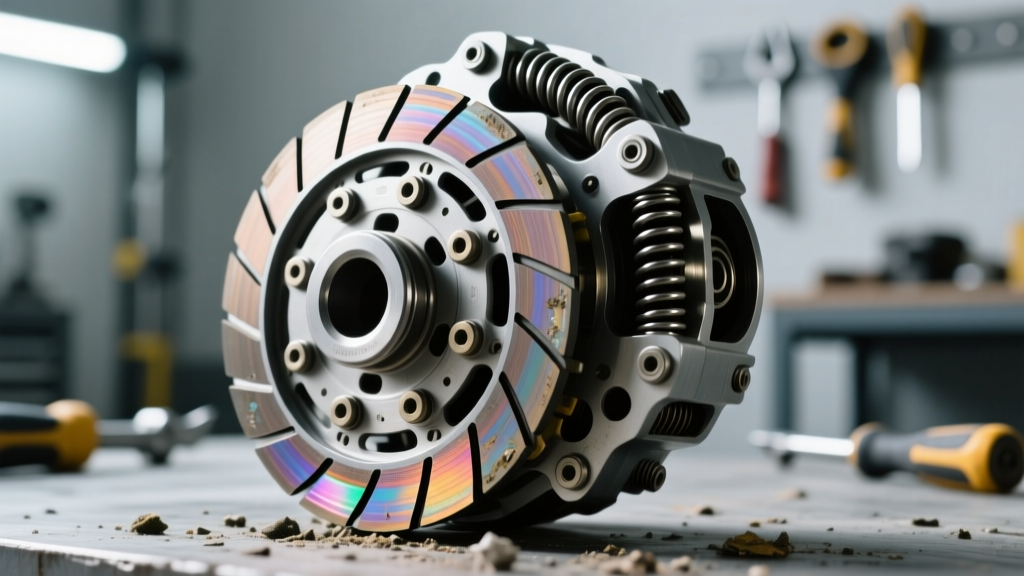
Dry clutches are notorious for low-speed chatter, especially when pulling away from a stoplight. While slight chatter is a characteristic of the design, violent shuddering indicates warped steel separator plates or a dragging throw-out bearing that is preventing clean disengagement.
Dry Clutch Diagnostic Matrix
Use this table to cross-reference your symptoms with the most likely mechanical faults and current 2026 market repair estimates.
| Symptom | Primary Suspect | Diagnostic Check | Est. Parts Cost |
|---|---|---|---|
| High-RPM Slipping | Worn friction stack / Weak springs | Measure plate thickness; check stack height | $250 - $450 |
| Metallic Clunk at Idle | Notched clutch basket fingers | Remove cover; inspect aluminum tang grooves | $600 - $950 (Billet) |
| Sudden, Total Slip | Input shaft seal leak (Oil contamination) | Inspect bell housing for gear oil residue | $25 (Seal) + $350 (Pack) |
| Violent Take-off Chatter | Warped steel plates / Glazed friction | Check steel plates on a glass surface for flatness | $120 - $180 |
Model-Specific Quirks: Ducati, Moto Guzzi, and BMW
Ducati: The Poster Child of Dry Clutches
Ducati utilized dry multiplate clutches extensively on models like the 748, 916, 996, and early Monsters. The OEM clutch baskets were cast aluminum and prone to severe notching. When diagnosing a Ducati dry clutch, always check the pushrod and throw-out bearing located inside the gearbox input shaft. If the bearing seizes, it will melt the pushrod tip. Upgrading to an aftermarket billet basket from manufacturers like STM or EVR (priced around $750) is highly recommended, as they use replaceable steel inserts on the basket fingers to eliminate notching forever.
Moto Guzzi: Cable-Actuated V-Twins
Modern Moto Guzzi models (V7, V9, V85TT) use a dry clutch setup that is heavily reliant on precise cable adjustment. Because there is no hydraulic fluid to self-adjust for wear, a stretched cable will result in incomplete disengagement (making finding neutral impossible), while an over-tightened cable will cause premature slipping. Always maintain exactly 10-15mm of free play at the lever perch.
BMW R-Series Boxers
The BMW R1200 and early R1250 Boxer engines use a dry single-plate or multiplate clutch (depending on the exact year) mounted directly to the flywheel. A common failure point here is the diaphragm spring. If the clutch lever suddenly becomes incredibly heavy to pull, or if you hear a scraping noise from the bell housing, the diaphragm spring fingers have likely fractured or worn through the throw-out collar.
ATV Dry Centrifugal Clutches: A Different Beast
While modern ATVs rely on CVT belts or wet multiplate systems, older utility and vintage ATVs (like the Honda US90 or early ATC models) utilize dry centrifugal clutches. These do not have a hand lever. Instead, clutch shoes lined with friction material expand outward against a steel drum as engine RPMs rise.
Diagnostic Tip for ATVs: If your vintage ATV creeps forward at idle or struggles to climb hills, the centrifugal clutch springs have likely fatigued, or the shoes are glazed. You can scuff the shoes with 80-grit sandpaper to remove glazing, but if the drum is scored deeper than 0.5mm, the entire drum must be replaced to prevent rapid destruction of the new shoes.
Step-by-Step Inspection and Torque Specifications
When tearing down a dry clutch for diagnosis, precision is mandatory. Unlike wet clutches where oil can mask minor imperfections, dry clutches will immediately expose uneven clamping pressure with severe chatter.
- Measure Friction Plates: Use a micrometer to measure the friction plates. A new OEM Ducati plate is typically 3.0mm thick. The absolute service limit is 2.4mm. If you are at 2.5mm, replace the pack now to save your steel plates.
- Check Stack Height: Many dry clutches require a specific total stack height (friction + steel plates combined) to ensure the pressure plate applies even force. Consult your factory manual; if the stack is too short, add a thicker base plate or shim.
- Torque the Pressure Plate: This is where beginners fail. The M6 bolts holding the clutch spring cup or pressure plate are small and easily snapped. For most Ducati and Moto Guzzi applications, the M6 pressure plate bolts must be torqued to exactly 10 Nm (7.4 lb-ft) using a drop of Blue Loctite 243. For BMW R1200 diaphragm spring bolts, the spec is typically 20 Nm (14.7 lb-ft).
For deeper technical insights on friction materials and bedding-in procedures, resources like Barnett Clutches provide excellent manufacturer data on Kevlar versus carbon-fiber dry clutch faces. Additionally, maintaining proper cable geometry is vital; RevZilla's Common Tread offers fantastic visual guides on routing cables to prevent binding, which is a frequent cause of phantom clutch slip.
Extending the Life of Your Dry Clutch
Dry clutches demand respect. To maximize the lifespan of your friction pack:
- Avoid slipping at low RPMs: Dry clutches generate immense heat when slipped. Keep RPMs up when modulating the lever to ensure airflow through the basket.
- Blow out the dust: Every 5,000 miles, remove the clutch cover and use compressed air to blow out the friction dust. Accumulated dust acts as an abrasive lapping compound on your steel plates and throw-out bearing.
- Watch the seals: Keep an eye on the weep hole between the engine and gearbox. A single drop of oil means an input shaft or crankshaft seal is failing, and immediate intervention is required before the dry clutch pack is ruined.
Conclusion
Diagnosing dry clutch bikes and ATVs requires a shift in mindset from standard wet-clutch maintenance. By listening to the acoustic feedback of the basket, strictly adhering to micrometer measurements for plate thickness, and respecting the low torque specs of the pressure plate hardware, you can keep these iconic, raw, and mechanical systems running flawlessly. Whether you are restoring a vintage Honda ATV or maintaining a modern Moto Guzzi, the dry clutch remains a beautiful, unforgiving piece of engineering that rewards precise diagnostic work.