Introduction to Powersports Drivetrains
When beginners dive into powersports mechanics, figuring out how all transmissions & clutch systems operate across different platforms can feel overwhelming. Unlike passenger cars that typically rely on a single dry friction disc and a hydraulic throw-out bearing, motorcycles and All-Terrain Vehicles (ATVs) utilize highly specialized, compact drivetrains. Whether you are trail-riding a Polaris Sportsman or carving canyons on a Yamaha YZF-R6, understanding the unique failure points of these systems is critical for safe and reliable operation.
In this beginner-friendly explainer, we will break down the exact symptoms, diagnostic steps, and repair specifications for the two most common powersports clutch setups: the motorcycle wet multi-plate clutch and the ATV/UTV dry Continuously Variable Transmission (CVT) clutch. By the end of this guide, you will know exactly how to measure wear, select the right fluids, and torque fasteners to factory specifications.
The Core Differences: Wet Multi-Plate vs. Dry CVT Systems
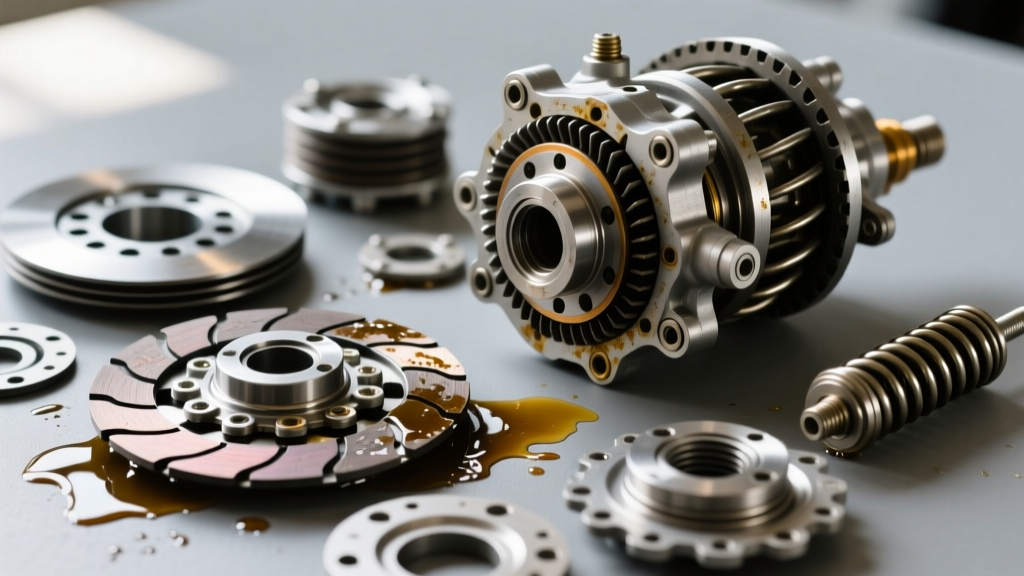
Before grabbing your wrenches, it is vital to understand the environment your clutch operates in. Motorcycles predominantly use a wet multi-plate clutch. This system stacks alternating friction and steel plates inside a basket that is constantly bathed in engine oil. The oil cools the components and carries away debris, but it also means your engine oil chemistry directly dictates clutch performance.
Conversely, most modern ATVs and UTVs use a dry CVT clutch system. This consists of a primary (drive) clutch attached to the engine crankshaft and a secondary (driven) clutch attached to the transmission input shaft, connected by a heavy-duty drive belt. There is no oil here; friction, centrifugal force, and spring tension are the only variables controlling your power delivery.
Diagnosing Motorcycle Wet Clutch Slipping and Chatter
The most frequent complaint from beginner motorcycle riders is a clutch that either slips under hard acceleration or grabs aggressively (chatter) when pulling away from a stop.
The JASO MA/MA2 Oil Rule
If your motorcycle clutch suddenly starts slipping after an oil change, the culprit is almost always the wrong oil. Automotive engine oils (API SN/SP ratings) contain molybdenum-based friction modifiers designed to improve fuel economy in cars. In a motorcycle, these modifiers coat the friction plates, causing immediate slip. You must only use oils certified by the Japanese Automotive Standards Organization (JASO) with an MA or MA2 rating. According to RevZilla's technical guides, JASO MA2 oils guarantee a high dynamic friction coefficient, ensuring the clutch plates lock together firmly under the high-shear environment of a shared sump.
Step-by-Step Friction and Steel Plate Measurement
If fresh JASO MA2 oil does not cure the slip, the clutch pack is physically worn. Here is how to diagnose it like a professional technician:
- Remove the Clutch Cover: Drain the engine oil and remove the right-side crankcase cover. Note the dowel pin locations.
- Extract the Clutch Pack: Unbolt the clutch spring bolts (usually 5 or 6 bolts, 8mm or 10mm heads). Remove the pressure plate, springs, and carefully pull out the alternating friction and steel plates. Keep them in order!
- Measure Friction Plate Thickness: Use a digital micrometer. A standard OEM friction plate (like those on a Honda CBR600RR) measures 3.00mm when new. The factory service limit is typically 2.70mm. If any plate is below 2.70mm, the entire pack must be replaced.
- Check Steel Plate Warpage: Place a steel plate on a known flat surface (like a piece of machined glass or granite). Slide a feeler gauge under the plate. If the gap exceeds 0.10mm to 0.20mm (check your specific service manual), the steel plate is warped and causing hot spots and chatter. Replace warped steels and consider upgrading to EBC CK Series Kevlar friction plates for better heat resistance.
- Inspect Slipper Clutch Ramps: On modern bikes (2015+), the inner hub features slipper/assist ramps. Inspect the aluminum ramps for galling or deep grooves. If damaged, the inner hub must be replaced, or the slipper function will bind, causing rear-wheel hop during downshifts.
ATV and UTV CVT Clutch Failures: Belt Slip and Sheave Stiction
ATV clutch diagnostics require a completely different mindset. As of 2026, modern aramid-weave CVT belts are incredibly strong, but they are highly sensitive to clutch alignment and sheave condition. Symptoms of CVT failure include a burning rubber smell, sluggish takeoff, or the engine over-revving without a corresponding increase in vehicle speed.
Primary Clutch (Drive) Diagnostics
The primary clutch uses centrifugal weights (rollers or sliders) to push the movable sheave inward, pinching the belt. If your ATV feels sluggish off the line, the rollers likely have flat spots. Remove the primary clutch using a specialized clutch puller tool—never hammer the crankshaft! Inspect the rollers. If they are faceted or flat, replace them. For a Polaris Sportsman 570, OEM part number 1323202 (or an aftermarket equivalent like Dalton Industries) is standard. Ensure you apply a dry film lubricant or specific CVT grease to the roller cages; standard wheel bearing grease will attract belt dust and cause the sliders to bind.
Secondary Clutch (Driven) and Belt Glazing
If the belt is slipping and glazing (shiny, hardened sides), the secondary clutch spring may have fatigued, or the sheave bushing is worn. A worn secondary bushing allows the sheave to tilt slightly under load, reducing the contact patch of the belt. Check for side-to-side play in the secondary sheave. If you can wiggle the movable face laterally by more than 1mm, the internal bushing and seal kit must be replaced.
Actuation: Cable Free-Play vs. Hydraulic Bleeding
Before tearing into the clutch basket, always verify your actuation system. A clutch that is 'always slightly engaged' will burn up the plates in miles.
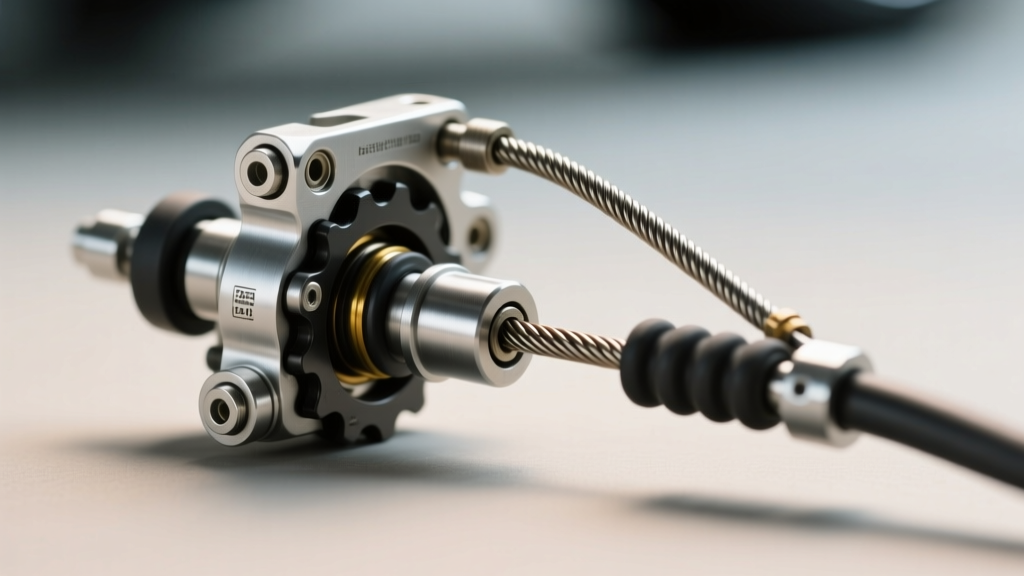
- Cable Systems: Measure the free-play at the lever perch. You need exactly 10mm to 15mm (3/8 to 5/8 in.) of free movement before you feel resistance. This gap ensures the throw-out bearing is not constantly pressing on the pressure plate.
- Hydraulic Systems: Many modern dirt bikes (like the KTM 450 SX-F) and street bikes use hydraulic clutches. Critical Warning: Check the reservoir cap. Honda and KTM often use Mineral Oil, while Yamaha and Kawasaki typically use DOT 4 or DOT 5.1 brake fluid. Mixing mineral oil and DOT fluid will instantly destroy the internal rubber seals of the master and slave cylinders, requiring a $150+ rebuild kit.
2026 Powersports Clutch Parts & Cost Comparison
Understanding the financial commitment of a repair helps beginners budget correctly. Below is a comparison of standard replacement costs and part types.
| Component / System | OEM Part Example | Aftermarket Alternative | Est. Cost (2026) | Common Failure Symptom |
|---|---|---|---|---|
| Motorcycle Friction Plates | Honda 22200-KY3-000 | EBC CK Series (Kevlar) | $90 - $160 | Slipping under load, high RPMs without acceleration |
| Motorcycle Clutch Springs | Yamaha 90501-23286 | Pro Circuit Heavy Duty | $25 - $45 | Lever feels soft, clutch slips when hot |
| ATV CVT Drive Belt | Polaris 3211180 | Ultimax UA303 | $120 - $210 | Burning smell, belt snapping, sluggish engagement |
| ATV Primary Rollers/Weights | Polaris 1323202 | Dalton Industries Rollers | $35 - $60 | Sluggish takeoff, inconsistent RPM climbing |
| Clutch Basket (Inner Hub) | Kawasaki 13088-0052 | Hinson Billet Proof | $150 - $350 | Notched basket fingers causing clutch drag and false neutral |
Critical Torque Specifications for Reassembly
The most common mistake beginners make is under-torquing or over-torquing clutch fasteners. The clutch center locknut holds the entire transmission input shaft and clutch basket together. If it backs out, it will destroy the engine cases. Always consult your specific Honda Powersports Owner's Manual or Polaris Service Documentation, but here are standard industry benchmarks:
- Motorcycle Clutch Center Locknut: Typically requires 43 to 59 lb-ft (58 to 80 Nm). For example, a Yamaha YZF-R6 requires 58 lb-ft. Always use a dedicated clutch holding tool (strap wrench or aluminum spanner) to keep the basket stationary while torquing. Apply a medium-strength threadlocker (Blue Loctite 242) to the threads, and always stake the nut if the factory manual dictates it.
- Motorcycle Spring Bolts: These small 6mm or 8mm bolts only require 7 to 10 lb-ft (10 to 14 Nm). Over-torquing will strip the soft aluminum threads of the inner hub instantly. Tighten them in a crisscross star pattern to compress the pressure plate evenly.
- ATV Primary Clutch Bolt: The bolt securing the primary CVT clutch to the crankshaft is under immense stress. On most Polaris models, this requires 40 to 45 lb-ft with Blue Loctite 243. Never use an impact wrench to install this bolt, as the sudden rotational shock can snap the crankshaft end or damage the one-way starter clutch bearing located behind the primary sheave.
Final Thoughts for the Beginner Mechanic
Diagnosing clutch problems on motorcycles and ATVs is highly rewarding once you understand the underlying physics. Whether you are measuring a 3.0mm friction plate with a micrometer or inspecting the aramid cords on a glazed CVT belt, precision and cleanliness are your best tools. Always use the correct JASO-rated fluids, adhere strictly to torque specifications, and never skip the break-in procedure for new friction materials. By mastering these fundamentals, you will ensure your powersports machines shift flawlessly for thousands of miles to come.