Understanding Your Harley's Cable-Actuated Clutch System
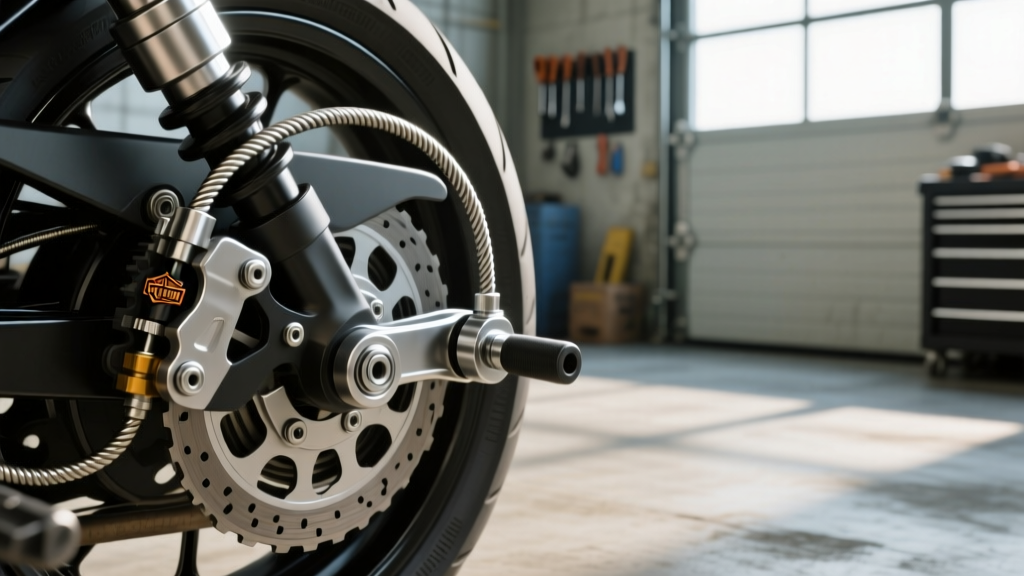
If you ride a Harley-Davidson, especially a Sportster, Dyna, Softail, or a custom build utilizing a traditional Twin Cam or Milwaukee-Eight powertrain, your clutch system is a mechanical masterpiece. While the automotive world has largely moved to hydraulic and electronic actuation, the Harley Davidson clutch cable remains an iconic, reliable, and highly tunable component. However, when clutch engagement and disengagement issues arise, they can turn a relaxing ride into a white-knuckled experience at stoplights.
As we navigate the 2026 riding season, maintaining a traditional cable-actuated wet multi-plate clutch requires understanding the delicate balance between the lever, the cable housing, the internal ball-and-ramp release mechanism, and the clutch pack itself. This beginner-friendly explainer will walk you through diagnosing, adjusting, and fixing the most common engagement and dragging issues plaguing Harley owners today.
The Anatomy of Harley Clutch Engagement
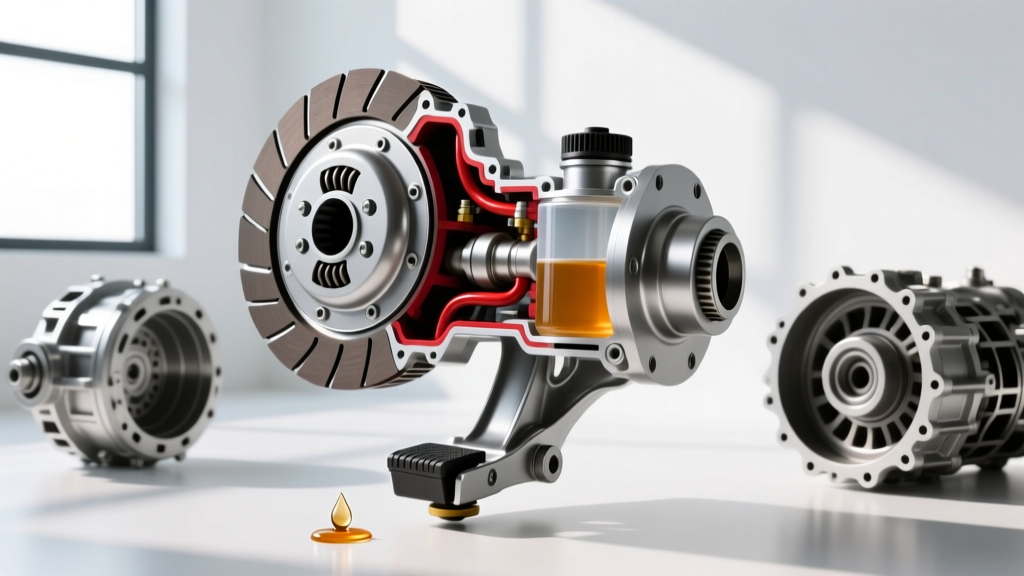
Before turning any wrenches, you need to understand how pulling a lever on your handlebars translates to disengaging the engine from the transmission. When you pull the clutch lever, you are pulling a steel inner cable through a lined housing. This cable pulls on a clutch release mechanism (often a ball-and-ramp or screw-type actuator) located inside the primary chaincase.
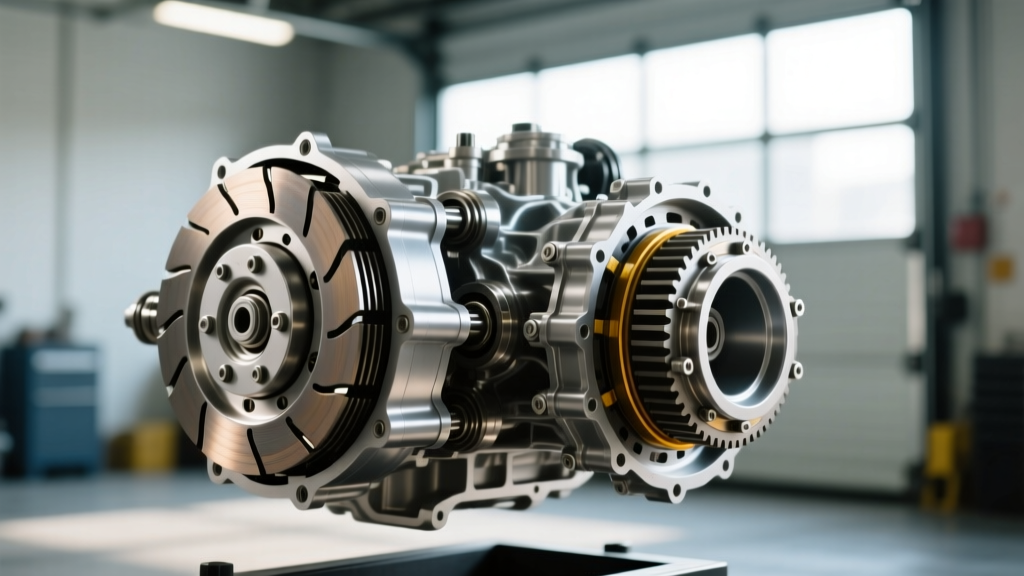
This mechanism pushes a release bearing against the center of the clutch pressure plate. The pressure plate compresses the clutch springs, lifting the friction plates away from the steel drive plates. This separation is disengagement. When you let the lever out, the springs clamp the plates together, locking the engine's rotation to the transmission input shaft. This is engagement.
Diagnosing Engagement vs. Disengagement Problems
Beginners often confuse a slipping clutch (engagement issue) with a dragging clutch (disengagement issue). Use the diagnostic table below to pinpoint your exact symptom.
| Symptom Category | What the Bike Does | Probable Mechanical Cause |
|---|---|---|
| Poor Engagement (Slipping) | RPMs surge under acceleration, but road speed does not increase proportionally. Smell of burning oil. | Too little lever free play, worn friction plates, weak clutch springs, or friction-modified primary oil. |
| Poor Disengagement (Dragging) | Bike lurches forward when shifted into 1st gear with the lever pulled. Hard to find neutral at a stop. | Too much lever free play, warped steel plates, notched clutch hub basket, or stretched inner cable. |
| Stiff Lever Feel | Requires excessive hand strength to pull the lever to the grip. | Frayed inner cable, corroded housing, dry ball-and-ramp mechanism, or aftermarket heavy-duty springs. |
The Hidden Culprit: The Notched Clutch Basket
If your Harley Davidson clutch cable is perfectly adjusted but the bike still drags and creeps forward at stoplights, you are likely dealing with a notched clutch hub basket. The friction plates have steel tabs that ride in the grooves of the aluminum clutch basket. Over thousands of miles of harsh engagement, these steel tabs hammer into the softer aluminum, creating deep notches.
When you pull the clutch lever, the friction plates get physically wedged in these notches and refuse to separate from the steel plates, causing severe dragging. The only fix for this is dropping the primary, removing the clutch pack, and replacing the clutch basket (or upgrading to a billet aluminum or steel-insert basket from brands like Barnett or Hinson).
Step-by-Step Harley Davidson Clutch Cable Adjustment
Proper adjustment is critical. If the cable is too tight, the release bearing constantly rides against the pressure plate, causing premature wear and clutch slipping. If it is too loose, the clutch won't fully disengage. Always perform this adjustment when the engine is cold, as the aluminum primary housing expands when hot, altering the clearances.
- Back off the Cable Adjuster: Locate the rubber bellows boot on the lower section of the clutch cable. Slide it up, loosen the locknut, and turn the adjuster barrel inward to create maximum slack in the cable.
- Access the Primary Adjuster: Remove the derby cover (clutch inspection cover) on the outer primary housing. You will see the clutch release mechanism and a central adjuster screw with a locknut.
- Set the Internal Pre-Load: Loosen the locknut. Using a flathead screwdriver or Allen key (depending on your specific model year), turn the adjuster screw inward (clockwise) until you feel firm resistance. This is the release bearing making contact with the pressure plate.
- Back Off for Clearance: From that point of resistance, back the screw out (counter-clockwise) exactly one-half to one full turn. This ensures the bearing is not under constant load. Hold the screw in place and tighten the locknut securely.
- Set the Lever Free Play: Return to the handlebar. Pull the clutch lever and measure the 'free play' (the distance the lever moves before you feel the heavy resistance of the clutch springs). Adjust the mid-cable barrel until you have exactly 1/16-inch to 1/8-inch of free play at the lever blade.
- Secure and Test: Tighten the cable locknut, slide the rubber boot back into place, and reinstall the derby cover. Start the bike, pull the clutch, and shift into first gear. The bike should remain completely still.
Crucial Torque Specs and Primary Fluid Rules
When diagnosing engagement issues, you may need to open the primary chaincase to inspect the clutch pack. Adhering to factory torque specifications is non-negotiable to prevent catastrophic primary failures.
- Derby Cover Screws: 84-108 in-lbs (Do not overtighten; the aluminum threads strip easily).
- Primary Chain Adjuster Shoe Bolts: 18-22 ft-lbs.
- Clutch Hub Nut: 70-80 ft-lbs. Critical: This nut must be secured with Red Loctite 271. If it backs off, the clutch hub will destroy the transmission mainshaft.
- Clutch Spring Bolts (Diaphragm/Coil): Typically 100-120 in-lbs in a star pattern to ensure even pressure plate loading.
Expert Warning on Primary Fluids: Never use standard automotive motor oil in a Harley wet clutch. Automotive oils contain 'friction modifiers' designed to improve fuel economy. In a Harley primary, these modifiers will coat the friction plates and cause immediate, severe clutch slipping. Always use Harley-Davidson Formula+, Syn3 20W-50, or a dedicated wet-clutch motorcycle oil like AMSOIL V-Twin Primary Fluid.
When to Replace the Harley Davidson Clutch Cable
Cables do not last forever. The inner steel wire can fray inside the housing, or the housing itself can compress under heavy load, leading to a spongy lever feel and inconsistent disengagement. If you find yourself constantly adjusting the mid-cable barrel to maintain your 1/16-inch free play, the cable has stretched and must be replaced.
When shopping for a replacement, consider upgrading from the OEM Harley-Davidson cable (typically $90-$130) to an aftermarket performance option. Barnett Tool & Engineering offers Kevlar-lined and Platinum Series clutch cables ($110-$160) that feature significantly lower stretch rates and smoother inner wire coatings, resulting in a noticeably lighter lever pull and more precise engagement.
Final Thoughts on Clutch Maintenance
Mastering your Harley Davidson clutch cable adjustment is a rite of passage for every owner. By understanding the relationship between lever free play, internal release mechanisms, and the physical condition of the clutch pack, you can eliminate slipping and dragging forever. Keep your primary fluid clean, respect the torque specs, and always measure your free play with a precision ruler. For more in-depth mechanical discussions and model-specific troubleshooting, the archives at Harley-Davidson Forums and the technical guides at J&P Cycles remain invaluable resources for the home mechanic.