The Physics of Wet Clutch Engagement: Motorcycles vs. Automobiles
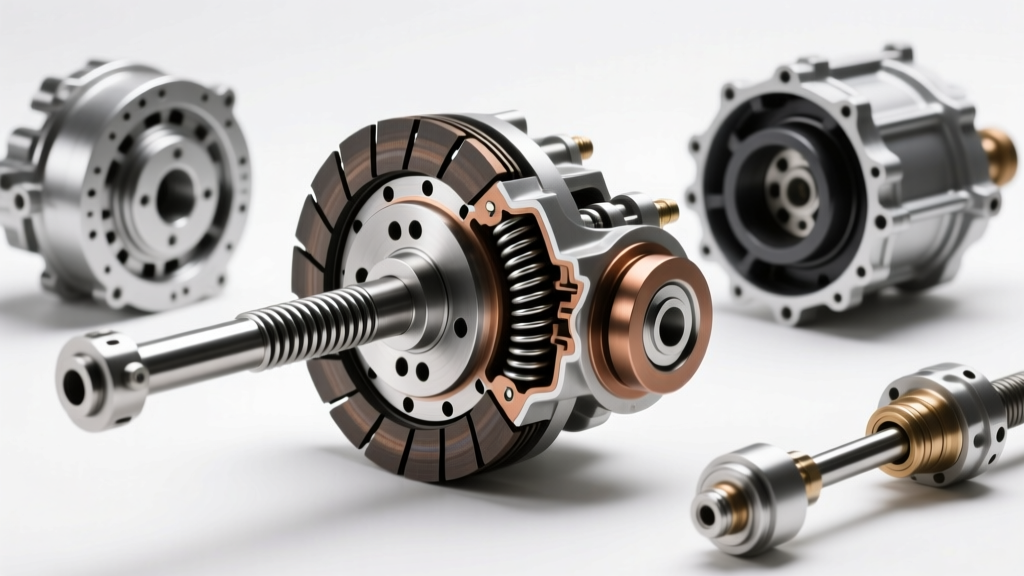
Whether you are wrenching on a Harley-Davidson Milwaukee-Eight in your garage or diagnosing a ZF 8HP automatic transmission at a dealership, the fundamental physics of wet clutch engagement remain identical. A wet clutch relies on alternating layers of friction plates and steel separator plates, bathed in lubricant, to transfer rotational force. When you pull the clutch lever, you are compressing a diaphragm spring, separating these plates, and interrupting power flow. When you release the lever, spring pressure clamps the plates together, creating friction and engaging the drivetrain.
For beginners, diagnosing clutch engagement and disengagement issues can feel overwhelming. However, by understanding the mechanical forces at play and using the correct equipment—such as a dedicated Harley clutch basket removal tool or hub holding fixture—you can systematically isolate the root cause of slipping, dragging, or chatter. In this guide, we will break down the diagnostic process, provide exact measurement specifications, and draw parallels to automotive automatic transmission clutches to deepen your mechanical understanding.
Recognizing the Core Symptoms of Clutch Failure
Before tearing into the primary chaincase, you must accurately categorize the symptom. Clutch issues generally fall into three distinct failure modes:
- Slipping (Failure to Engage Fully): Engine RPMs surge without a corresponding increase in vehicle speed, especially under heavy load or in higher gears. This indicates insufficient clamping force or degraded friction material.
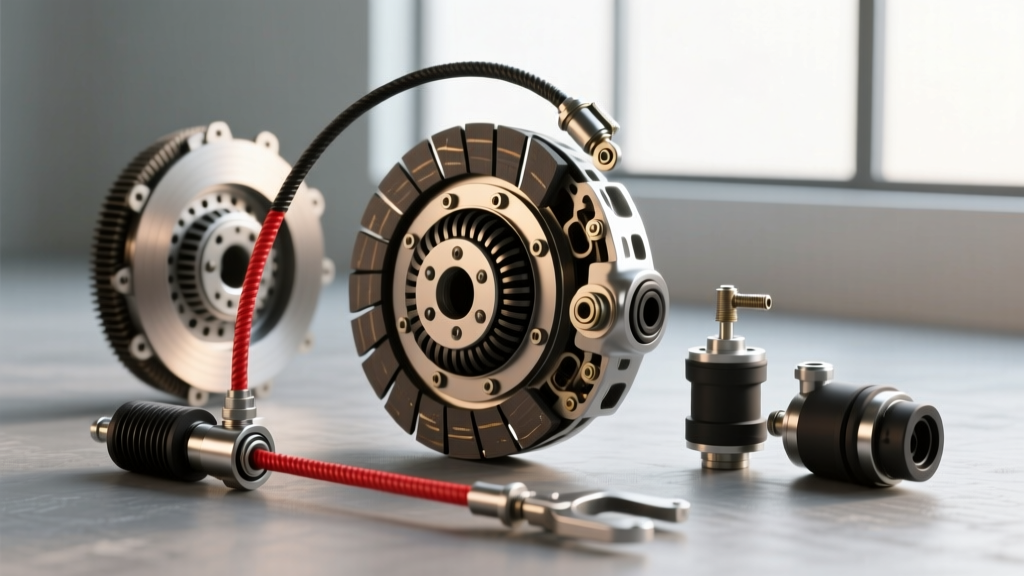
- Dragging (Failure to Disengage Fully): The motorcycle creeps forward with the clutch lever pulled to the grip, or you experience a harsh 'clunk' when shifting into first gear. Neutral becomes incredibly difficult to find. This is usually a cable adjustment issue, warped steel plates, or notched clutch basket tangs.
- Chatter (Erratic Engagement): A violent grabbing or shuddering sensation as the clutch is released from a stop. This is often caused by oil contamination, broken diaphragm spring fingers, or uneven friction material wear.
Why You Need a Harley Clutch Basket Removal Tool
Many beginners attempt to inspect their clutch pack by simply removing the derby cover and taking out the friction plates. While this allows you to measure plate thickness, it completely hides the true culprits of engagement failure: notched clutch basket fingers, a warped inner hub, or a fatigued diaphragm spring. To properly inspect these components, the entire clutch assembly must be removed from the transmission mainshaft.
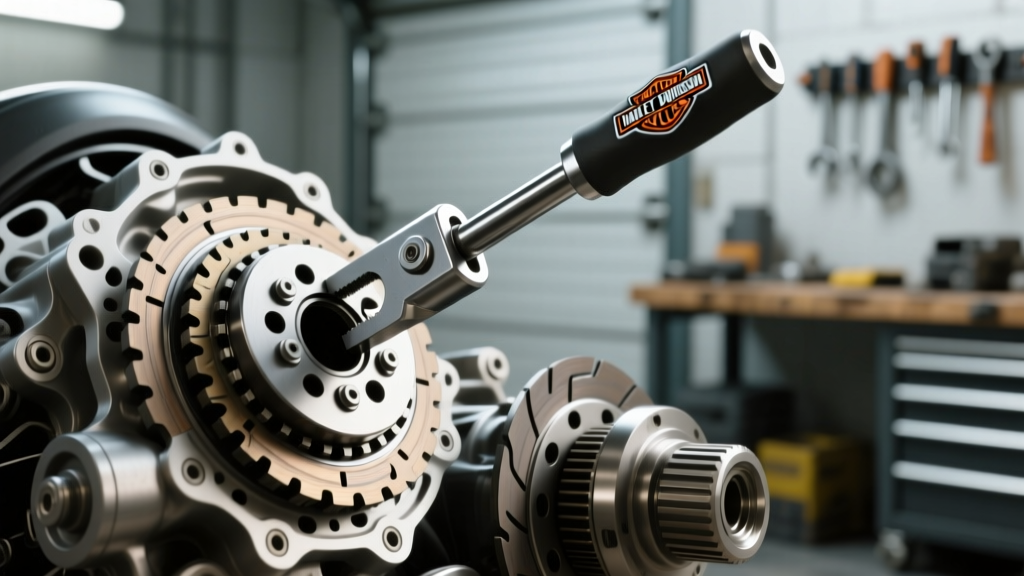
This is where a Harley clutch basket removal tool—more accurately known in professional circles as a clutch hub holding tool or compensator puller kit—becomes mandatory. The clutch hub nut is secured with a left-hand thread and torqued to massive specifications. Attempting to hold the basket by hand or using makeshift pry bars will result in rounded nuts, damaged basket teeth, or severe personal injury.
Safe Extraction Procedure
- Drain the Primary Fluid: Remove the drain plug and drain the primary chaincase (typically 1 quart of SYN3 or 20W-50 motorcycle oil).
- Lock the Drivetrain: Put the motorcycle in gear and apply the rear brake to prevent the rear wheel from turning.
- Deploy the Holding Tool: Insert your hub holding tool (such as the Motion Pro 08-0402 or OEM Tool 94685-09) into the clutch hub. This tool locks the inner hub to the outer basket, preventing rotation.
- Break the Hub Nut: Using a long-breaker bar and a 1-7/16 inch socket, break the left-hand thread clutch hub nut loose. Remember: Lefty-loosey, but it's torqued to 70-90 ft-lbs.
- Slide the Basket: Once the nut, lockplate, and inner hub are removed, the clutch basket will slide off the mainshaft splines. Inspect the mainshaft splines for galling or twisting.
The Inspection Matrix: What to Measure
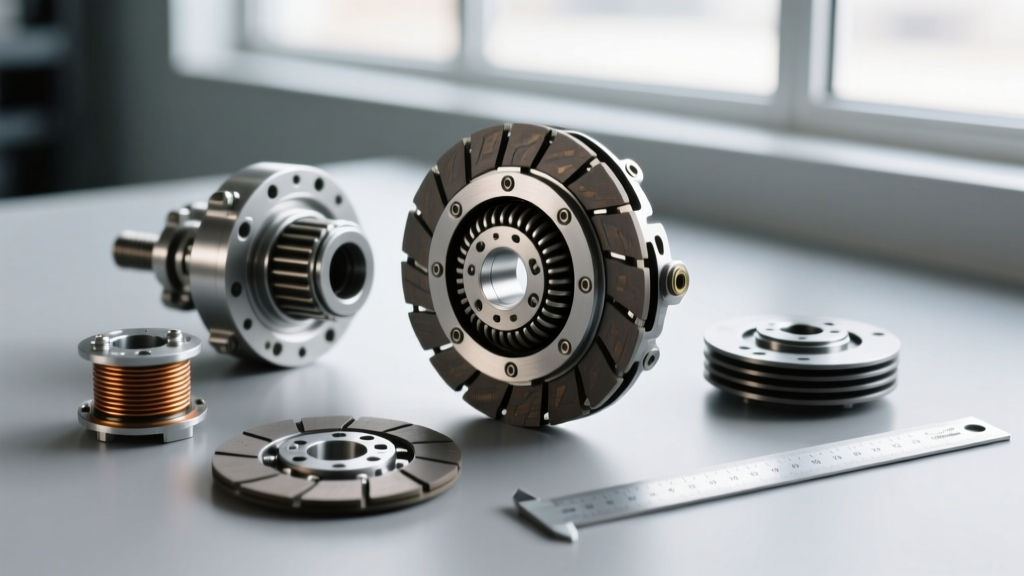
Once the basket is on your workbench, you must measure the components against factory wear limits. Guessing leads to repeat failures. Use a micrometer and a machinist's straight edge to verify the following specifications for standard Harley-Davidson Big Twin models (Twin Cam and Milwaukee-Eight):
| Component | Factory Specification (New) | Service Wear Limit | Failure Symptom if Out of Spec |
|---|---|---|---|
| Friction Plates (9 total) | 0.137' - 0.146' | 0.110' | Clutch slipping under load |
| Steel Separator Plates (8 total) | 0.078' | 0.004' warp limit | Clutch dragging, hard shifting |
| Clutch Basket Fingers | Smooth, no grooves | Visible notching / burrs | Dragging, notchy lever feel |
| Diaphragm Spring Fingers | Even height, no cracks | Cracks at the fulcrum ring | Chatter, uneven engagement |
Pro Tip: If your steel plates show a blue tint, they have been overheated due to severe slipping. They must be replaced, as the heat alters the metallurgy and reduces the friction coefficient.
Automotive Parallels: ZF 8HP and GM 6L80 Engagement Faults
Understanding motorcycle wet clutches provides a massive advantage when diagnosing modern automotive automatic transmissions, which rely on identical wet-friction principles for their internal clutch packs and torque converters.
ZF 8HP Torque Converter Clutch (TCC) Shudder
The ZF 8HP transmission, found in millions of vehicles from BMW to Ram trucks, uses a wet torque converter lockup clutch to improve fuel economy. When drivers report a 'chatter' or shudder at highway speeds, it mimics a motorcycle clutch grabbing from a stop. According to Sonnax transmission diagnostics, this is frequently caused by degraded ZF LifeguardFluid 8 losing its friction-modifying additives, or microscopic wear on the TCC friction lining. Just like a motorcycle, if the fluid is contaminated with clutch material, the engagement becomes erratic.
GM 6L80 3-5-R Clutch Wave Plate Failure
In the GM 6L80 6-speed automatic, a common cause of total disengagement in reverse, 3rd, and 5th gears is the snapping of the 3-5-R clutch wave plate. When this thin steel plate fractures, it drops debris into the clutch pack, preventing the hydraulic piston from fully applying the friction clutches. The result is a transmission that slips endlessly or throws a P0735 (Gear 5 Incorrect Ratio) code. The diagnostic logic is identical to a motorcycle: if the clamping force (hydraulic pressure or spring tension) cannot overcome the gap created by worn or broken components, engagement fails.
Reassembly: Torque Specs and Final Adjustments
Reassembling the clutch requires strict adherence to torque specifications and thread-locking compounds. A loose clutch hub nut will destroy the mainshaft splines in a matter of miles.
- Clutch Hub Nut: Apply a medium-strength red threadlocker (like Loctite 271) to the left-hand threads. Torque to 70-90 ft-lbs using your Harley clutch basket removal tool to hold the assembly steady. Stake the lockplate securely.
- Compensator Sprocket: Torque the compensator bolt to 150-165 ft-lbs (right-hand thread) using a primary chain locking tool.
- Primary Chain Tension: Adjust the primary chain shoe to achieve 5/8' to 3/4' of up-and-down freeplay on the bottom run of the chain with the engine cold.
The Golden Rule of Clutch Cable Adjustment: Mechanical engagement issues are often misdiagnosed as internal failures when they are actually adjustment errors. After reassembly, adjust your clutch cable to provide exactly 1/16' to 1/8' of freeplay at the lever before you feel resistance. Too tight, and the clutch will slip (dragging the release bearing against the diaphragm spring). Too loose, and the clutch will drag, making neutral impossible to find.
Summary: Methodical Diagnosis Wins
Clutch engagement and disengagement issues are rarely mysterious once you remove the covers and measure the components. By investing in a proper Harley clutch basket removal tool, you transition from guessing to precise mechanical diagnosis. Whether you are measuring a 0.110' friction plate on a Twin Cam or diagnosing a TCC shudder on a ZF 8HP, the principles of wet clutch friction, clamping force, and fluid dynamics remain your most reliable diagnostic guides. Always consult your specific year's factory service manual for exact torque values, as engineering updates can slightly alter specifications between model years.