The Drivetrain Shock: Why Your Husqvarna PTO Chatters
Landscaping professionals in 2026 are pushing commercial zero-turn mowers harder than ever, utilizing heavy-duty mulching kits and oversized 61-inch decks. When engaging the deck on a machine like the Husqvarna MZ61 or PZ60, a violent shudder can tear through the chassis, damaging the crankshaft bearings and snapping drive belts. Diagnosing this requires looking at the PTO clutch for Husqvarna models not just as a simple electrical switch, but as a critical drivetrain coupling component.
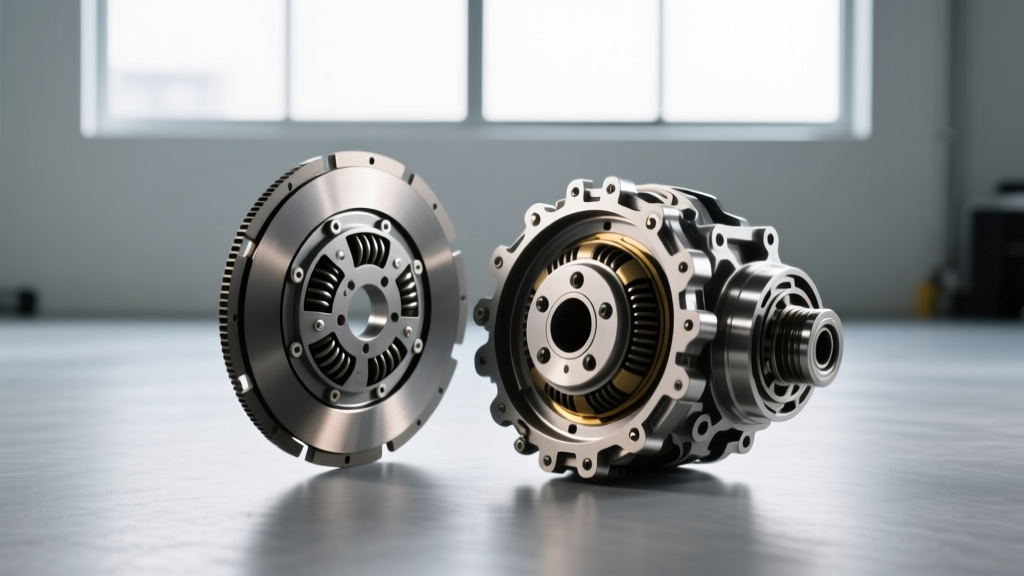
Much like diagnosing torque converter clutch (TCC) shudder in an automotive GM 6L80 or ZF 8HP transmission, PTO chatter is fundamentally a slip-stick friction phenomenon. However, instead of hydraulic pressure modulating a friction disk, we are dealing with magnetic flux pulling a steel armature across an air gap. When the engagement is not instantaneous and uniform, the resulting harmonic vibration can mimic a failing engine mount or a warped automotive flywheel.
Root Causes of Electromagnetic PTO Vibration
Before tearing down the assembly or ordering replacement parts, it is vital to understand the physics of electromagnetic clutch failure. The chatter you feel in the seat or see in the deck belt is usually traced to one of three distinct failure modes.
1. Air Gap Degradation and Magnetic Slip
The electromagnetic coil generates a magnetic field that must pull the armature plate flush against the rotor face. Over time, friction wears down the mating surfaces, widening the air gap. According to the inverse square law of magnetic force, even a microscopic increase in the air gap drastically reduces clamping force. If the gap exceeds 0.018 inches, the magnetic field cannot overcome the inertia of the heavy mower deck blades, resulting in micro-slipping, intense heat generation, and severe chatter upon engagement.
2. Armature Glazing and Thermal Warping
Just as a manual transmission clutch disc can become glazed from excessive slipping, the friction faces of a PTO clutch can develop a hardened, glass-like surface. This is exacerbated by thermal warping. When the clutch slips, temperatures easily exceed 400°F, causing the steel armature to warp. When the magnetic coil pulls a warped armature against a flat rotor, it creates an uneven clamping load, inducing a rhythmic vibration that transfers directly into the engine crankshaft.
3. Anti-Rotation Bracket and Harmonic Imbalance
The excitation coil housing must remain perfectly stationary while the rotor spins. This is managed by an anti-rotation bracket or strap. If this bracket is bent, loose, or missing the rubber isolation grommet, the entire coil assembly will oscillate. This doesn't just cause electrical wire fatigue; it creates a low-frequency harmonic knock that many mechanics misdiagnose as a failing engine connecting rod or crankshaft bearing.
Diagnostic Protocol: Measuring the Excitation Coil
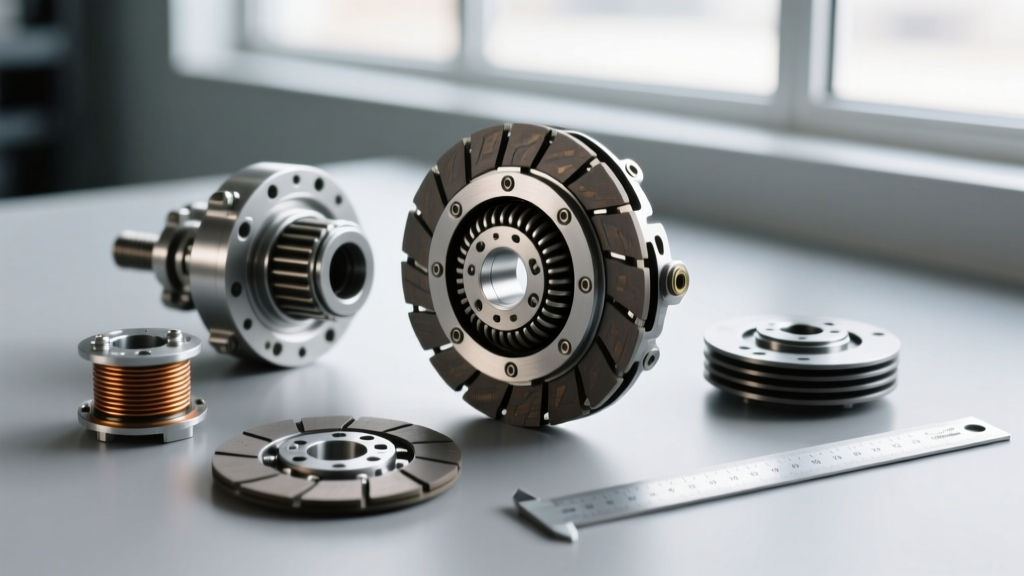
Proper diagnosis requires moving beyond visual inspections. You need a digital multimeter (DMM) and a set of metric/imperial feeler gauges. According to engineering guidelines from Warner Electric, a leading OEM supplier for small engine PTOs, electrical degradation is a primary precursor to mechanical chatter.
- Resistance Test: Disconnect the PTO wiring harness. Set your DMM to Ohms (Ω). Probe the two clutch wires. A healthy 12V DC clutch should read between 2.0 and 4.5 Ohms at 70°F. If your reading is above 5.0 Ohms, the copper windings are degrading, resulting in weak magnetic flux and inevitable slip-stick chatter.
- Voltage Drop Test: With the engine running at full throttle and the PTO engaged, back-probe the harness connector. You must see a minimum of 11.8V DC. A failing stator or corroded chassis ground will starve the clutch of voltage, reducing clamping force by up to 30%.
- Air Gap Measurement: Insert a feeler gauge through the inspection slots between the rotor and armature. The specification for most Husqvarna OEM clutches is 0.010" to 0.014". If the gap is uneven or exceeds 0.018", the clutch requires adjustment or replacement.
Performance Upgrade Matrix: OEM vs. Heavy-Duty Aftermarket
If your diagnostic tests reveal excessive wear or if you are running a high-inertia commercial deck, the stock OEM clutch is often insufficient. Upgrading to a high-torque performance unit eliminates chatter by providing massive clamping force and superior thermal dissipation. Data sourced from Ogura Industrial and aftermarket specialists highlights the performance delta.
| Clutch Model / Brand | Part Number | Static Torque Rating | Air Gap Spec | Est. Price (2026) |
|---|---|---|---|---|
| Husqvarna OEM (Warner) | 583265501 / 5218-63 | 65 ft-lbs | 0.012" (Fixed) | $160 - $210 |
| Xtreme HD Commercial | X0042 | 105 ft-lbs | 0.012" - 0.014" | $280 - $330 |
| Ogura SA1.75 Heavy Duty | SA1.75-101 | 120 ft-lbs | 0.010" - 0.015" | $310 - $360 |
Upgrading to an Xtreme X0042 or Ogura SA1.75 provides up to an 85% increase in static torque. This ensures the armature locks to the rotor instantly, completely eliminating the slip-stick phase that causes chassis-shaking chatter.
Executing the Heavy-Duty PTO Swap
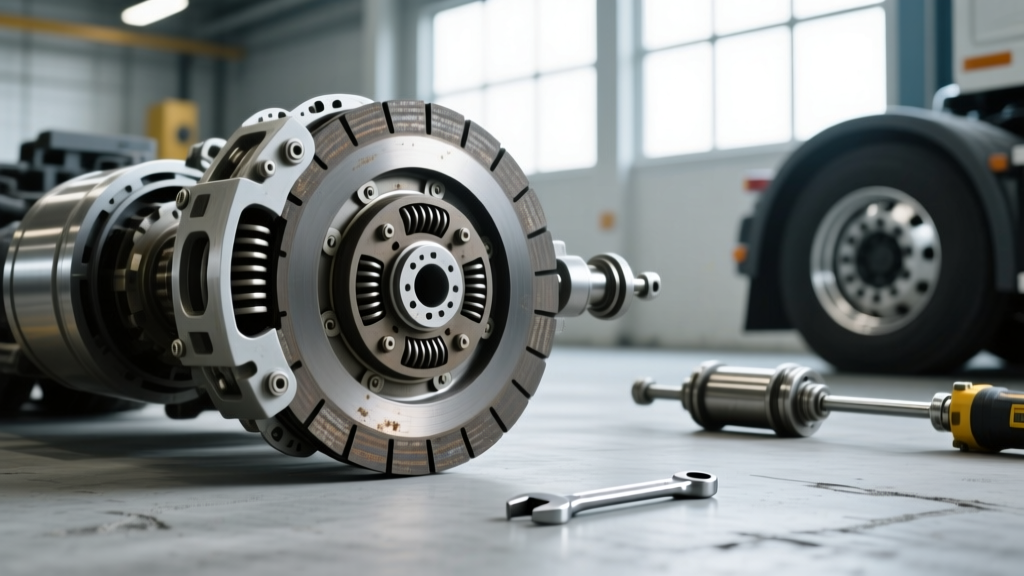
Swapping the PTO clutch is not merely an unbolt-and-replace job. The installation process dictates the longevity of the new component and the smoothness of the engagement. For comprehensive exploded diagrams and OEM torque baselines, technicians should consult the Husqvarna Support Portal before beginning teardown.
Crankshaft Torque and Fastener Specs
The PTO clutch is mounted directly to the engine crankshaft. The center retaining bolt is subjected to immense shear loads during engagement. If you are working on a Husqvarna equipped with a Kawasaki FX730V or similar FX-series engine, the center crankshaft bolt must be torqued to exactly 74 ft-lbs (100 Nm). For models utilizing the Kohler Command Pro series, the specification is typically 75 ft-lbs. Always apply a medium-strength threadlocker (such as Loctite 243) to the bolt threads. Under-torquing this bolt will allow the clutch to wobble, destroying the crankshaft keyway and causing catastrophic vibration.
Belt Geometry and Tensioner Calibration
A high-torque PTO clutch engages aggressively. If your belt routing is incorrect or the idler pulley tensioner is weak, the sudden shock load will throw the belt or snap it entirely. Ensure the belt is seated deeply in the pulley grooves. Inspect the idler pulley bearings for lateral play; a worn idler pulley will introduce secondary vibrations that mimic PTO chatter. When installing the new heavy-duty clutch, ensure the anti-rotation strap is seated firmly against its stop pin, with the rubber isolator intact, to prevent coil housing oscillation.
Final Thoughts on 2026 Commercial Landscaping Demands
As mower decks become heavier and blade tip speeds increase to meet modern mulching standards, the drivetrain shock placed on the PTO clutch has never been higher. Treating the PTO clutch for Husqvarna mowers as a precision transmission component—rather than a simple wear item—is the key to eliminating chatter. By strictly adhering to air gap specifications, verifying electrical integrity, and upgrading to high-torque Ogura or Xtreme units when necessary, you can achieve buttery-smooth deck engagements and protect your engine's bottom end from destructive harmonic vibrations.