Why High-Performance Karts Need a True Ring and Pinion
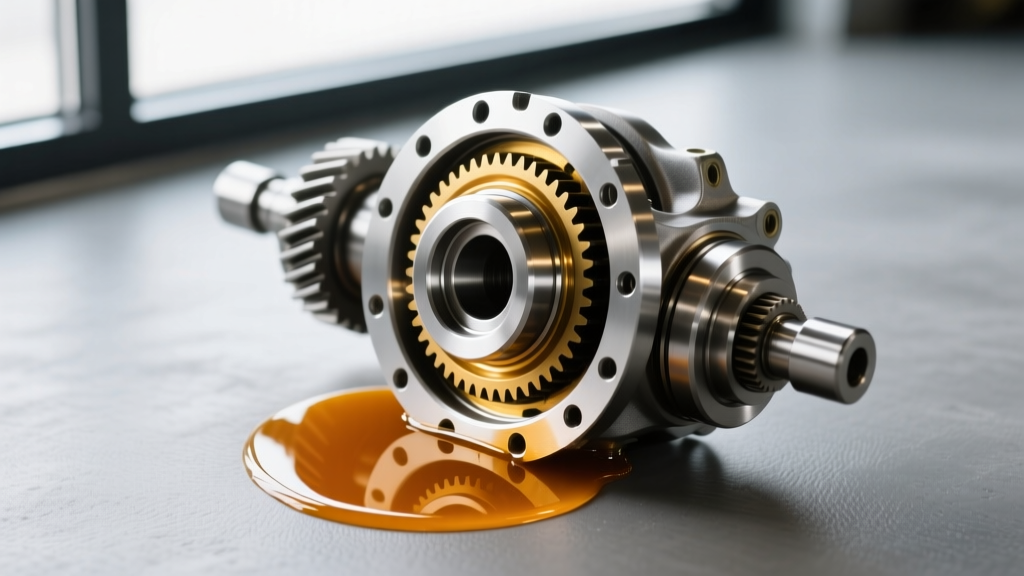
When building a high-horsepower off-road kart, dune buggy, or shaft-driven shifter kart, a standard chain-and-sprocket setup simply won't survive the torque. This is where a go kart rear axle differential utilizing a true ring and pinion gear set becomes essential. Often adapted from robust ATV or compact automotive rear ends (like the Yamaha Banshee, Suzuki LT250R, or a narrowed Ford 8.8-inch), these differentials distribute power smoothly while allowing the rear wheels to rotate at different speeds through corners.
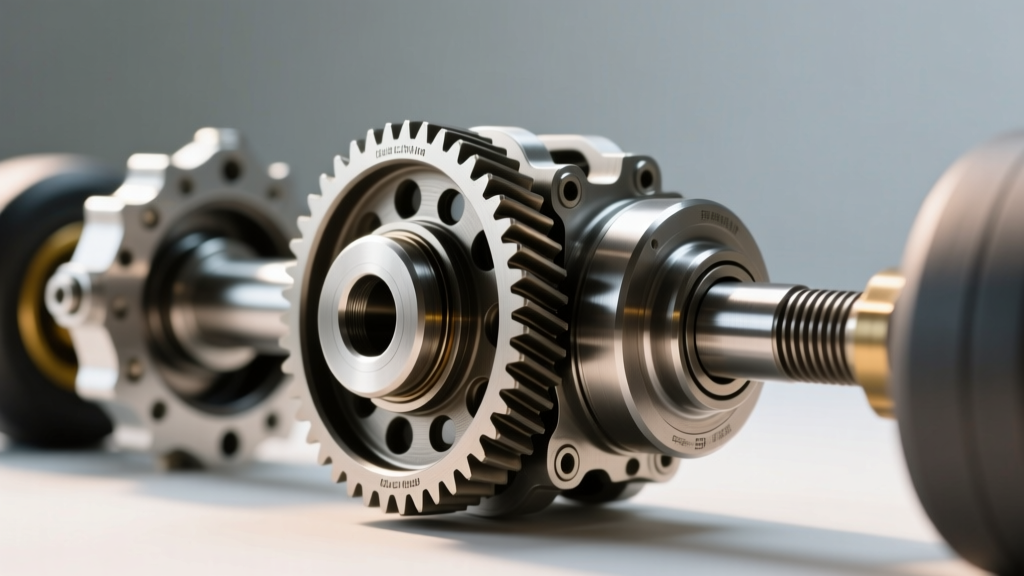
However, simply bolting in a new gear set isn't enough. If the ring and pinion are not set up with exacting precision, the gears will whine, overheat, and ultimately shatter under load. As a beginner, the process can seem intimidating, but it is entirely logical once you understand the three pillars of gear setup: pinion depth, bearing preload, and backlash.
Essential Tools for the Job (2026 Market Pricing)
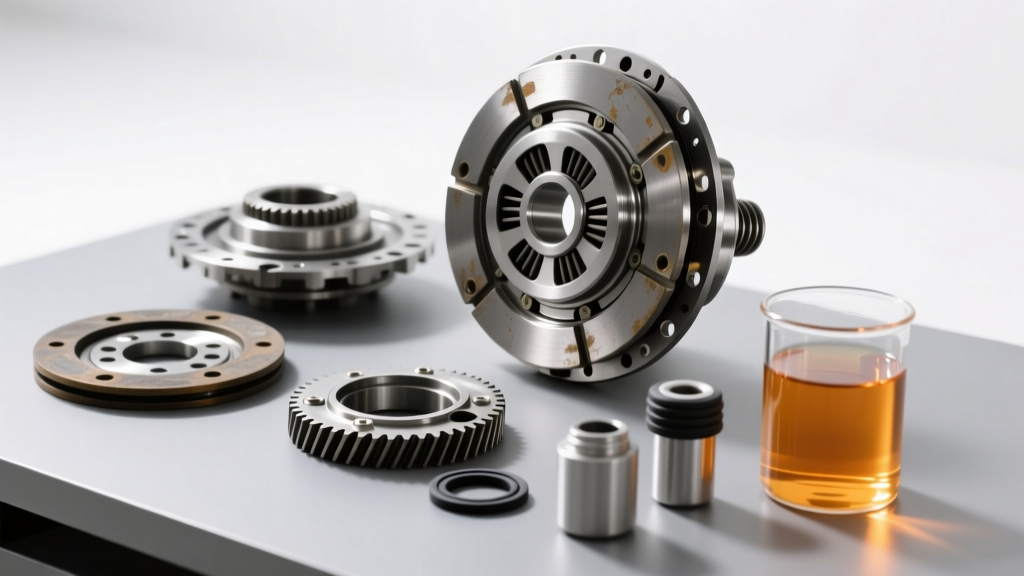
Before tearing into your differential carrier, you need the right measuring instruments. Guessing the shim thickness will result in catastrophic failure. Here is what you need in your toolbox:
| Tool / Equipment | Purpose | Estimated Cost (2026) |
|---|---|---|
| Dial Indicator with Magnetic Base | Measuring backlash to the thousandth of an inch | $45 - $85 |
| Inch-Pound Torque Wrench | Setting pinion bearing rotational preload | $60 - $120 |
| Foot-Pound Torque Wrench | Crushing the pinion sleeve and torquing ring bolts | $75 - $150 |
| Gear Marking Compound (Yellow) | Visualizing the contact pattern on the ring gear | $15 - $25 |
| Bearing Puller / Press | Removing and installing pinion and carrier bearings | $40 (Puller) / $150 (Press) |
Step-by-Step Ring and Pinion Setup Guide
According to installation guidelines from Yukon Gear & Axle, the setup process must be followed in a specific sequence. Changing one measurement later in the process will alter the ones you've already set.
Step 1: Setting Pinion Depth
Pinion depth dictates how deeply the pinion gear meshes into the centerline of the ring gear. On the head of your new pinion gear, you will find an etching (e.g., "+1", "-2", or "0"). This number indicates the variance in thousandths of an inch from the nominal factory block dimension.
- Too Deep: The gear pattern will run off the heel of the tooth, causing severe binding and whining.
- Too Shallow: The pattern will run off the toe, leading to chipped teeth under heavy acceleration.
You adjust this depth by adding or removing shims between the pinion head and the inner pinion bearing. Use a pinion depth tool to measure the distance from the pinion face to the differential centerline, aiming for the exact spec stamped on your gear set (usually around 2.000 to 2.500 inches, depending on the housing).
Step 2: Pinion Bearing Preload
Once the depth is set, you must apply preload to the pinion bearings to eliminate slop. Most custom kart and buggy differentials use a crush sleeve. As you tighten the pinion nut, the sleeve deforms, creating tension.
Target Spec: With the seals installed and a fully assembled pinion yoke, the rotational torque required to spin the pinion should be between 15 and 25 inch-pounds for new bearings. Use your inch-pound torque wrench on the pinion nut. Warning: Tighten in small increments. Over-crushing the sleeve means you must replace it and start over.
Step 3: Backlash and Side Bearing Preload
Backlash is the microscopic amount of "slop" or clearance between the mating teeth of the ring and pinion. Without backlash, thermal expansion will cause the gears to bind and seize.
- Mount the ring gear to the carrier using new bolts and red Loctite. Torque to spec (typically 70-85 ft-lbs).
- Install the carrier into the housing with the side bearings and shim packs (or adjuster nuts).
- Mount your dial indicator perpendicular to a ring gear tooth.
- Rock the ring gear back and forth while holding the pinion yoke stationary.
Target Spec: Most off-road and kart differentials require a backlash between 0.006" and 0.010". Adjust the side shims or threaded adjusters equally to maintain side bearing preload while dialing in this measurement. For deeper technical support on side-loading, Ring-Pinion.com offers excellent visual guides on adjuster nut threading.
Reading the Gear Pattern: A Beginner's Cheat Sheet
Apply a thin, even coat of yellow gear marking compound to 3-4 teeth on the drive and coast sides of the ring gear. Apply moderate braking pressure with a rag on the ring gear while rotating the pinion yoke to create a readable pattern.
| Pattern Location | Diagnosis | Correction |
|---|---|---|
| Centered on tooth face (Edge to Edge) | Perfect Setup | None. Proceed to assembly. |
| Shifted toward the Toe (Outer Edge) | Pinion is too shallow | Add pinion depth shims. |
| Shifted toward the Heel (Inner Edge) | Pinion is too deep | Remove pinion depth shims. |
| High on the tooth (Top Land) | Backlash is too tight | Increase backlash via side shims. |
| Low on the tooth (Root) | Backlash is too wide | Decrease backlash via side shims. |
The Critical Role of Differential Fluid in Break-In
Because this setup process generates immense friction and heat during the initial mating phase, your choice of differential fluid is just as critical as your shim measurements. A common beginner mistake is filling a freshly rebuilt go kart rear axle differential with high-end synthetic gear oil. Do not do this.
Synthetic oils contain advanced friction modifiers that are too "slippery" for the break-in process. The ring and pinion must experience controlled, microscopic wear to lap the mating surfaces together perfectly. Furthermore, standard API GL-5 fluids contain ZDDP (Zinc Dialkyldithiophosphate) and sulfur-phosphorus extreme pressure (EP) additives. During break-in, you need a high-zinc, conventional mineral-based 80W-90 GL-5 gear oil.
The 50-Mile Break-In Protocol
- Initial Fill: Fill the differential housing to the plug level with a conventional 80W-90 GL-5 break-in oil (such as Lucas Heavy Duty or Red Line Break-In Oil). Check out Red Line Oil's differential fluid lineup for specific break-in formulations.
- Heat Cycling: Drive the kart in short 10-15 minute intervals, allowing the housing to cool completely in between. This prevents the gear oil from exceeding 250°F, which would degrade the conventional base stock and cause the gears to glaze.
- The First Drain: At the 50-mile mark, drain the fluid immediately. You will notice a metallic, glittery sludge. This is normal; it consists of molybdenum from the gear coating and microscopic steel particulates from the lapping process.
- Final Fill: Once the housing is flushed, you can safely switch to your preferred full-synthetic 75W-90 or 80W-90 GL-5 gear oil for long-term protection and reduced operating temperatures.
Pro-Tip for Off-Road Karts: If your kart features a differential cover exposed to rocks and debris, invest in a heavy-duty cast aluminum or nodular iron cover with integrated cooling fins. Gear oil temperatures can easily spike past 220°F during sustained dune riding or mud bogging, and thermal breakdown of the EP additives will lead to rapid ring and pinion wear.
Setting up a ring and pinion requires patience, clean hands, and respect for the tolerances. By methodically checking your pinion depth, verifying your backlash with a dial indicator, and strictly adhering to a conventional fluid break-in protocol, your go kart rear axle differential will deliver years of whisper-quiet, bulletproof performance on the track or the trails.