Understanding the Clutch on a Go Kart: A Beginner's Guide
If you are wrenching in the garage for the 2026 karting season, understanding the drivetrain is critical. The clutch on a go kart is the vital link between your engine's rotating assembly and the rear axle. Unlike the complex hydraulic valve bodies and wet clutch packs found in a ZF 8HP 8-speed automatic transmission, or the fluid-coupled torque converter of a GM 4L60E, a standard go-kart relies on a beautifully simple centrifugal clutch.
However, when this simple system fails, it leaves you with two major headaches: the clutch won't engage (causing severe slipping and bogging), or it won't disengage (causing the kart to creep at idle and stall the engine). In this beginner-friendly explainer, we will break down the exact failure modes, diagnostic measurements, and repair procedures to get your kart back on the track.
The Anatomy of a Centrifugal Clutch
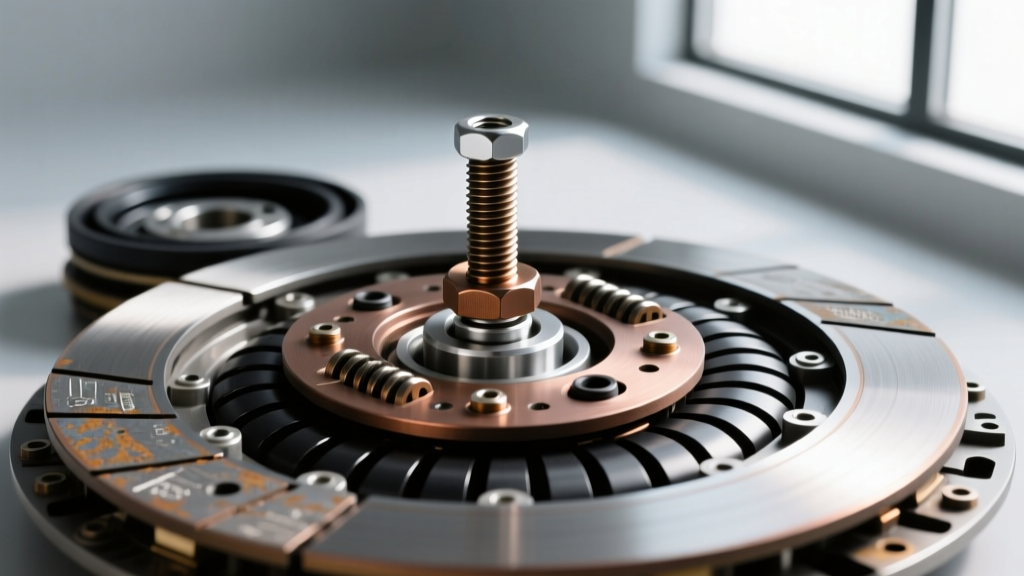
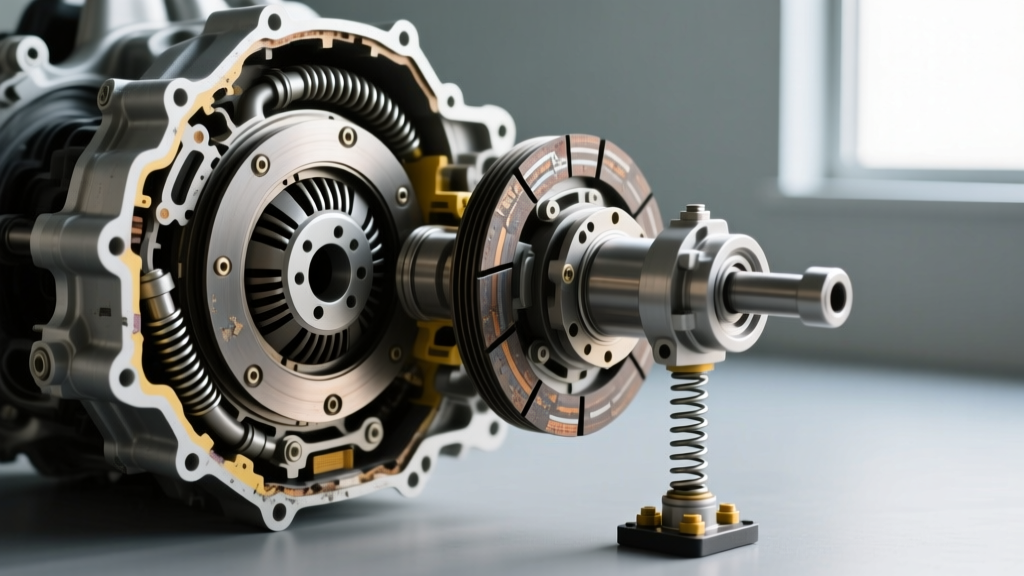
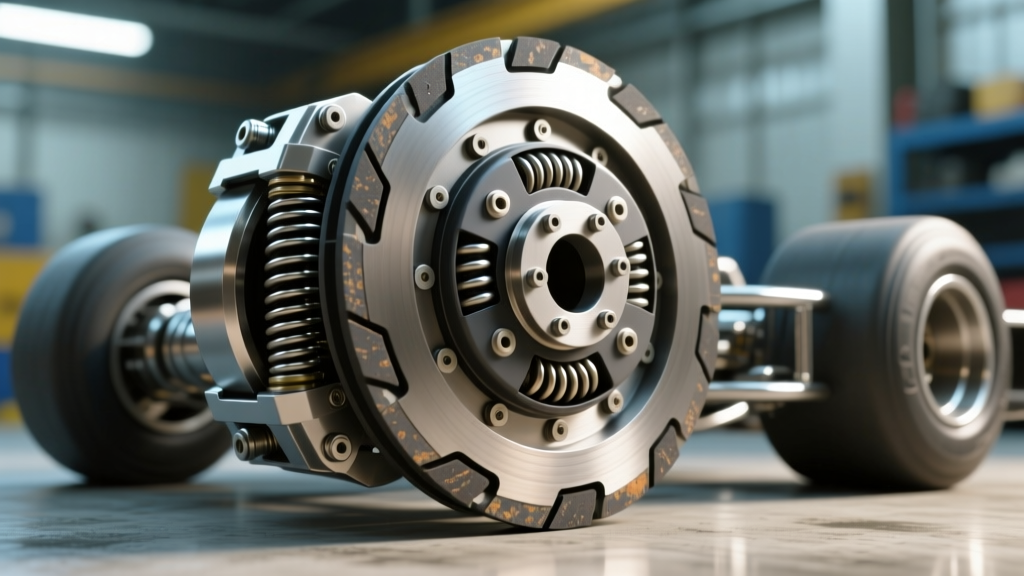
Before diagnosing the issue, you need to know what you are looking at. A standard centrifugal clutch (like the popular Hilliard Max-Torque or Comet TAV2) consists of four main components:
- The Hub: Splined or keyed to the engine crankshaft.
- The Shoes: Metal weights lined with friction material that pivot outward.
- The Springs: Hold the shoes inward at low RPMs.
- The Drum: The outer housing attached to the sprocket and chain.
When the engine idles, spring tension keeps the shoes retracted. As RPMs increase, centrifugal force overcomes the springs, throwing the shoes outward to grab the inner wall of the drum. This transfers power to the wheels.
Symptom 1: The Clutch Won't Engage (Slipping & Bogging)
If your engine revs to the moon but the kart barely moves, or if it bogs down violently when you hit the throttle, your clutch is failing to engage properly. Here is why this happens:
1. Glazed or Contaminated Friction Material
Just like the brake pads on your daily driver, clutch shoes can become glazed if they are subjected to prolonged, low-speed slipping. If oil from a leaking engine crankshaft seal gets onto the friction material, it will slip endlessly. Fix: Remove the drum and inspect the shoes. If they look shiny and hard, they are glazed. Lightly scuff them with 80-grit sandpaper, or replace them entirely.
2. Weak or Incorrect Springs
If your springs have lost their tension due to heat fatigue, the clutch will engage at too low of an RPM. The engine won't be in its powerband yet, causing it to bog down under the load of the kart's weight.
3. Drum Inner Diameter (ID) Wear
Using digital calipers, measure the inside diameter of the clutch drum. A standard 3-inch drum should measure exactly 3.000 inches. If your drum measures 3.020 inches or larger, it has exceeded the maximum wear limit. The shoes cannot expand far enough to make full, solid contact, resulting in continuous slipping and massive heat generation.
Symptom 2: The Clutch Won't Disengage (Creeping & Stalling)
A kart that pulls forward while idling or constantly stalls when you come to a stop has a disengagement issue. This is incredibly dangerous for beginners.
1. Melted or Delaminated Friction Pads
Extreme heat from riding the brakes or towing heavy loads can melt the adhesive holding the friction material to the shoes. If a pad shifts even a millimeter out of place, it will remain in contact with the drum at idle, preventing disengagement.
2. Hub and Drum Interference (Rust & Debris)
If your kart sits outside, moisture can cause rust to form between the hub flange and the drum bearing. This creates mechanical binding. Additionally, dirt and chain lube can pack into the needle bearing inside the drum, seizing it to the hub.
3. Engine Idle Speed is Too High
Sometimes the clutch is perfectly fine, but the engine is at fault. According to Briggs & Stratton and Honda power equipment manuals, a standard 196cc-212cc engine should idle between 1,400 and 1,600 RPM. If your idle screw is cranked up to 2,000 RPM, the centrifugal force will overcome the springs, and the clutch will engage at idle. Always check your idle RPM with a digital tachometer before tearing apart the clutch.
Spring Rate and Engagement RPM Data Chart
Matching your spring rate to your engine's powerband is crucial. Below is a reference chart for standard go-kart clutch springs, alongside an automotive comparison to help you understand torque multiplication.
| Spring Color | Engagement RPM | Best Application | Automotive Drivetrain Equivalent |
|---|---|---|---|
| Red (Soft) | 1,200 - 1,400 | Light karts, low-torque engines | GM 6L80 early torque converter lockup (fuel economy) |
| Yellow (Medium) | 1,600 - 1,800 | Standard trail karts, Predator 212 | Standard 4L60E torque converter stall speed |
| Green (Stiff) | 2,000 - 2,300 | Racing karts, high-compression builds | Aftermarket 3,500 RPM high-stall racing converter |
Step-by-Step Diagnostic and Rebuild Guide
Ready to fix the clutch on a go kart? Follow these professional steps to ensure a safe and reliable repair.
- Remove the Clutch: Remove the chain and unbolt the crankshaft retaining bolt. Expert Torque Spec: The M10x1.25 crankshaft bolt on Honda GX200 and clone engines must be torqued to 38-40 ft-lbs using a high-strength threadlocker (like Loctite 243) upon reinstallation to prevent it from backing out and destroying your engine block.
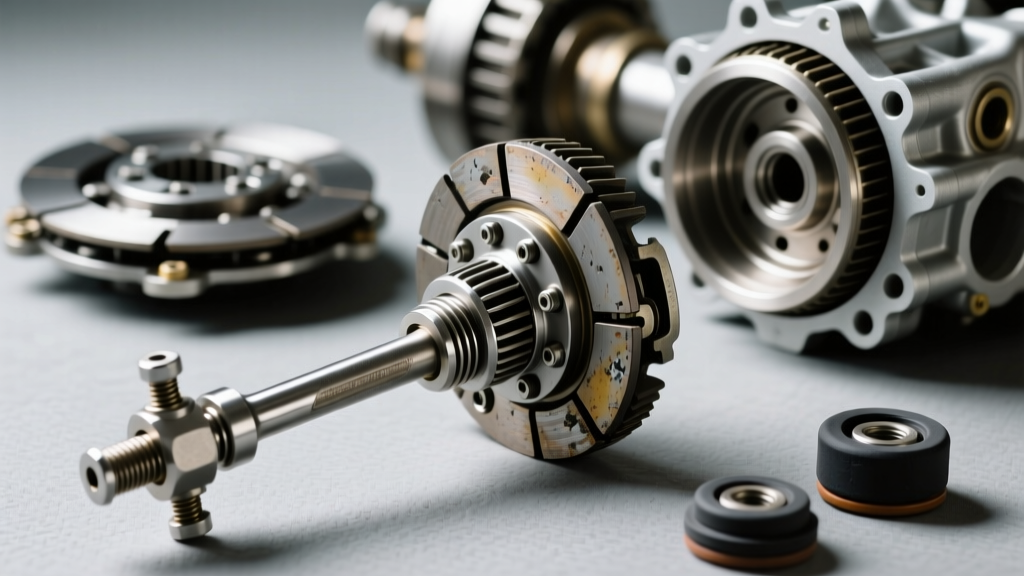
- Disassemble and Clean: Remove the snap ring or set screws holding the drum to the hub. Clean all parts with brake cleaner. Never use WD-40, as it leaves a lubricating residue that will cause immediate slipping.
- Inspect the Needle Bearing: The drum rides on a needle bearing (often part # 14-16-16). Spin it with your finger. It should rotate smoothly with slight resistance. If it feels gritty or binds, press it out and install a new one.
- Replace the Shoes and Springs: If the friction material is below 2mm thick, replace the shoe assembly. For a standard 3/4-inch bore, 10-tooth #35 chain setup, the Hilliard Corporation Max-Torque replacement shoe kit (Part # 595932) retails for roughly $22 in 2026, while a complete new clutch assembly costs between $55 and $75.
- Check Chain Alignment: Reinstall the clutch and use a straight edge to check chain alignment. The sprocket and rear axle sprocket must be aligned within 1/16th of an inch. Misalignment causes the chain to bind, which mimics a clutch that refuses to disengage.
Pro-Tip from the Paddock: After installing new friction shoes, you must 'bed them in.' Do not go full-throttle immediately. Run the kart at half-throttle for 5-10 minutes to allow the shoes to wear evenly into the microscopic imperfections of the drum wall. This maximizes your contact patch and prevents early glazing.
Advanced Shifter Karts: Multi-Plate Dry vs. Wet Clutches
While centrifugal clutches rule the beginner and intermediate classes, advanced shifter karts (like those running IAME X30 or Honda CR125 engines) use multi-plate dry clutches. These require manual lever modulation and operate much closer to traditional automotive manual transmissions.
Interestingly, the friction management in a shifter kart mirrors the computer-controlled wet clutch packs found in modern automatics like the ZF 8HP. However, while the ZF 8HP relies on 8.5 liters of specialized ATF fluid to cool its clutch packs and manage slip during gear changes, a shifter kart's dry clutch relies entirely on ambient air and the driver's left foot. If a shifter kart clutch fails to disengage, it is almost always due to warped steel separator plates caused by riding the clutch lever out of a corner. To diagnose this, you must pull the clutch basket, place the steel plates on a piece of glass, and check for warping with a feeler gauge; any plate with more than 0.005 inches of runout must be replaced.
Final Thoughts
Diagnosing the clutch on a go kart doesn't require a master's degree in automotive engineering, but it does require a methodical approach. By checking your engine idle speed, measuring your drum tolerances with calipers, and ensuring your spring rates match your engine's powerband, you can eliminate 99% of engagement and disengagement issues. Keep your drivetrain clean, torque your crank bolts to spec, and enjoy a worry-free season on the track.
For more detailed schematics and OEM replacement parts, always consult the official documentation from Comet Industries or your specific engine manufacturer.