The Thermal Bottleneck in the GM 6L90E
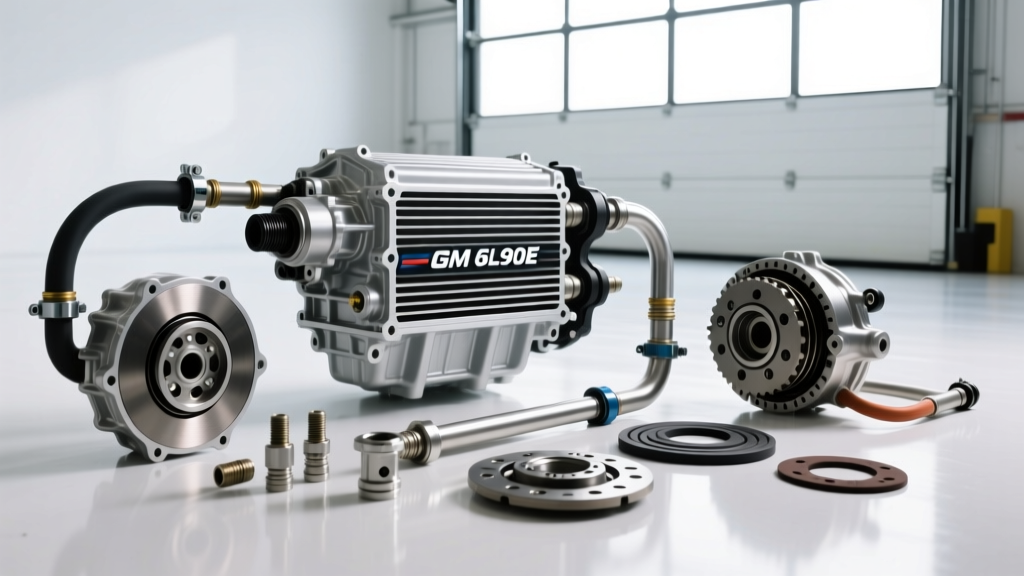
The GM 6L90E (RPO MYD/MYX) is a heavy-duty 6-speed automatic transmission designed to handle the torque output of the 6.0L Vortec V8, 6.2L V8, and early Duramax applications. While its internal hard parts are incredibly robust, its thermal management system prioritizes cold-start emissions and warm-up efficiency over sustained heavy-load cooling. When towing loads exceeding 8,000 lbs, transmission fluid temperatures (TFT) routinely exceed 220°F. At this threshold, the shear stability of Dexron VI begins to degrade, leading to clutch glazing and premature torque converter failure.
For owners pushing their Silverado or Sierra 2500HD trucks to the limit, a standard auxiliary cooler upgrade is not enough. A proper transmission cooler kit installation on the 6L90E requires addressing the factory Thermal Bypass Valve (TBV). This technical deep-dive covers the exact procedures, part numbers, and fluid dynamics required to optimize your 6L90E for extreme towing in 2026.
Understanding the Thermal Bypass Valve (TBV) Problem
Before purchasing parts, you must understand the 6L90E's factory cooling loop. GM integrated a Thermal Bypass Valve into the transmission case (or inline on later models) that restricts fluid flow to the cooler until the fluid reaches approximately 190°F. While this helps the transmission reach operating temperature quickly for EPA fuel economy testing, it creates a severe thermal hysteresis loop under heavy load.
Expert Insight: When towing a heavy 5th-wheel up a 6% grade, the 6L90E generates massive heat in the torque converter. By the time the TBV opens at 190°F, the thermal mass of the fluid has already spiked. The restricted flow rate cannot shed heat fast enough, resulting in TFT spikes up to 240°F. Deleting or modifying this valve is mandatory for any serious towing application.
According to data published by Sonnax Technical Resources, bypass valve degradation is also a common failure point, where the valve sticks in the closed position, entirely cutting off cooler flow and leading to catastrophic transmission burnout.
Parts Selection and Sourcing
For the 6L90E, tube-and-fin coolers lack the surface area and flow efficiency required. You must use a stacked-plate or plate-and-fin design. Below is the recommended bill of materials for a complete, bulletproof setup.
- Cooler Core: Derale Series 9000 Stacked-Plate Cooler (Part #13960). Rated for 30,000 GVW, it provides 185 sq. in. of cooling area. (Cost: $85 - $110). Verify current specs at Derale Performance.
- Bypass Delete: SPE (Speed & Performance Engineering) 6L80E/6L90E Thermal Bypass Delete Kit. Replaces the factory valve with a solid aluminum bypass plug. (Cost: $45 - $65).
- Lines & Fittings: AN6 Stainless Steel Braided Line Kit with 1/2"-20 UNF to AN6 adapter fittings. (Cost: $70 - $90).
- Fluid: 8 Quarts of Dexron VI Full Synthetic ATF. Do not use Dexron ULV in the 6L90E; ULV is designed for the 8L90/10L90 platforms and will cause pressure drops in the 6L90E valve body. (Cost: $60 - $80). Reference AMSOIL Technical Guides for viscosity indexing.
Step-by-Step Transmission Cooler Kit Installation
Phase 1: Thermal Bypass Valve Delete
- Drain the transmission pan. Expect to recover approximately 6.5 quarts of Dexron VI.
- Remove the 18mm pan bolts (Torque spec for reassembly: 8 lb-ft in a crisscross pattern).
- Locate the TBV on the passenger side of the valve body/case interface. It is a cylindrical cartridge seated behind a threaded retainer.
- Use a 22mm deep socket to remove the retainer. Extract the factory spring and piston using a magnetic pick-up tool.
- Install the SPE solid aluminum delete plug. Apply a single drop of blue Loctite (242) to the threads and torque the retainer to 18 lb-ft.
- Clean the pan, install a new AC Delco filter (Part #24236933), and reinstall the pan with a new gasket.
Phase 2: Flow Verification (The Bucket Test)
GM has occasionally altered line flow directions across different model years and transfer case adapters. Never assume the top line is the pressure (out) line.
- Disconnect the top transmission line at the radiator fitting.
- Place the disconnected line into a clean catch bucket.
- Have an assistant start the engine and idle for exactly 3 seconds.
- If the bucket catches a high volume of fluid, the top line is the Pressure (Out) line. If it barely drips, the top line is the Return line. Mark your lines accordingly with masking tape.
Phase 3: Line Routing and Cooler Mounting
The Derale 13960 must be mounted in front of the A/C condenser to receive maximum ambient airflow. Maintain at least 1/2" of clearance between the cooler core and the condenser fins to prevent vibration damage and allow air velocity to accelerate through the plates.
- Mount the cooler using the included L-brackets and M6 hardware. Torque mounting bolts to 10 lb-ft. Use rubber isolators to prevent chassis harmonics from cracking the aluminum end tanks.
- Route the new AN6 braided lines away from exhaust manifolds and steering shafts. Use Adel clamps (cushion clamps) every 14 inches to secure the lines to the frame.
- Connect the verified Pressure (Out) line to the bottom fitting of the Derale cooler. (Fluid flows up through the stacked plates to maximize contact time and bleed air naturally).
- Connect the Return line to the top fitting of the cooler, routing it back to the transmission case.
- Tighten all AN6 fittings using a crowfoot wrench. Target torque is 18-22 lb-ft. Do not exceed 25 lb-ft, or you risk stripping the aluminum threads on the cooler end tank.
Torque Specifications and Fluid Data Matrix
| Component | Specification / Torque | Notes |
|---|---|---|
| Transmission Pan Bolts (M6x1.0) | 8 lb-ft (10 Nm) | Use crisscross pattern; do not over-torque. |
| TBV Delete Retainer | 18 lb-ft (24 Nm) | Apply Blue Loctite 242 to threads. |
| AN6 Line Fittings | 20 lb-ft (27 Nm) | Use crowfoot wrench; max 25 lb-ft. |
| Cooler Mounting Brackets | 10 lb-ft (13 Nm) | Use rubber isolation bushings. |
| Total System Capacity (Dry) | 12.7 Quarts | N/A |
| Service Fill (Pan + Cooler) | 7.5 - 8.5 Quarts | Verify via side-level plug at 85-95°C. |
Post-Installation Verification and Thermal Mapping
Once the system is filled, the transmission must be bled of air. The 6L90E features a side-level check plug rather than a traditional dipstick on many HD applications. To verify the fluid level accurately:
- Start the truck and cycle the gear selector through P-R-N-D, holding in each gear for 5 seconds to fill the clutch packs and the new Derale cooler core.
- Connect an OBD2 bi-directional scanner capable of reading GM GMLAN data. Monitor the TFT (Transmission Fluid Temperature) PID.
- Wait until the TFT reads exactly 185°F to 195°F (85°C - 90°C).
- With the engine idling on a level surface, remove the 8mm Allen level plug on the side of the transmission pan. Fluid should drip out in a steady stream. If it pours, wait. If nothing comes out, add Dexron VI via the fill tube until it drips.
- Reinstall the level plug and torque to 15 lb-ft.
Real-World Thermal Expectations
With the TBV deleted and the Derale 13960 stacked-plate cooler installed, your 6L90E will now receive 100% of the pump's flow volume to the cooler at all times. Under standard highway towing (8,000 lbs, 65 mph, 75°F ambient), expect TFTs to stabilize between 160°F and 175°F. During sustained mountain grade climbing, peak temps should be capped at 205°F, well within the safe operating window for Dexron VI shear stability.
By treating the transmission cooler kit installation as a comprehensive thermal system overhaul rather than a simple bolt-on accessory, you effectively eliminate the 6L90E's primary failure point, ensuring your drivetrain survives the most demanding towing environments.