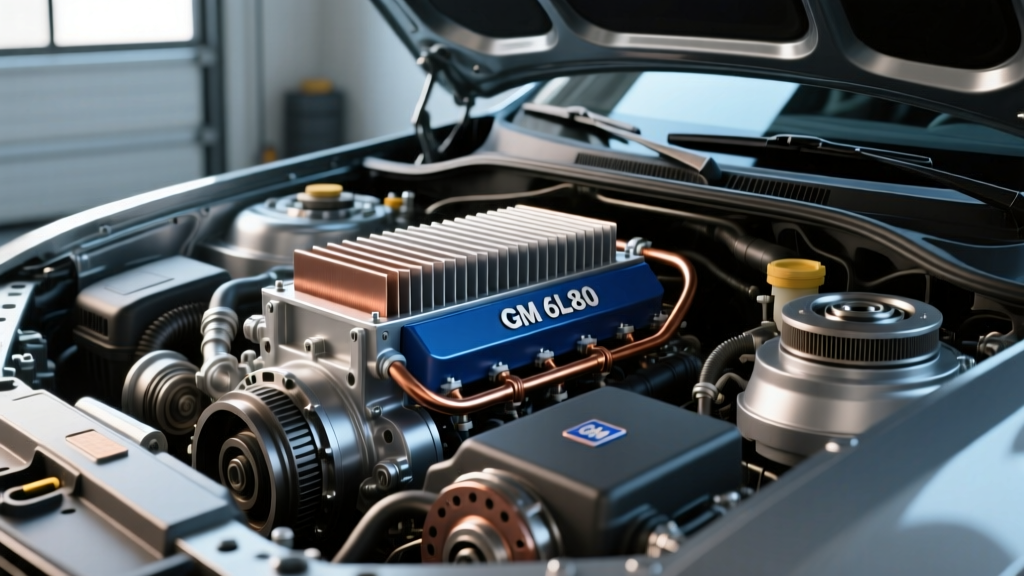
The Thermal Reality of the GM 6L80 and 6L90
If you are towing a travel trailer or pushing a plow with a 2014-2019 GM Silverado or Sierra equipped with the 6L80 or 6L90 transmission, you already know that heat is the ultimate enemy of your drivetrain. The 6L80 relies heavily on torque converter clutch (TCC) slip in lower gears to smooth out shifts, a design choice that generates massive amounts of localized thermal energy. When transmission fluid temperatures exceed 220°F (104°C), ACDelco Dexron VI begins to rapidly oxidize, leading to varnish buildup on the critical 4-5-6 clutch pack and the eventual failure of the TEHCM (Transmission Electro-Hydraulic Control Module).
Upgrading your cooling system is not just a modification; it is a mandatory preservation step for heavy-duty use. However, selecting the right heat exchanger and understanding the associated labor and parts pricing can be confusing. This model-specific guide breaks down the engineering behind cooler selection and provides a realistic look at the transmission cooler installation cost for the GM 6L80 platform.
Decoding Transmission Cooler Types for the 6L80
Not all auxiliary coolers are created equal. The internal fluid dynamics of the 6L80 require a cooler that balances thermal transfer efficiency with acceptable pressure drop. The transmission pump must push fluid through the cooler without starving the valve body or lube circuits. Here is how the three primary cooler architectures stack up for GM trucks.
Tube-and-Fin (The Baseline)
Tube-and-fin coolers rely on a simple serpentine tube wrapped in aluminum fins. While they offer the lowest restriction (pressure drop), their thermal transfer surface area is relatively small. For a 6L80, a tube-and-fin cooler is generally insufficient for towing loads over 5,000 lbs, though it works adequately for daily-driven commuter trucks in mild climates.
Plate-and-Fin (The Middle Ground)
These coolers force fluid through a series of flat, horizontal plates. The fluid path is wider, reducing restriction compared to stacked plates while offering roughly 30% more cooling efficiency than tube-and-fin designs. This is a solid choice for occasional boat towing or light utility work.
Stacked-Plate (The Heavy-Duty Standard)
Stacked-plate coolers, such as the industry-standard Derale Series 8000, utilize a series of brazed aluminum plates that create a highly turbulent fluid path. This turbulence breaks up the boundary layer of the fluid against the metal, resulting in maximum heat rejection. The trade-off is a slightly higher pressure drop, but the 6L80’s robust gerotor pump handles this easily.
| Cooler Type | Efficiency Rating | Pressure Drop | Best 6L80 Application | Example Part |
|---|---|---|---|---|
| Tube-and-Fin | Low | Minimal (< 3 PSI) | Daily Driving / Light Commute | Mishimoto MMTC-CC |
| Plate-and-Fin | Medium | Moderate (3-6 PSI) | Occasional Towing (< 5,000 lbs) | Hayden 413 |
| Stacked-Plate | High | Higher (6-10 PSI) | Heavy Towing / Off-Road / Plowing | Derale 13740 |
Calculating Your 6L80 Transmission Cooler Installation Cost
When budgeting for this upgrade, you must account for the cooler itself, the specific GM quick-disconnect adapters, bypass hardware, and fluid top-offs. The total transmission cooler installation cost varies wildly depending on whether you wrench in your own driveway or hand the keys to a specialty transmission shop.
Itemized DIY Parts Breakdown (2026 Pricing)
- Stacked-Plate Cooler Kit (e.g., Derale 13740): $140 - $190
- GM 5/8" Quick-Disconnect to AN/Barb Adapters (Pair): $25 - $45
- Thermal Bypass Delete Kit / Block-Off Plate: $30 - $60
- ACDelco Dexron VI Fluid (Top-off, 2 Quarts): $20 - $30
- Zip Ties, Loom, and Hose Clamps: $15
Estimated DIY Total: $230 - $340
Professional Shop Labor Rates
If you opt for professional installation, expect a shop to charge between 2.5 and 3.5 hours of labor. At an average 2026 dealer rate of $165/hour, labor alone will add $412 to $577 to your bill. Furthermore, dealerships often refuse to install aftermarket thermal bypass deletes, meaning you may have to source a specialized diesel or performance shop to complete the job correctly. Total shop-installed costs frequently exceed $750.
Critical Fitment: Adapters and Line Routing
The 6L80 utilizes 5/8" OD rubber hoses with quick-disconnect fittings at the transmission case. You cannot simply slice the rubber line and use standard hose clamps; the internal line pressure can spike over 150 PSI during heavy towing, which will blow a standard worm-gear clamp right off the barb.
You must purchase specific GM 5/8" quick-disconnect adapters (often sold as RockAuto part #13035 or equivalent) that snap directly into the factory transmission case fittings and provide a secure barbed or AN-fitting end for your new auxiliary cooler hoses.
The Correct Routing Sequence
For optimal thermal management, the auxiliary cooler must be plumbed after the factory radiator-integrated cooler. The correct flow path is:
- Transmission Feed Line (Out) → Factory Radiator Cooler
- Factory Radiator Cooler → Auxiliary Stacked-Plate Cooler (Mounted in front of the A/C condenser)
- Auxiliary Cooler → Transmission Return Line (In)
This ensures the fluid receives a baseline temperature drop from the engine coolant loop before hitting the ambient air cooler, maximizing the delta-T (temperature difference) and overall efficiency of the stacked-plate core.
The 6L80 Thermal Bypass Valve Dilemma
Here is the most critical piece of E-E-A-T knowledge for 6L80 owners: an auxiliary cooler is useless if the factory thermal bypass valve remains active.
GM installed a thermal bypass valve in the transmission case (or integrated into the pan on later 6L90 models) designed to keep fluid at roughly 190°F for "optimal fuel economy." When the fluid is below 190°F, the valve closes off the flow to the coolers entirely, sending fluid directly back to the sump. In stop-and-go traffic or during low-speed trailering, the fluid may never reach 190°F, meaning your expensive auxiliary cooler never sees a single drop of fluid while the TEHCM slowly cooks.
Expert Warning: To realize the full benefit of your auxiliary cooler, you must install a thermal bypass delete block or a heavy-duty aftermarket bypass valve calibrated to 160°F. Failure to defeat the 190°F bypass is the #1 reason owners report that their new cooler "didn't lower temperatures."
Torque Specs and Final Commissioning
When mounting the cooler to the core support and reconnecting the lines, precision matters. Stripping the soft aluminum threads on the transmission case adapters is a costly mistake.
- 5/8" Quick-Disconnect Adapters to Case: Hand-thread to prevent cross-threading, then torque to 15-18 lb-ft.
- Cooler Bracket M6x1.0 Bolts to Core Support: Torque to 89 lb-in (10 Nm). Use a thread-locking compound if drilling into thin sheet metal.
- Hose Clamps on Barbed Fittings: Tighten to 35 lb-in using a constant-tension or high-quality T-bolt clamp.
After installation, fill the transmission with exactly enough ACDelco Dexron VI to bring the level to the bottom of the fill plug hole with the fluid temperature between 86°F and 122°F (verified via an OBDII bidirectional scanner reading the TFT sensor). Start the engine, cycle the shifter through all gears, and inspect the quick-disconnects for weeping. With the bypass defeated and a stacked-plate cooler breathing ambient air, your 6L80 will comfortably maintain sub-180°F temperatures, even scaling the Rockies in July.