Understanding Clutch Drag in Classic Ford Mechanical Linkages
For owners of classic Ford vehicles—ranging from the 1965-1973 Mustang to the 1967-1972 F-100 trucks—the mechanical clutch linkage is a hallmark of vintage automotive engineering. Unlike modern hydraulic systems that self-adjust, these vehicles rely on a mechanical equalizer bar, universally known as the Z-bar, to transfer pedal force to the clutch release fork. When this system falls out of specification, the most common and frustrating result is clutch drag. Clutch drag occurs when the pressure plate fails to fully disengage from the friction disc, even with the pedal depressed to the floor. This leads to grinding when shifting into first or reverse, vehicle creeping at stoplights, and premature synchronizer wear inside transmissions like the classic Ford Toploader 4-speed or the C6 automatic (in the case of torque converter clutch issues, though the Z-bar is strictly manual).
Performing a precise Ford Z-bar clutch adjustment is critical to restoring crisp shifts and protecting your drivetrain. This step-by-step how-to guide will walk you through diagnosing release problems, inspecting the linkage geometry, and setting the exact free-play specifications required for optimal clutch disengagement.
Symptoms of Clutch Drag and Release Failure
Before grabbing your wrenches, verify that your symptoms align with a mechanical linkage or release issue rather than an internal transmission failure. Clutch drag typically presents with the following indicators:
- Grinding into Gear: Severe grinding when attempting to engage first gear or reverse from a dead stop, even with the clutch pedal fully depressed.
- Vehicle Creep: The vehicle attempts to move forward or backward while in gear with the clutch pedal pushed to the floorboard.
- High Pedal Engagement: The clutch only releases at the very top of the pedal travel, leaving no margin for error.
- Stiff or Binding Pedal Feel: A mechanical binding sensation during pedal depression, often indicating worn Z-bar bushings or a lack of lubrication at the pivot points.
Tools and Replacement Parts for the Job
To execute this adjustment properly, you will need a standard set of SAE wrenches (specifically 9/16-inch and 5/8-inch for most Ford linkage nuts), a tape measure, and a high-temperature multi-purpose grease. If your Z-bar bushings are deteriorated, adjustment will be impossible due to excessive slop. In 2026, high-quality reproduction Z-bar kits from manufacturers like Scott Drake (Part #C5ZZ-7A554-A for early Mustangs) or Carpenter Reproductions typically cost between $45 and $95. Always replace the nylon or felt pivot bushings and the felt washers at the frame bracket if there is any visible lateral play. For a comprehensive look at available mechanical linkage components, you can browse Summit Racing's clutch equalizer bar catalog to find exact-fit replacements for your specific chassis.
Step-by-Step Ford Z-Bar Clutch Adjustment Guide
Safety first: Ensure the vehicle is parked on a level surface, the parking brake is fully engaged, and the rear wheels are chocked. Because you will be reaching near the exhaust and the bellhousing, ensure the engine is completely cold before beginning.
Step 1: Inspect the Z-Bar Pivot Bushings and Frame Brackets
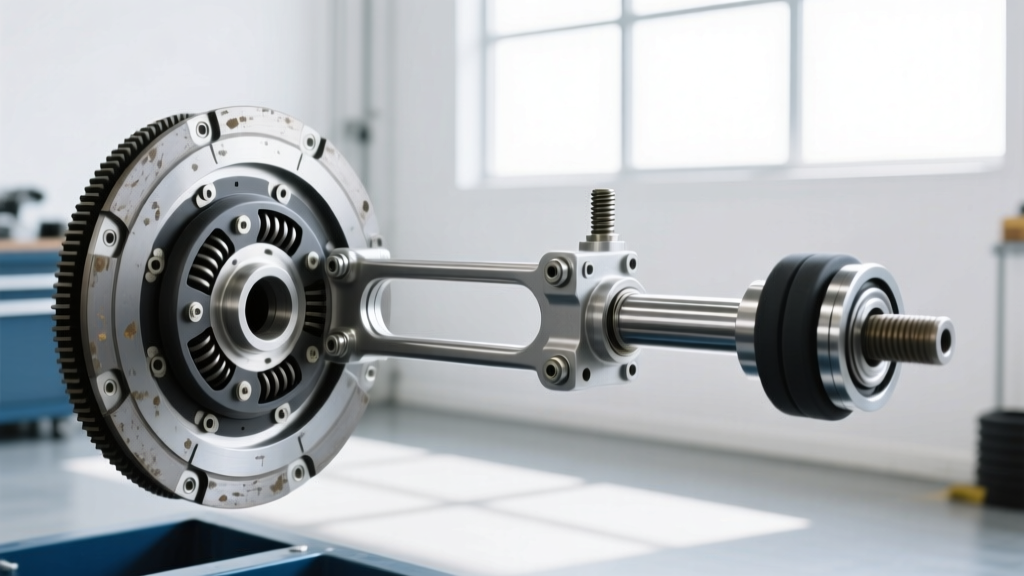
Crawl under the vehicle and locate the Z-bar. It is the intermediate lever that pivots on a bracket attached to the engine block or frame rail. Grab the Z-bar and attempt to wiggle it laterally and vertically. Any movement greater than 1/16-inch indicates worn pivot bushings. If the bushings are worn, the mechanical ratio changes dynamically as you press the pedal, robbing the release fork of the necessary travel to fully disengage the clutch. Replace the bushings, apply a thin layer of high-temp grease to the pivot ball, and torque the frame bracket bolts to 35-45 lb-ft depending on your specific chassis manual.
Step 2: Adjust the Lower Rod (Pedal to Z-Bar)
The lower adjustable rod connects the clutch pedal arm to the bottom ear of the Z-bar. This rod dictates the pedal height and the starting position of the Z-bar. Critical Expert Note: Most Ford lower adjusting rods feature a left-hand thread on one end and a right-hand thread on the other, secured by a locknut. Do not force the rod to turn if it is binding; identify the reverse-threaded side first. Adjust this rod so that the clutch pedal sits at the correct factory height (usually flush with or slightly below the brake pedal pad). Tighten the locknuts securely against the rod ends to prevent them from vibrating loose during operation.
Step 3: Adjust the Upper Rod (Z-Bar to Release Fork)
This is the most critical step for curing clutch drag. The upper rod connects the top ear of the Z-bar to the clutch release fork protruding from the bellhousing. By shortening or lengthening this rod, you change the resting position of the throwout bearing relative to the pressure plate fingers. Loosen the locknuts on the upper rod. Turn the adjusting sleeve to lengthen the rod, which pushes the release fork closer to the pressure plate. You want to achieve a specific clearance between the throwout bearing face and the pressure plate fingers. For classic Ford diaphragm and Borg & Beck style pressure plates, this gap should be exactly 1/16-inch to 1/8-inch. If the bearing rides constantly against the fingers, it will overheat, fail prematurely, and ironically cause clutch drag as the heat warps the pressure plate fingers.
Step 4: Verify Pedal Free-Play and Release Bearing Clearance
Once the under-car linkage is set, move to the driver's seat to measure pedal free-play. Press the clutch pedal down with your hand until you feel the distinct resistance of the pressure plate fingers engaging the throwout bearing. According to Fordification's classic truck technical archives, the factory specification for pedal free-play is typically 1 to 1.5 inches measured at the pedal pad. If your free-play is less than 1 inch, the throwout bearing is likely pre-loaded against the pressure plate, which will cause drag and bearing death. If it is more than 1.5 inches, the clutch will not fully disengage, resulting in grinding. Return to the upper rod under the vehicle and make fine 1/2-turn adjustments until the 1 to 1.5-inch specification is perfectly met. Secure all locknuts tightly.
Classic Ford Clutch Pedal Free-Play Specifications
| Vehicle Application | Model Years | Target Pedal Free-Play | Release Bearing Gap |
|---|---|---|---|
| Ford Mustang (Manual) | 1965 - 1973 | 1.0" - 1.5" | 1/16" - 1/8" |
| Ford F-100 / F-250 | 1967 - 1972 | 1.25" - 1.5" | 1/8" |
| Ford Falcon / Comet | 1964 - 1970 | 1.0" - 1.5" | 1/16" - 1/8" |
| Ford Bronco (Early) | 1966 - 1977 | 1.0" - 1.5" | 1/8" |
Advanced Troubleshooting: When Adjustment Fails to Cure Drag
If you have perfectly executed the Ford Z-bar clutch adjustment, verified 1.5 inches of free-play, and confirmed the linkage is free of slop, but the transmission still grinds into gear, the issue lies deeper in the drivetrain. Do not attempt to over-adjust the Z-bar to force disengagement; you will bottom out the release fork and bend components. Instead, investigate these common edge cases:
1. Worn Pilot Bushing or Bearing
The pilot bushing resides in the back of the engine crankshaft and supports the tip of the transmission input shaft. If this bushing is worn, seized, or lacking lubrication, it will create immense rotational drag on the input shaft. Even if the clutch disc is fully released from the pressure plate, the friction from the seized pilot bushing will keep the input shaft spinning, causing gears to grind. Replacing the pilot bushing requires dropping the transmission and using a dedicated bushing puller or the classic 'grease and dowel' hydraulic removal method.
2. Warped Clutch Disc or Pressure Plate
If the previous owner rode the clutch excessively, or if the vehicle was subjected to heavy towing without adequate cooling, the clutch friction disc or the pressure plate flywheel face may be warped. A warped disc will remain in contact with the flywheel on one side even when the pressure plate is retracted. This requires a full clutch kit replacement and flywheel resurfacing.
3. Bent Clutch Release Fork
The stamped steel release fork can bend over decades of heavy-footed clutch engagement. A bent fork alters the geometry of the throwout bearing, causing it to push unevenly against the diaphragm fingers. This uneven pressure results in incomplete release. Inspect the fork for twisting or cracking near the pivot ball contact point.
4. Bellhousing Misalignment (Indexing)
Though rare on unmodified cars, if the engine or transmission has been swapped, the bellhousing may not be perfectly concentric with the crankshaft. Misalignment forces the input shaft to bind inside the pilot bushing and the transmission front bearing retainer, mimicking severe clutch drag. Professional shops use a dial indicator to check bellhousing runout; anything exceeding 0.005 inches requires the installation of offset dowel pins to correct the alignment.
Expert Tip: Always lubricate the clutch release fork pivot ball stud and the throwout bearing collar sleeve with a small amount of high-temperature moly grease during assembly. A dry pivot ball will create a 'notchy' pedal feel and prevent the fork from returning smoothly, leading to inconsistent clutch engagement and accelerated wear. For more vintage Ford drivetrain maintenance insights, consult the Hagerty Maintenance and Tech archives.
By methodically inspecting the mechanical linkage and adhering strictly to factory free-play specifications, you can eliminate clutch drag and restore the mechanical sympathy required to keep your classic Ford shifting smoothly for decades to come.