The Visceral Panic of a Sinking Pedal
There are few experiences more alarming for a manual transmission driver than the exact moment the clutch pedal went to the floor and stayed there. Whether you are navigating stop-and-go traffic in a modern Ford Mustang equipped with the MT-82 transmission or rowing gears in a classic Porsche 911, a sudden loss of hydraulic pressure instantly transforms your vehicle into an undrivable paperweight. As of 2026, the vast majority of manual transmission vehicles rely on sealed hydraulic circuits to actuate the clutch fork or concentric slave cylinder (CSC). When this system fails, it is rarely a catastrophic, without-warning event; rather, it is usually the culmination of neglected preventive maintenance.
This diagnostic guide bypasses generic advice and dives deep into the hydraulic triangle: the master cylinder, the hydraulic lines, and the slave actuator. We will explore exact failure modes, preventive maintenance intervals, and the precise specifications required to keep your clutch engaging crisply.
Anatomy of a Hydraulic Clutch Failure
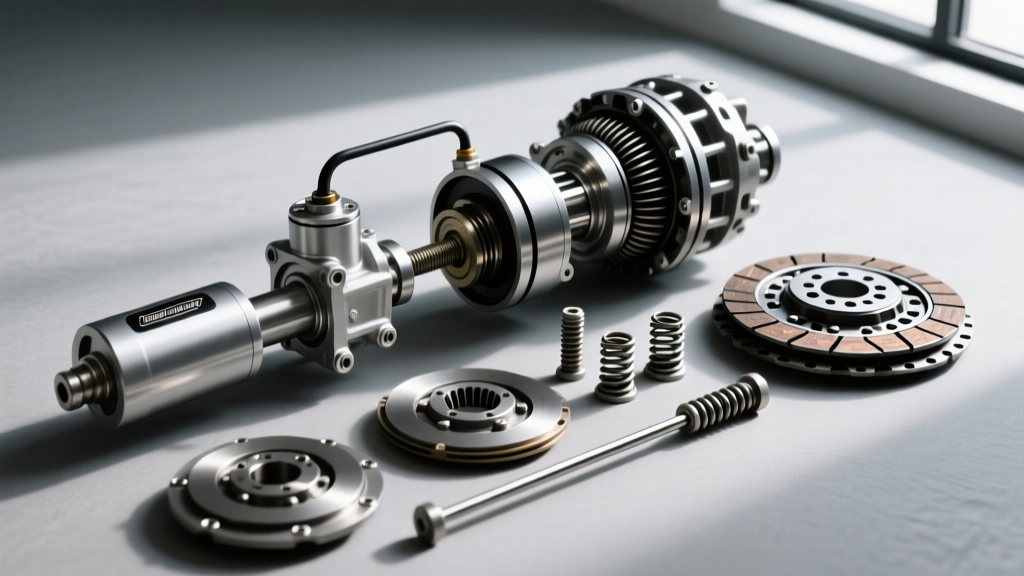
To diagnose why the pedal has lost resistance, you must understand how hydraulic force is transferred from the firewall to the bellhousing. The system operates on Pascal's Law, utilizing incompressible fluid to multiply force. When the pedal drops to the floor without resistance, the incompressible medium has been compromised, usually by air ingress or fluid bypass.
1. Master Cylinder Internal Bypass
The clutch master cylinder (CMC) is mounted on the firewall. Inside, a piston pushes past a fluid port to build pressure. Over time, the internal rubber cups (primary and secondary seals) degrade due to moisture contamination and heat cycling. When these seals harden or score the aluminum bore, fluid bypasses the piston internally. The pedal sinks to the floor, yet there are zero external leaks. This is incredibly common in older BMW E46/E90 chassis and early Subaru WRX models.
2. The Concentric Slave Cylinder (CSC) Dilemma
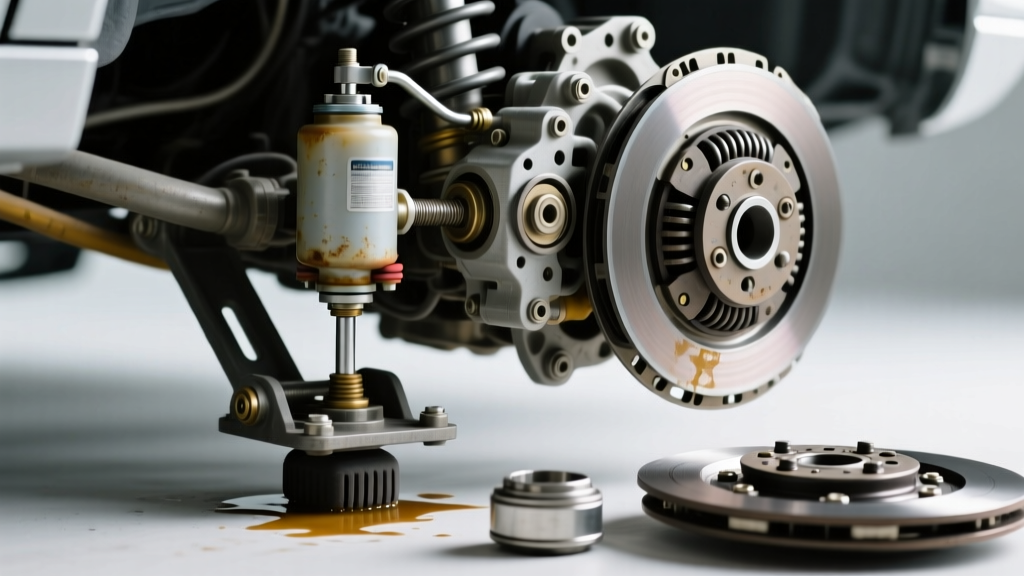
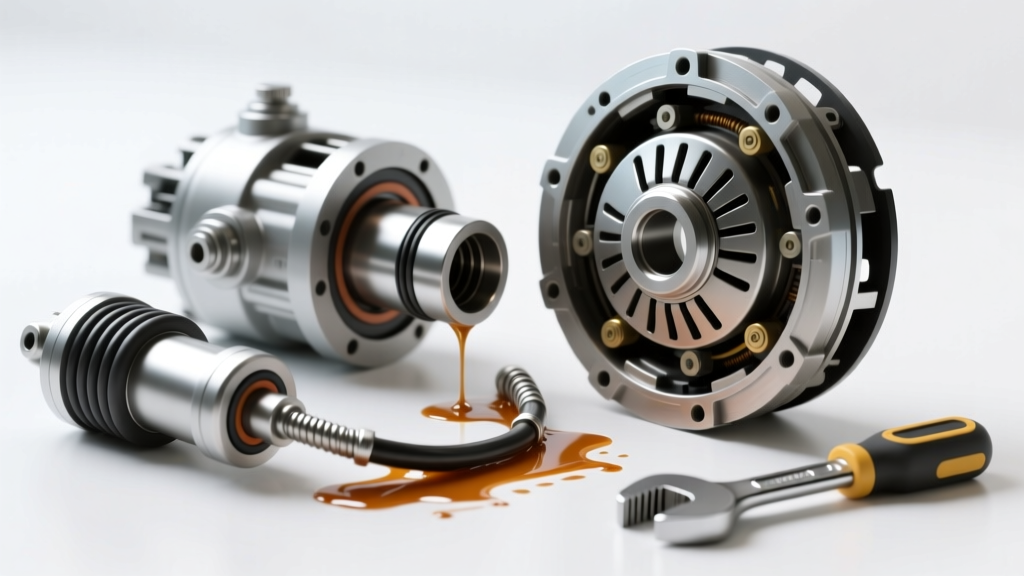
Modern performance platforms, including the GM LS/Tremec T56 Magnum combinations and the Ford 5.0L Coyote engines, utilize a Concentric Slave Cylinder. The CSC wraps around the transmission input shaft, combining the slave cylinder and throw-out bearing into a single unit. Because it lives inside the bellhousing, a leaking CSC will dump fluid directly onto the clutch friction disc. If your clutch pedal went to the floor and you notice a distinct burning smell or severe clutch slip before the failure, the CSC has likely blown its internal seal.
3. Quick-Connect Fitting Degradation
Many late-model vehicles use plastic push-to-connect fittings (typically 12mm or 14mm) instead of threaded banjo bolts to save weight and assembly time. The internal O-rings in these plastic quick-connects become brittle from engine bay heat, leading to sudden fluid loss at the firewall or transmission bulkhead.
Step-by-Step Diagnostic Protocol
Before throwing parts at the vehicle, follow this systematic diagnostic sequence to isolate the fault.
- The Reservoir Check: Inspect the brake/clutch fluid reservoir. Note that many vehicles share the brake fluid reservoir, with a dedicated nipple for the clutch line situated higher up to prevent total brake loss if the clutch empties. If the fluid is low, you have an external leak.
- The Pump Test: Rapidly pump the clutch pedal 10 to 15 times. If the pedal temporarily regains pressure and allows you to shift into gear, but sinks again when held down, you have internal master cylinder bypass or a failing CSC seal that is blowing past under static pressure.
- The Gravity Drip Test: Open the bleeder valve at the slave cylinder into a catch pan. If fluid flows steadily with the pedal held down, but the slave piston does not move, the slave cylinder bore is scored or the clutch fork pivot ball has sheared (a mechanical, not hydraulic, failure).
Fluid Dynamics: Choosing the Right Hydraulic Medium
Using the incorrect fluid is a primary catalyst for premature seal failure. While DOT 3 and DOT 4 are glycol-ether based and hygroscopic (they absorb water), DOT 5 is silicone-based and will destroy standard EPDM clutch seals. Furthermore, modern vehicles with integrated clutch delay valves and ABS-linked stability control require specific viscosity profiles.
| Fluid Type | Dry Boiling Point | Wet Boiling Point | Primary Application & Notes |
|---|---|---|---|
| DOT 3 | 205°C (401°F) | 140°C (284°F) | Older economy vehicles. Highly hygroscopic; requires frequent flushing. |
| DOT 4 | 230°C (446°F) | 155°C (311°F) | Standard for most modern manual transmissions (Ford, GM, Honda). |
| DOT 4 Class 6 | 250°C (482°F) | 165°C (329°F) | Low-viscosity fluid required for modern ESP/ABS-integrated clutch circuits (e.g., VW/Audi MQB platforms). |
| DOT 5.1 | 260°C (500°F) | 180°C (356°F) | High-performance track use. Glycol-based, compatible with DOT 3/4 seals. |
| Mineral Oil (LHM) | 240°C (464°F) | N/A (Non-hygroscopic) | Specific to Citroën, older Rolls-Royce, and Magura motorcycle clutches. Never mix with DOT fluids. |
Preventive Maintenance: The 30,000-Mile Rule
The most effective way to ensure your clutch pedal never goes to the floor unexpectedly is strict adherence to fluid maintenance. According to Hagerty Media's technical archives, hygroscopic fluids like DOT 4 can absorb up to 3% water by volume over two years of normal driving. This moisture not only lowers the boiling point—causing vapor lock under heavy track use—but also causes internal corrosion in the master cylinder bore.
Proactive Component Replacement
If you are performing a clutch disc and pressure plate replacement on a vehicle with over 60,000 miles, always replace the Concentric Slave Cylinder. The labor to access the CSC requires transmission removal; reusing an old CSC with heat-cycled seals is a false economy. For external slave setups, inspect the rubber boot for micro-tears and ensure the pushrod clevis pin has no more than 1mm of lateral play.
Upgrading to Braided Stainless Steel Lines
OEM rubber clutch hoses expand under pressure, resulting in a 'spongy' pedal feel and delaying engagement. Upgrading to a PTFE-lined, stainless steel braided clutch line (such as those from Goodridge or Earl's) eliminates hose expansion. This provides a 1:1 pedal ratio feel and reduces the mechanical stress on the master cylinder seals by preventing pressure spikes during rapid shifts.
Real-World Part Numbers, Costs, and Torque Specifications
To illustrate the diagnostic and repair process, below is a breakdown of common OEM and premium aftermarket components, reflecting 2026 market pricing and exact installation specifications.
| Component | Example Part Number | Application | Est. Cost (2026) | Torque Spec |
|---|---|---|---|---|
| Clutch Master Cylinder | FTE KG19010.01.1 | Porsche 996/997, Audi B8 | $110 - $145 | 22 Nm (Firewall nuts) |
| Concentric Slave Cylinder | Sachs 3182 654 146 | GM LS / Tremec T56 | $85 - $120 | N/A (Slide-on, retained by bellhousing) |
| Banjo Bolt (Line to CMC) | OEM M10x1.0 | Universal / Honda / Mazda | $4 - $8 | 18 Nm (Use new copper crush washers) |
| Quick-Connect Line | Dorman HA-5930 | Ford Mustang MT-82 | $35 - $55 | Hand-clip / 12 Nm bracket bolt |
Advanced Bleeding Techniques for Stubborn Systems
Once the faulty component is replaced, air removal is critical. Air trapped in the hydraulic circuit will cause the pedal to feel soft and can lead to incomplete clutch disengagement, resulting in gear grind. Traditional gravity bleeding is often insufficient for modern routing, where the clutch line dips below the master cylinder before rising to the bellhousing, creating natural air traps.
Reverse Pressure Bleeding
For systems with complex routing or CSCs that are notoriously difficult to bleed (like the GM LS platform), reverse bleeding is the gold standard. Using a tool like the Motive Products 0107 Power Bleeder, you attach the pressure tank to the slave cylinder bleeder valve and push fluid up toward the master cylinder. Because air naturally rises, pushing fluid from the bottom forces air bubbles directly up and out into the reservoir. FTE Automotive's engineering documentation heavily recommends pressure bleeding for their OEM CSC installations to prevent dry-start wear on the throw-out bearing surface.
The 'Zip-Tie' Pedal Method
If you are working solo and lack a pressure bleeder, the zip-tie method can help collapse internal air bubbles. Depress the clutch pedal fully and secure it to the steering wheel brace with a heavy-duty zip-tie. Leave it overnight. The constant static pressure forces microscopic air bubbles to coalesce and travel up the hard lines into the reservoir. Release the pedal the next morning, top off the reservoir, and perform three standard manual strokes. You will often find the pedal feel has miraculously firmed up.
Conclusion: Respecting the Hydraulic Circuit
When your clutch pedal goes to the floor, it is the system's final cry for help after years of thermal degradation, moisture ingress, or seal fatigue. By understanding the distinct failure modes of master cylinders, quick-connect lines, and concentric slave cylinders, you can accurately diagnose the fault without resorting to guesswork. Treat your clutch hydraulic fluid with the same reverence as your engine oil—flush it every two years, inspect the lines during every major service, and upgrade to braided lines for track use. Preventive maintenance is the only guaranteed way to keep your shifts crisp and your vehicle moving forward.
Expert Tip: Never use petroleum-based solvents or brake cleaners to wipe down hydraulic clutch components during installation. Petroleum products cause EPDM rubber seals to swell and fail within weeks. Always use isopropyl alcohol or fresh DOT fluid for cleaning and lubrication during assembly.