The Intersection of Bearing Preload, Seals, and Gear Oil
When servicing the drivetrain of a rear-wheel-drive or four-wheel-drive vehicle, the boundary between rotating mass and stationary housing is defined by bearings, seals, and gasket makers. A failure in any one of these components inevitably compromises the others. For example, a worn pinion bearing allows excessive shaft deflection, which quickly tears the lip of a brand-new pinion seal, leading to catastrophic gear oil loss. As an automotive drivetrain specialist, I frequently see DIYers and junior technicians focus entirely on the mechanical bearing swap while completely neglecting the mating surface preparation and rear differential sealant application. This results in immediate housing leaks and contaminated brake components.
In this comprehensive guide, we will dissect the best practices for differential bearing and seal replacement, using the ubiquitous Ford 8.8-inch and GM 10-bolt (8.5-inch) axles as our primary benchmarks. We will cover exact torque specifications, the transition from crush sleeves to solid spacers, and the critical selection of the correct rear differential sealant to ensure your 75W-90 or 75W-140 synthetic gear oil stays exactly where it belongs.
Diagnosing the Failure: Whine, Howl, or Weep?
Before tearing down the differential cover and removing the driveshaft, accurate diagnosis is paramount. Bearing noise and seal leaks often present together but require different diagnostic approaches.
- Pinion Bearing Failure: Typically manifests as a continuous howl or whine that changes pitch with vehicle speed, often most pronounced on deceleration (coast side of the gear). If you grab the driveshaft at the pinion yoke and detect radial or axial play exceeding 0.003 inches, the pinion bearings (and likely the pinion seal) are compromised.
- Carrier Bearing Failure: Produces a low-frequency rumble or growl that correlates with wheel speed rather than driveshaft speed. It is usually most audible under load (acceleration).
- Seal Leaks: A pinion seal leak will coat the driveshaft and the front face of the differential housing with gear oil. An axle seal leak, however, will migrate outward down the axle tube, eventually contaminating the brake shoes or rotors. Never replace an axle seal without checking the axle shaft bearing surface for a deep wear groove; if a groove is present, use a speedi-sleeve or replace the shaft, or the new seal will leak within 500 miles.
Selecting the Correct Rear Differential Sealant
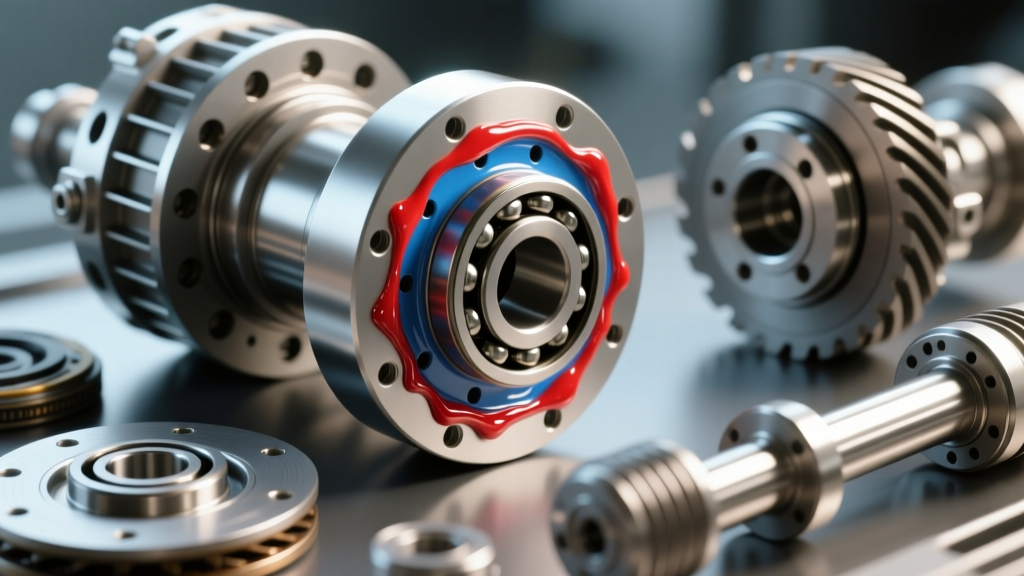
The days of relying solely on pre-cut cork or rubber gaskets for differential covers are largely behind us. Modern stamped steel and cast aluminum differential pans require a high-quality RTV (Room Temperature Vulcanizing) silicone. However, not all RTVs are created equal. The internal environment of a differential is harsh, characterized by extreme pressure (EP) gear oil additives, high heat, and constant fluid agitation.
According to the Permatex RTV application guidelines, using a standard high-temp red silicone on a differential cover is a recipe for failure, as standard silicones break down when exposed to the extreme pressure additives found in 75W-90 and 75W-140 gear oils. You must use a sensor-safe, oil-resistant, high-torque formulation.
| Sealant Product | Chemistry Base | Best Application | Tack-Free Time | Full Cure Time |
|---|---|---|---|---|
| Permatex Ultra Black (81878) | Oxime Silicone | Stamped steel covers, high-torque rigs | 30 Minutes | 24 Hours |
| Permatex The Right Stuff (29208) | Oxime Silicone | Cast aluminum housings, quick reassembly | 5 Minutes | 24 Hours |
| Loctite 598 Black | Alkoxy Silicone | High-vibration environments, flex joints | 45 Minutes | 24 Hours |
Expert Tip: When applying your chosen rear differential sealant, run a continuous 3/16-inch bead around the mating surface. Crucially, you must also loop the sealant bead completely around the inside of every bolt hole. If you skip this step, gear oil will wick up the threads of the cover bolts and leak out onto the bolt heads, mimicking a gasket failure.
Pinion Bearing Replacement: Crush Sleeves vs. Solid Spacers
Replacing the pinion bearings (e.g., Timken SET 36 for a Ford 8.8) requires resetting the pinion depth and bearing preload. The factory method for setting preload involves a crush sleeve—a hollow steel spacer that collapses as you torque the pinion nut. While cheap to manufacture, crush sleeves are notoriously frustrating for independent mechanics. Over-tightening the nut by even a fraction of a turn over-crushes the sleeve, forcing you to disassemble the yoke, discard the ruined sleeve, and start over with a new one.
For performance applications, towing rigs, or simply for a more precise and reliable assembly, I highly recommend upgrading to a solid spacer kit (such as the Ratech 4110 for Ford 8.8 axles). A solid spacer uses precision-machined shims to set the exact bearing preload. As noted in the Ring & Pinion technical setup articles, solid spacers eliminate the risk of over-crushing and maintain preload stability far better under heavy thermal cycling.
Setting Preload with an Inch-Pound Torque Wrench
Preload is the rolling resistance of the pinion bearings. It is not measured in foot-pounds; it is measured in inch-pounds using a dial-type or beam-style inch-pound torque wrench.
- New Bearings: Target 20 to 35 inch-pounds of rotating torque.
- Used Bearings (Reassembly): Target 15 to 25 inch-pounds of rotating torque.
If you are using a factory crush sleeve, you will need a heavy-duty torque wrench capable of 250+ ft-lbs to collapse the sleeve while simultaneously checking the rotating torque with your inch-pound wrench every few degrees of nut rotation. If using a solid spacer, you simply swap shims until the drag falls perfectly within the specification window.
Carrier Bearing and Ring Gear Assembly Best Practices
When replacing the carrier bearings, the ring gear must be unbolted from the differential case. This is a critical juncture where improper torque or thread contamination leads to catastrophic ring gear separation under load.
- Cleaning: Clean the ring gear mating surface and the differential case with brake cleaner. Ensure there is zero oil, old Loctite, or debris between the two surfaces.
- Threadlocker: Apply a medium-strength threadlocker (like Loctite 243) to the ring gear bolts. Do not use red Loctite unless you never plan to remove the ring gear again, as red requires extreme heat to break loose.
- Torque Sequence: Torque the ring gear bolts in a star pattern to the manufacturer's specification. For a GM 8.5-inch 10-bolt, this is typically 75 ft-lbs. For a Dana 44, it is 55-65 ft-lbs. Always consult the specific Dana Spicer technical resources for your exact axle model.
- Carrier Bearing Caps: Carrier bearing caps are line-bored with the housing. They are not interchangeable. Always mark them (Left/Right) during teardown and reinstall them in their exact original orientation and direction. Torque carrier cap bolts to 70-100 ft-lbs depending on the axle housing.
Refilling: Gear Oil and Friction Modifiers
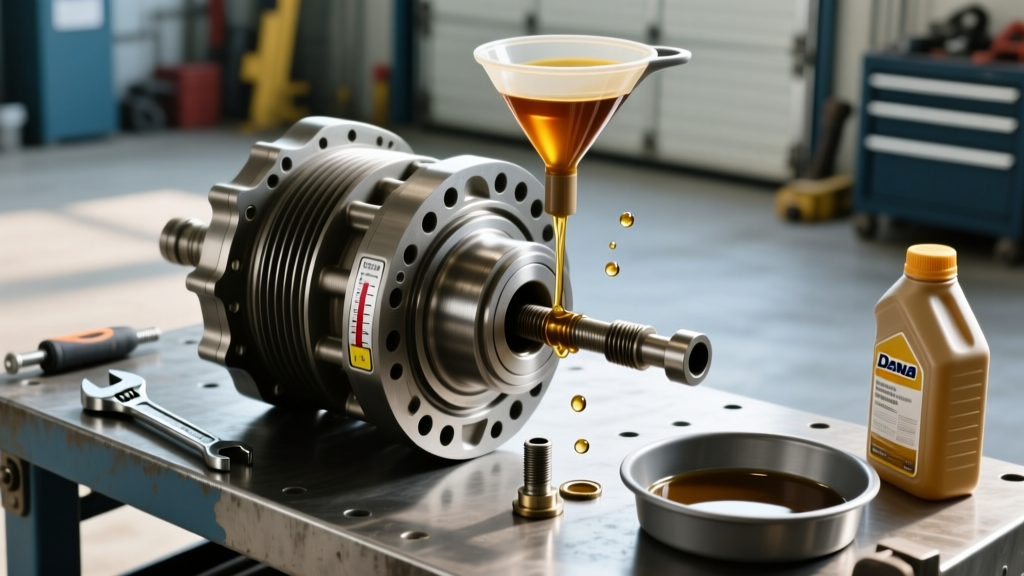
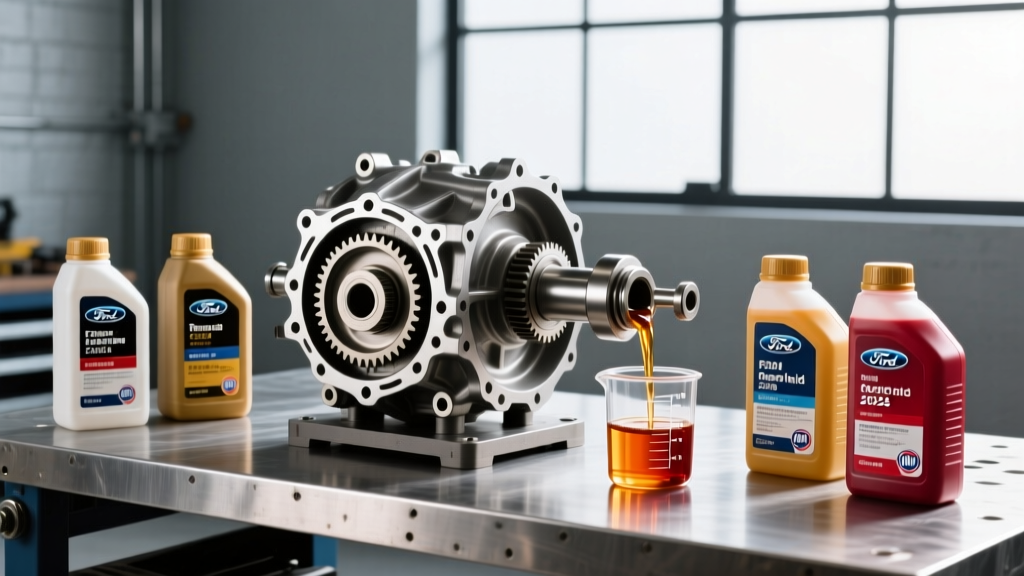
Once the rear differential sealant has fully cured (minimum 12 hours, ideally 24 hours before filling), it is time to refill the housing. The choice of fluid is just as critical as the mechanical rebuild. For most modern limited-slip differentials (LSD), a high-quality 75W-90 or 75W-140 synthetic gear oil is required.
If your axle utilizes a clutch-type limited-slip differential (such as the Ford Trac-Lok or GM Eaton Positraction), you must add the manufacturer-specified friction modifier (typically 2 to 4 ounces) before topping off with gear oil. Failure to do so will result in severe chatter and binding during low-speed turns, which can prematurely destroy the fresh carrier bearings you just installed. Fill until the fluid level is exactly even with the bottom of the fill hole, or up to 1/2 inch below the fill hole if the differential cover features a deep sump design.
Real-World Cost and Tool Breakdown
Undertaking a differential bearing and seal replacement requires specialized tools and quality parts. Here is a realistic breakdown of what to expect for a standard Ford 8.8 or GM 10-bolt axle rebuild in 2026:
- Master Bearing Kit (Timken/Dana): $130 - $180 (Includes inner/outer pinion bearings, carrier bearings, pinion seal, crush sleeve, and shims).
- Axle Shaft Seals & Bearings: $40 - $60 per side.
- High-Torque Rear Differential Sealant (RTV): $15 - $25.
- Solid Spacer Conversion Kit: $35 - $50.
- Synthetic Gear Oil & Additive: $60 - $90.
- Specialty Tools: Bearing puller/press (rent or buy), dial indicator with magnetic base, inch-pound torque wrench, and a heavy-duty 1/2" drive torque wrench.
While a professional shop will typically charge between $800 and $1,400 for a complete bearing and seal overhaul (including labor and shop supplies), a well-equipped DIYer can accomplish the job for roughly $300 to $450 in parts, provided they take the time to measure pinion depth, set preload accurately, and apply the correct rear differential sealant with meticulous attention to surface preparation.