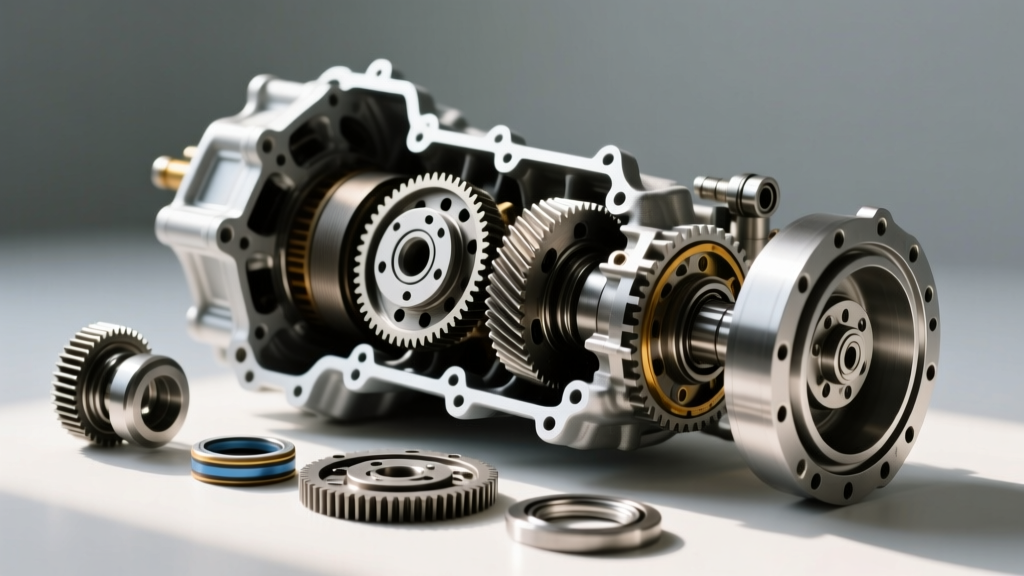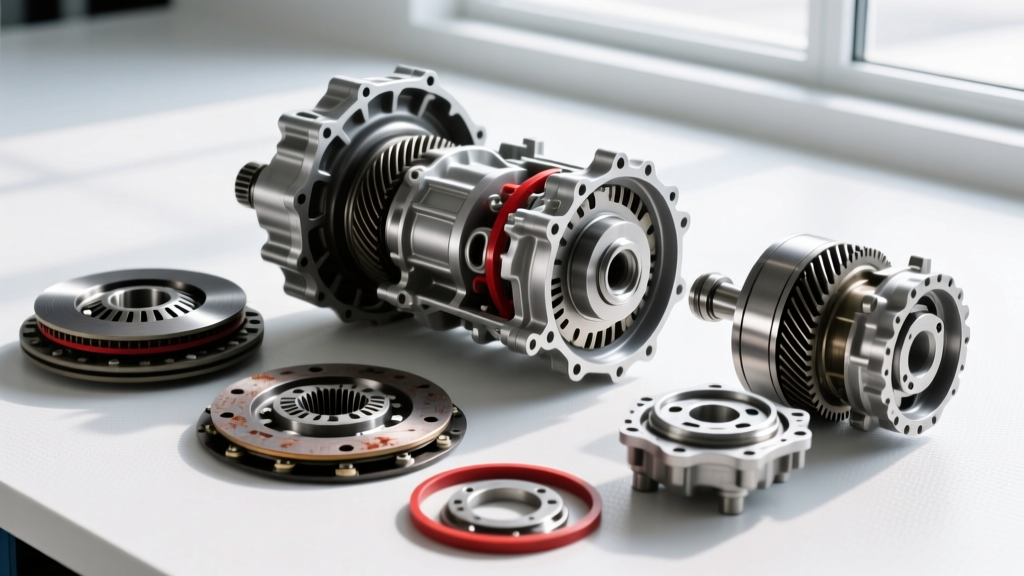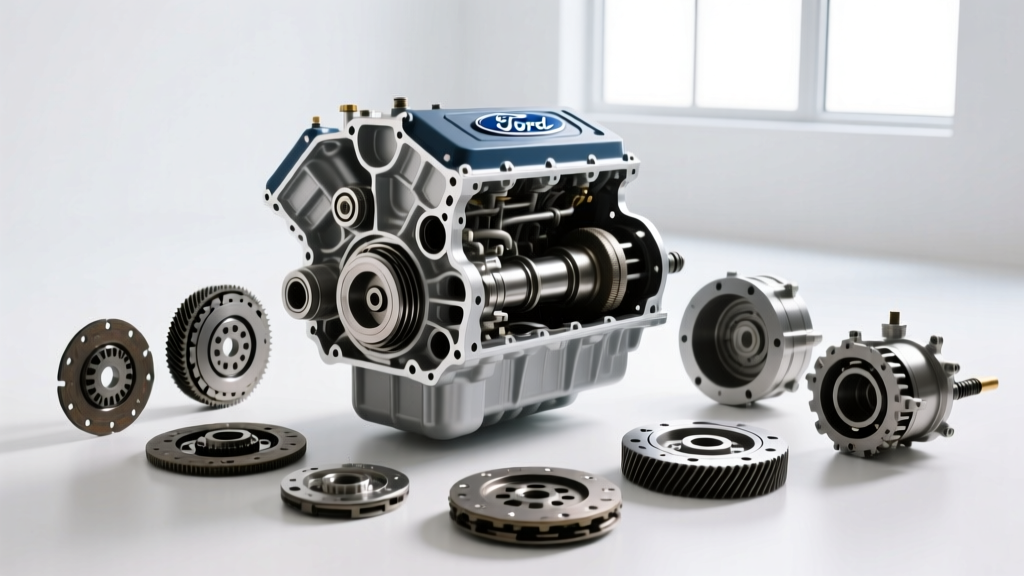
The High Stakes of a 4R100 Rebuild
The Ford 4R100 transmission, introduced in 1998 as the heavy-duty successor to the E4OD, was engineered to handle the massive torque output of the 7.3L Powerstroke diesel and the 6.8L Triton V10 engines. Found in F-250 and F-350 Super Duty trucks, the 4R100 is a robust, four-speed electronic overdrive unit. However, its complexity and sheer size make it unforgiving of sloppy machine work or outdated assembly practices.
As of 2026, a professional Ford 4R100 transmission rebuild typically costs between $3,400 and $5,200, depending on whether you require billet input shafts or upgraded PTO gears. A DIY master rebuild kit (including Raybestos clutches, Kolene steels, and a Transgo shift kit) will set you back $450 to $850. But saving money on a DIY rebuild is a false economy if the unit fails at 5,000 miles due to avoidable assembly errors. Below, we break down the five most common and costly mistakes technicians and DIYers make when rebuilding the 4R100, and exactly how to avoid them.
Mistake #1: Retaining the Early Mechanical Diode Clutch
If you are rebuilding a 1998–2001 4R100, you will encounter the infamous mechanical diode one-way clutch in the low/reverse position. Ford originally designed this component to be lighter and more compact than a traditional roller clutch. Unfortunately, under the high-torque loads of a modified 7.3L Powerstroke or during heavy towing, the mechanical diode is prone to catastrophic shattering. When it fails, it sends hardened steel shrapnel through the planetary gearsets, instantly destroying the transmission.
The Fix: The Roller Clutch Conversion
Never reuse a mechanical diode. The industry-standard fix is to upgrade to the later-style (2001+) roller-type one-way clutch. This conversion requires swapping out the low/reverse hub, the inner race, and the retaining snap rings. According to ATRA technical bulletins, ensuring the roller clutch is properly seated and that the low/reverse clutch pack clearance is set to 0.040"–0.060" is critical to preventing bind-up and premature wear in first gear.
Mistake #2: Guessing on Endplay and Thrust Washers
The 4R100 is highly sensitive to axial endplay. Unlike smaller passenger car transmissions where endplay is often forgiving, the 4R100's heavy rotating masses require precise stack-up tolerances. Many rebuilders mistakenly reuse the factory selective thrust washer located behind the front pump stator support without measuring the final assembly.
If endplay is too tight (under 0.005"), thermal expansion will cause the thrust surfaces to gall and weld together, seizing the transmission. If it is too loose (over 0.030"), the planetary gears will experience excessive axial movement, leading to premature bushing wear and erratic shift timing.
- Target Endplay: 0.010" to 0.024"
- Measurement Point: Measured at the front of the case using a dial indicator on the input shaft before the front pump is bolted down.
- Adjustment: Use Ford selective thrust washers (ranging from 0.060" to 0.120" in thickness) to dial in the exact specification.
Mistake #3: Ignoring Valve Body Bore Wear
The 4R100 valve body is constructed from aluminum, while the internal valves are steel. Over hundreds of thousands of miles, the constant oscillation of the Electronic Pressure Control (EPC) solenoid and the pressure regulator valve wears out the aluminum bores. This wear allows vital line pressure to bleed off, resulting in slipping clutches, delayed shifts, and burnt friction material.
Simply cleaning the valve body and installing a new gasket is a guaranteed recipe for a comeback. You must inspect the bores for wear using a vacuum test stand. If the EPC boost valve bore is compromised, you must ream the bore and install an oversized replacement valve. Sonnax technical resources highly recommend their oversized EPC valve kits (such as the 11994-series) to permanently restore hydraulic integrity and ensure the PCM can accurately modulate line pressure during wide-open-throttle shifts.
Mistake #4: Neglecting the Cooler Bypass and Lube Circuit
One of the most misunderstood aspects of the 4R100 is its cooler bypass and lube circuit. The transmission features a thermostat-style bypass valve designed to allow fluid to bypass the external cooler during cold starts to aid in warm-up. However, this valve is notorious for sticking in the closed (bypass) position due to varnish buildup or debris.
If the valve sticks, fluid never reaches the cooler, leading to rapid thermal degradation of the MERCON V fluid. Worse, the lube circuit that feeds the rear planetary and the overdrive clutch pack is starved of oil, resulting in catastrophic overheating. During a rebuild, the cooler bypass valve bore must be meticulously cleaned, inspected for scoring, and tested to ensure it moves freely under spring pressure. Many expert builders opt to delete the thermal bypass entirely in heavy-duty towing applications to guarantee constant cooler flow.
Mistake #5: Using Obsolete Fluids and Incorrect Filters
Fluid chemistry has evolved drastically since the 4R100 rolled off the assembly line. The original MERCON specification was officially discontinued by Ford years ago. Using outdated, non-synthetic fluid blends will result in poor torque converter clutch (TCC) lockup and shudder.
You must use Motorcraft MERCON V (XT-5-QMC) or a licensed, high-quality synthetic equivalent that explicitly meets the MERCON V specification. Furthermore, the 4R100 filter setup is frequently botched. The 4x4 and 4x2 models use different transmission pans, requiring different filters. The standard shallow pan uses the Motorcraft FT-114 filter, while the deep aftermarket or heavy-duty cooling pans require the FT-145. Installing the wrong filter will result in the filter snout failing to seal against the pump, causing the transmission to suck air instead of fluid, leading to immediate clutch burnout.
4R100 Critical Torque Specs and Clearances Reference
Precision is the difference between a 300,000-mile transmission and a 3,000-mile paperweight. Keep this reference chart on your bench during assembly.
| Component / Specification | Measurement / Torque Value | Notes & Best Practices |
|---|---|---|
| Front Pump to Case Bolts | 10 - 12 ft-lbs | Use a criss-cross pattern; apply blue threadlocker. |
| Extension Housing Bolts | 33 - 37 ft-lbs | Ensure the rear seal is perfectly seated before mating. |
| Valve Body to Case | 40 - 60 in-lbs | Do NOT overtighten; aluminum threads strip easily. |
| Torque Converter to Flex Plate | 26 - 30 ft-lbs | Use new Grade 10.9 bolts; verify converter is fully seated into the pump gear. |
| Overall Axial Endplay | 0.010" - 0.024" | Adjust via selective thrust washer behind the pump stator. |
| Overdrive Clutch Pack Clearance | 0.040" - 0.070" | Use selective pressure plates to achieve exact clearance. |
| Total Fluid Capacity (Dry) | 14.0 - 17.0 Quarts | Varies by cooler size; requires MERCON V specification. |
Final Thoughts on 4R100 Rebuilds
The 4R100 remains one of the most capable and rebuildable heavy-duty transmissions ever produced by Ford, provided you respect its engineering quirks. Upgrading the mechanical diode, reaming worn valve body bores, and strictly adhering to endplay tolerances will transform a tired Super Duty transmission into a reliable powerhouse. For more in-depth community troubleshooting and dyno-tested torque converter stall recommendations, the Ford-Trucks.com Super Duty forums remain an invaluable resource for 7.3L and V10 owners navigating the rebuild process.